Project Log: Friday, August 3, 2012
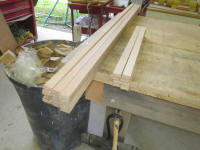
Beginning in the woodshop, I milled a series of plywood
strips to use for the v-berth ceiling (hull liner)
supports, using 12mm meranti plywood cut to 1" wide,
just as I'd used for the overhead strips earlier in the
project. I milled enough material to frame the
in-hull port openings, plus the required supports for
the wooden ceiling strips that I'd install later, plus
some extra material to have on hand. |
 |
For some time, I'd been hemming and hawing about an idea
whether to employ a standard ice chest in addition to
the Engel refrigerator. (Read my
original thoughts on this from September 2011.) Since I had no objection
to using "old fashioned" ice beyond needing to
constantly rely on its ready availability ashore, I
liked the idea of a regular cooler for holding drinks,
ice cubes, etc., reserving the refrigerator for real
foodstuffs. My idea all along had been to use the bottom
section of the tall vertical locker opposite the head,
which was voluminous and seemed to have the space to
spare (all the more so given the substantial storage
space I'd added in the dinette and galley). |
 |
I'd looked carefully at the high-performance (and
expensive) coolers from Yeti and Deep Blue (Engel).
These coolers featured rotomolded construction and 2"
insulation all around, with supposed 8-10 day ice
retention. While they looked like good choices,
ultimately I decided that these were not cost effective
for this situation: there just wasn't a
critical-enough need to justify pricing five times
higher than the Coleman Xtreme cooler, which also
featured 2" insulation and good reviews with five-day
ice retention reported, though I doubted its ultimate
performance would be as good as the high-end units.
But for a cooler of convenience, it seemed like this
might be an acceptable option.
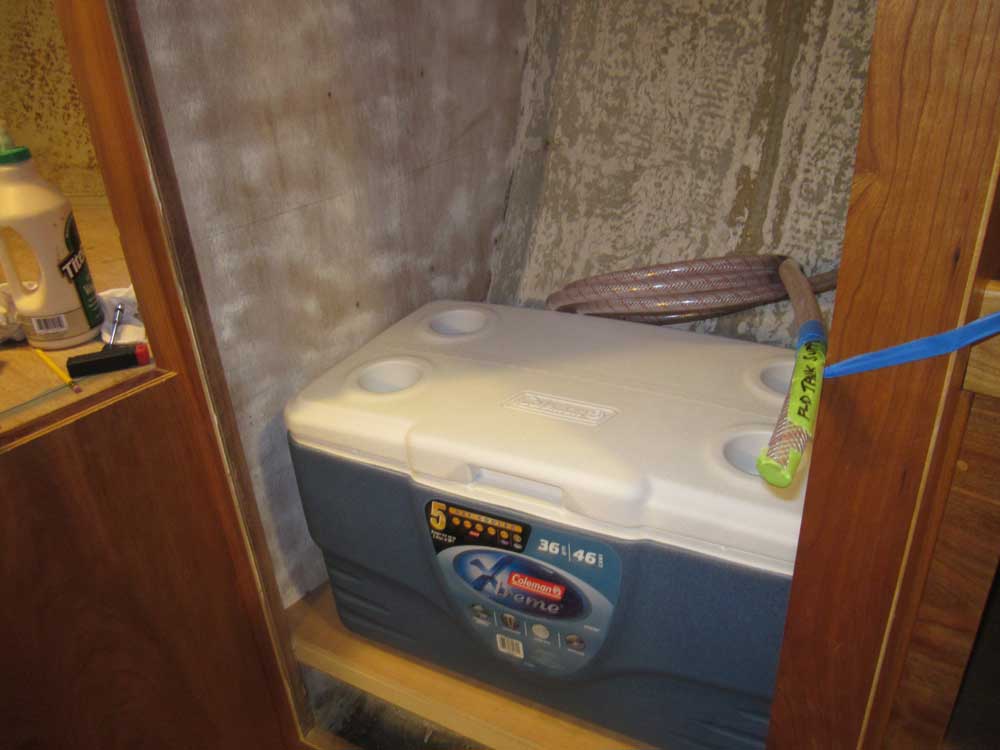
After much debate, I decided to order the Coleman and
give it a try. If in the future I determined I was
unhappy with its performance, I could always order one
of the expensive coolers, which would fit in the same
space. So with this cooler actually on hand,
I decided it was as good a time as any to start
construction in the storage locker.
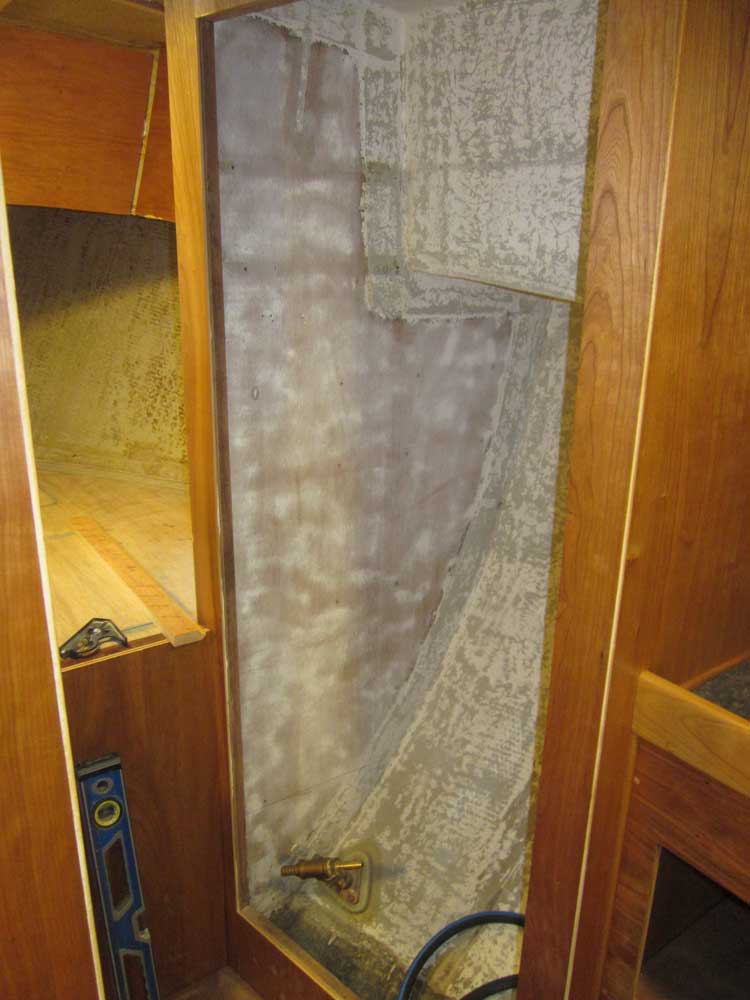
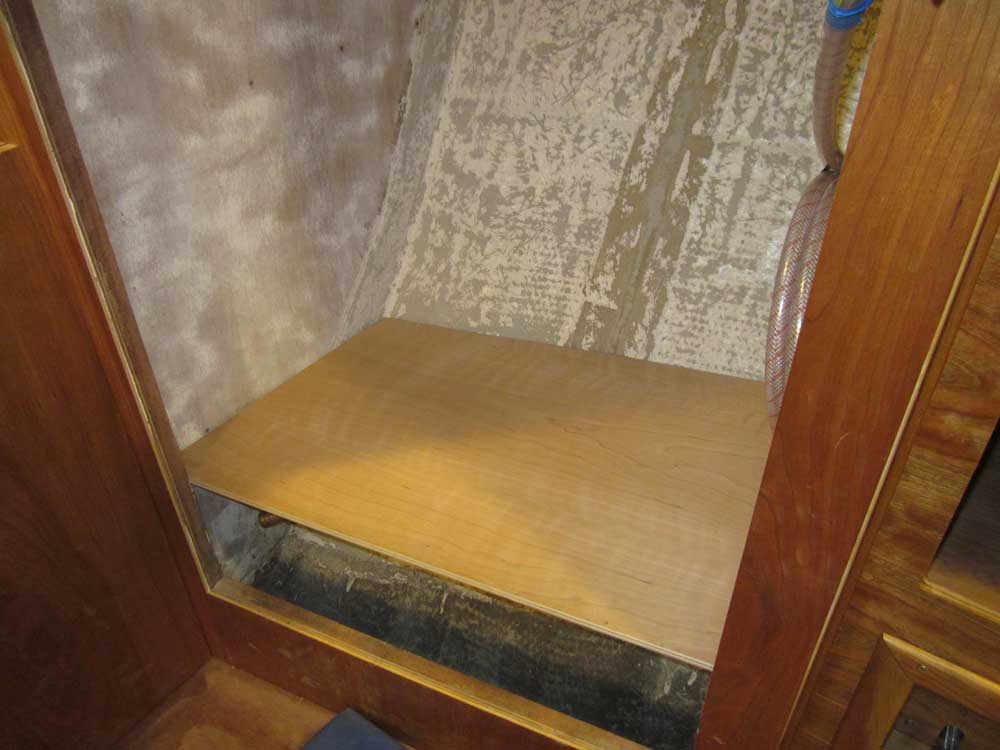
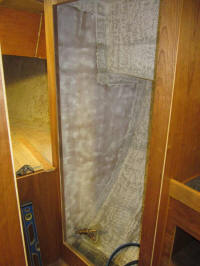
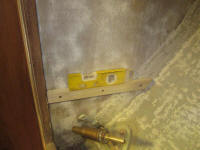
The new support shelf for the cooler needed to be high
enough to provide the required width, as well as to
clear various plumbing installations already in the
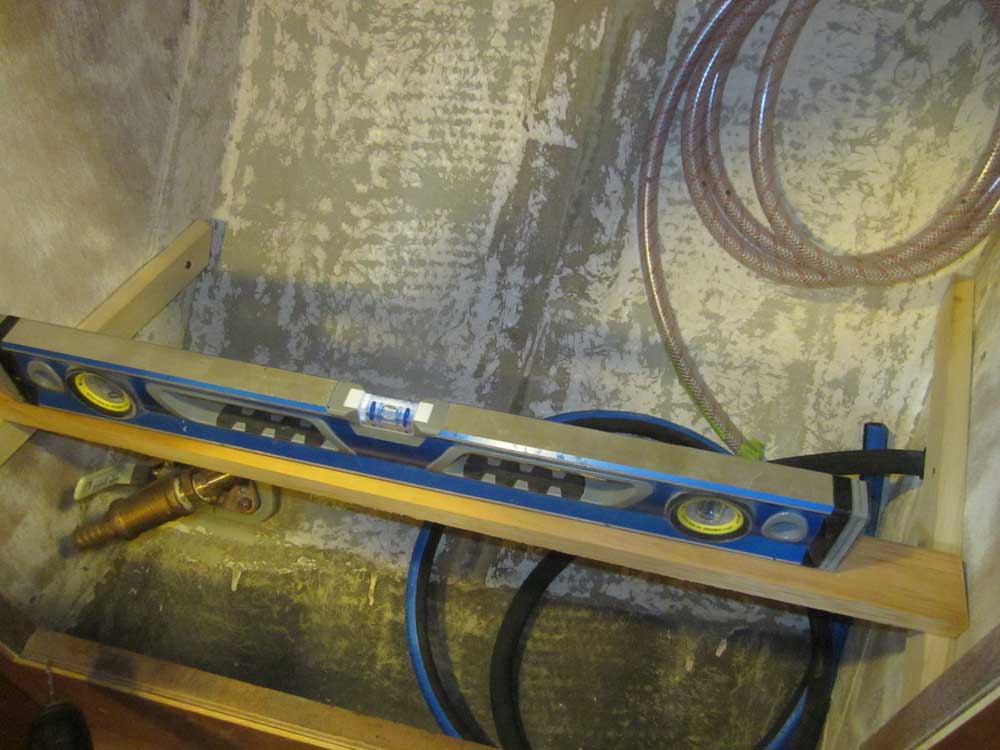
space. So after some basic measurements and
test-fitting the cooler in the raw space, I struck level
lines for support cleats on each side and installed
hardwood cleats as needed, including one across the
opening of the locker to support the edge of the shelf. |

 |
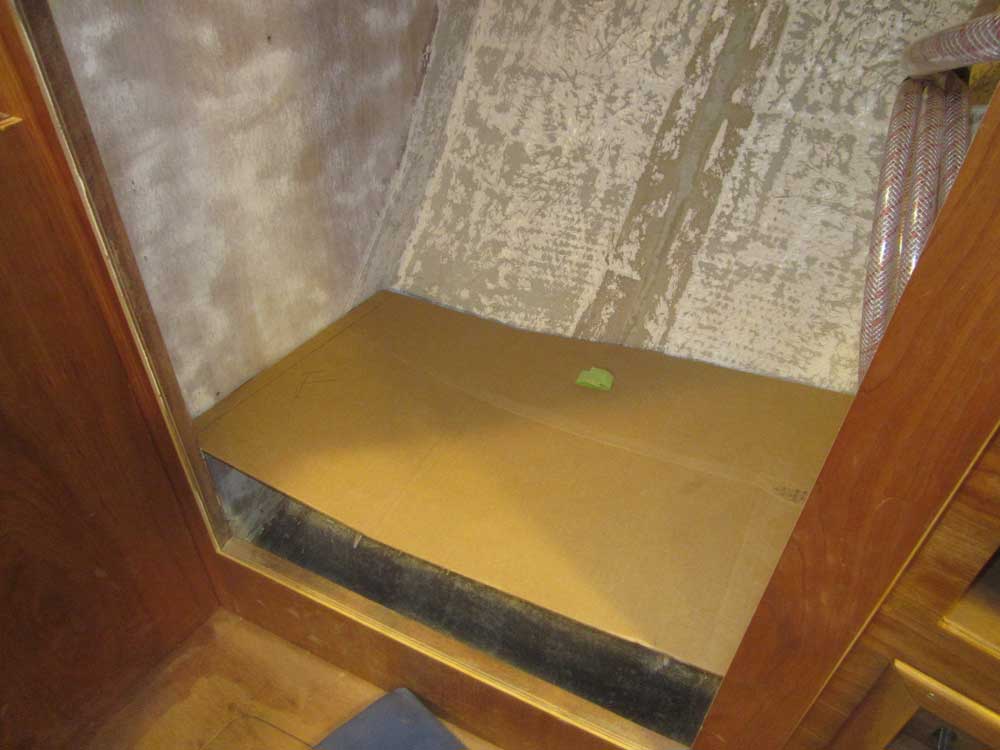
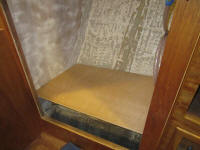
With cardboard, I created a template of the shelf, then
cut the shelf from leftover 1/2" plywood.
|

 |
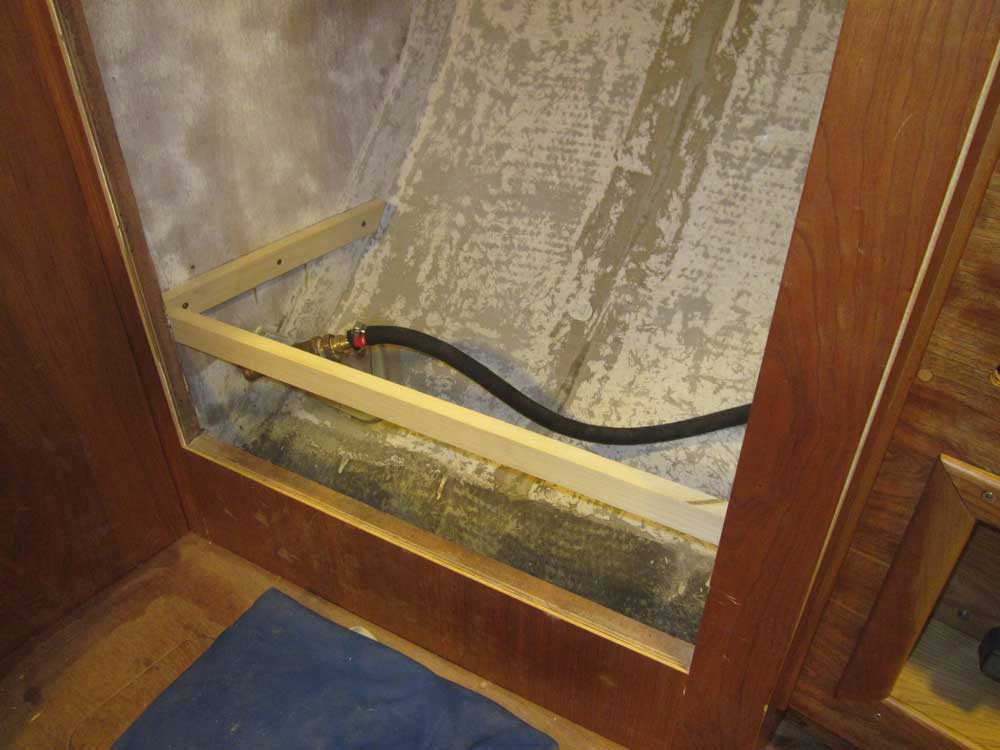
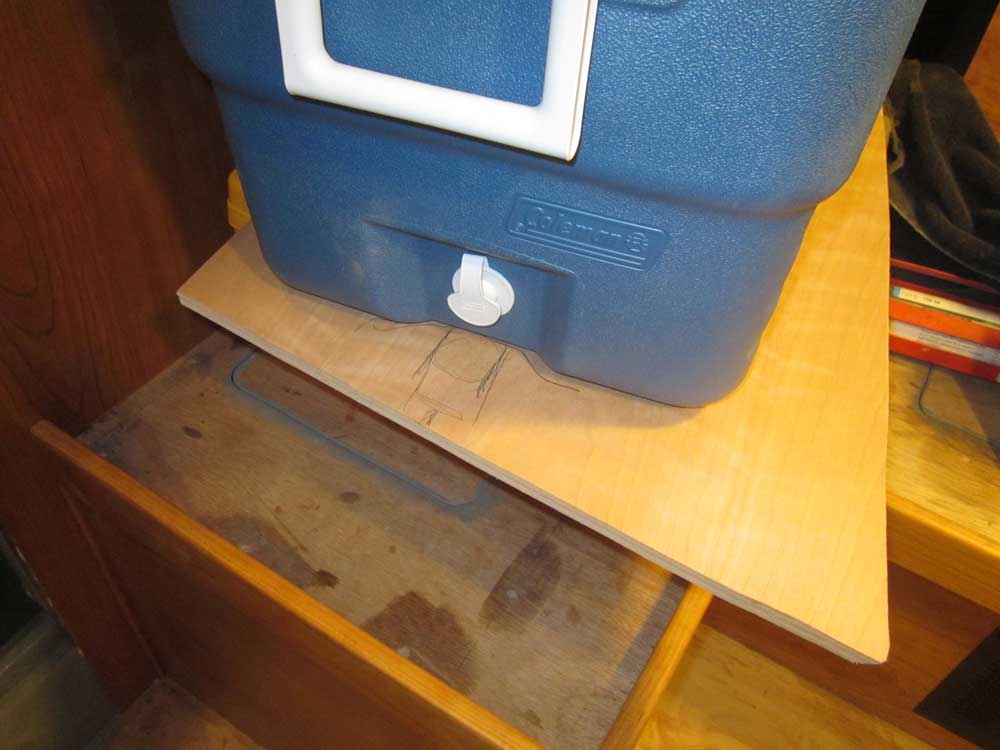
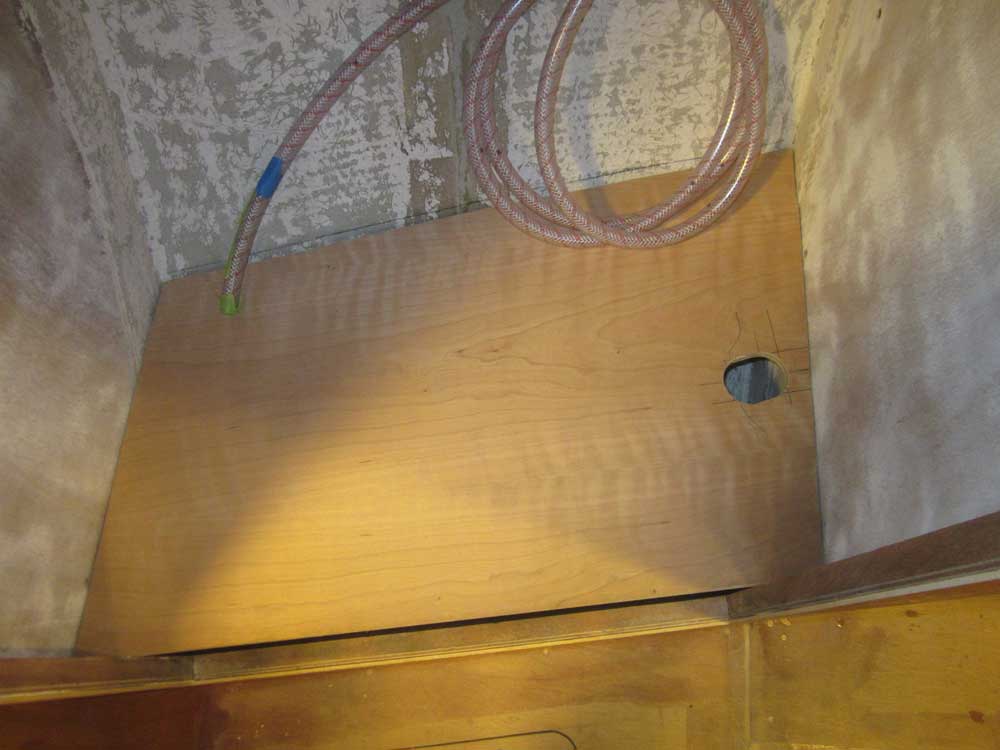
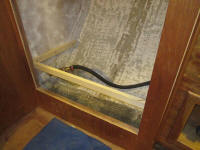
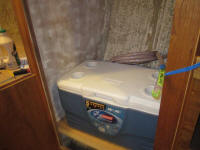
The cooler fit in the space nicely. I'd have to chock
it on the outboard side to prevent movement, and would
probably add other means of support. Since I wanted the
cooler to automatically drain (one nice feature was a
recessed drain sump that allowed full drainage without
needing to tip the cooler), I marked the shelf beneath
the drain fitting so I could cut an opening for a hose
to lead through; the drain fitting accepted 5/8" ID
hose. Later, I cut the opening. |

 |
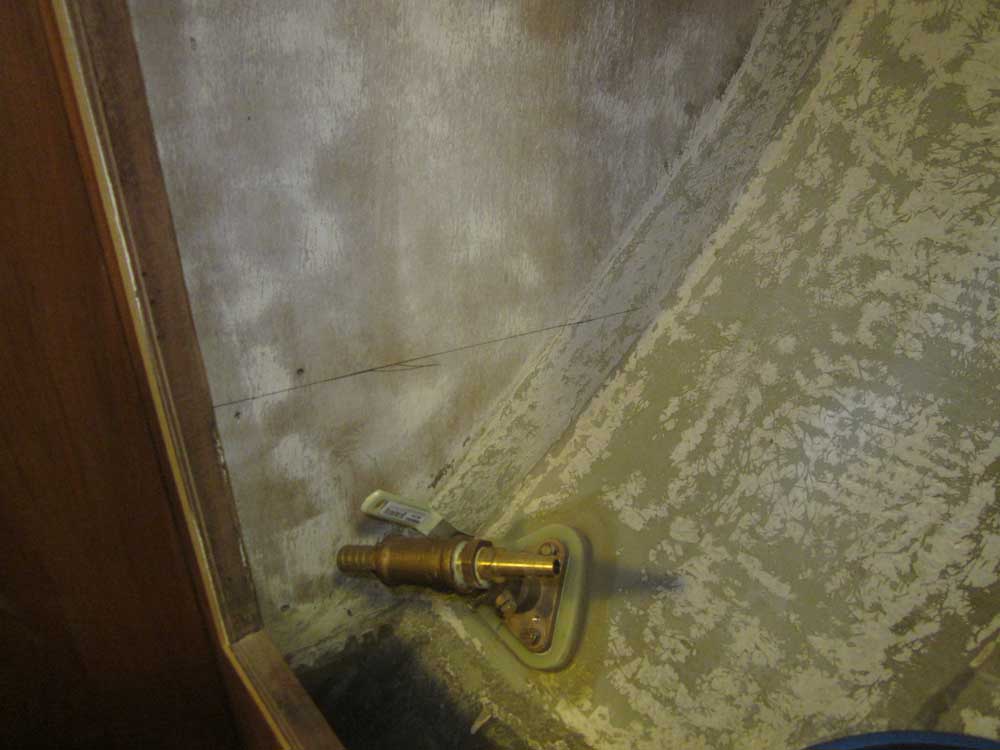
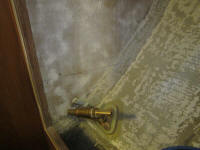
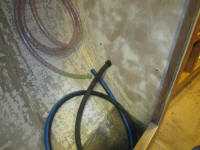
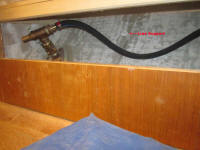
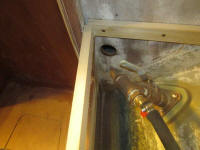
The shelf position left ample room to access the through
hull fitting beneath, and other plumbing runs. I
cut to length and connected the 1/2" line leading from
the through hull to the galley sink salt water pump and
spigot, leaving enough extra to secure to the hull out
of the way. I installed a cable tie mount on the
hull, but left the hose free for the moment till I could
paint out the space.
Meanwhile, thinking ahead to the other end of the
seacock's supply fitting, which would service a deck
wash down pump eventually, I drilled a hole through the
forward bulkhead for the hose to pass through. I
also prepared an opening at the bottom edge of this
utility space, where I could later run hot and cold
water supply lines across the bilge to the head, where
I'd be fitting a shower. |
 |
I'd be finalizing plans for the remainder of this large
locker later, starting with another shelf to be located
at a height above the installed cooler to allow access
and ice passage, but for now I was out of time. |
| |
Total Time Today: 3.5 hours
|
<
Previous |
Next > |
|
|