Project Log: Saturday, August 4, 2012
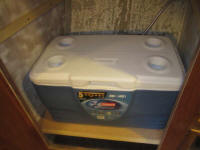
Without wasting huge amounts of space, there was no way
I could allow full opening of the cooler lid in this
situation. Therefore, I searched for a usable
compromise when positioning the next shelf in the
locker, above the cooler. I figured I needed at
least 6" of opening between the edge of the cooler and
the lid when angled open--this to accommodate the
typical size of a standard ice block. This was
also ample room to reach in, see, and grab a cold drink
or whatever. It seemed a realistic minimum.
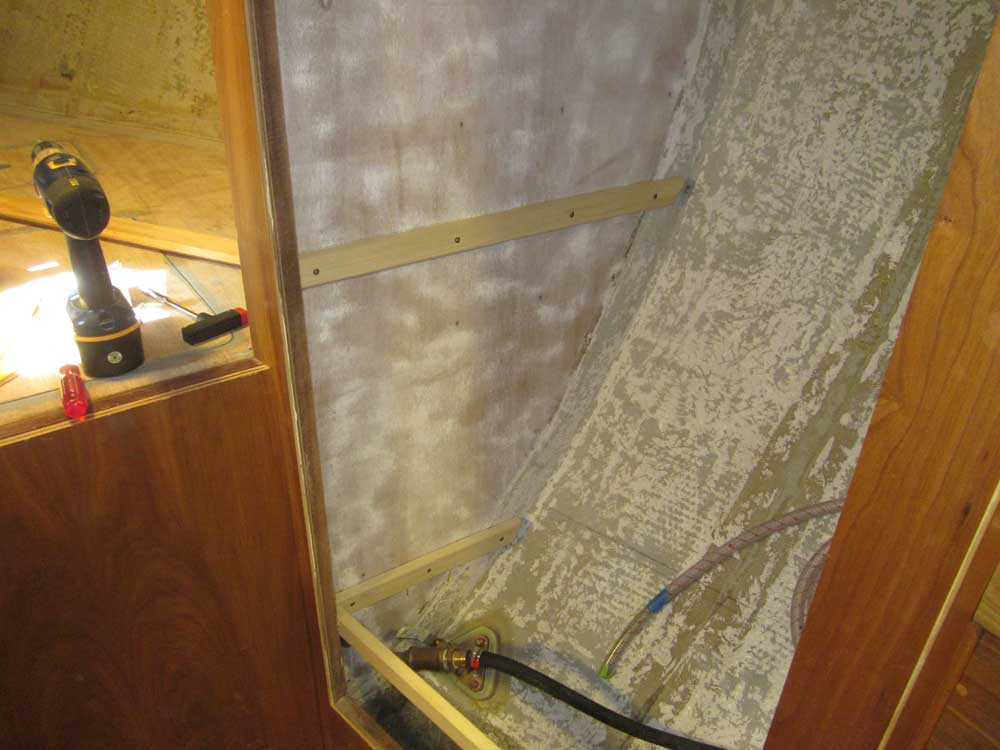
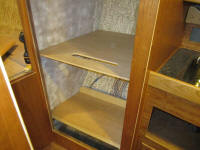
With this in mind, I determined a position for the next
shelf, and cut and fitted support cleats on each side of
the locker, just as I'd done with the lower shelf. |
|
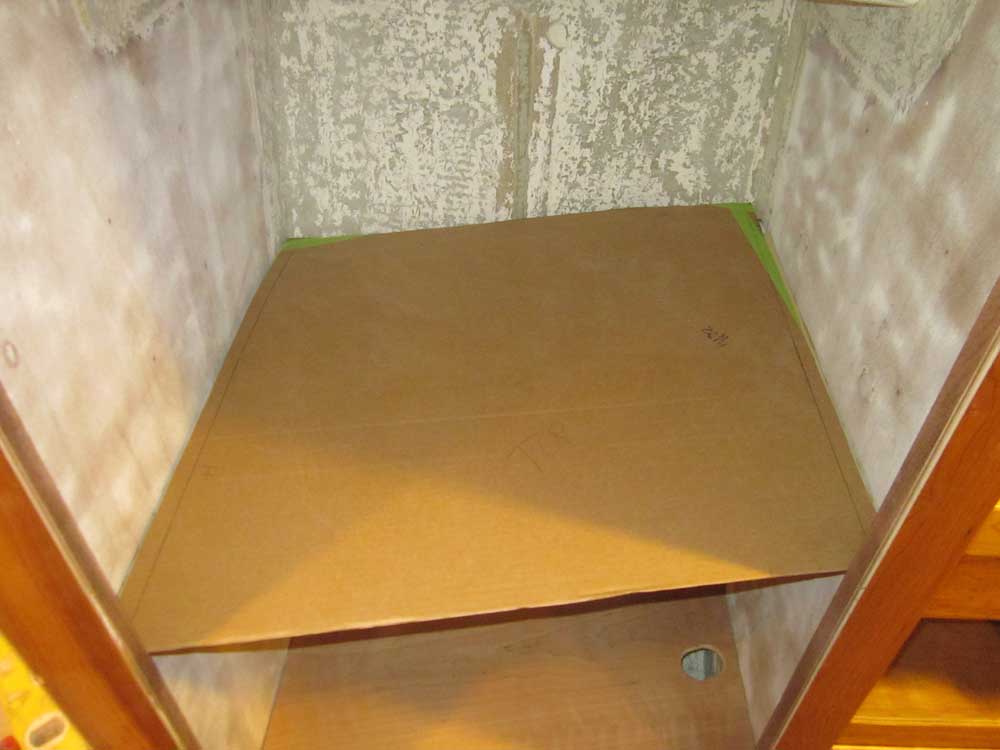
With scrap cardboard, I made a template of the new
shelf, then transferred it to more 1/2" cherry plywood,
abundant offcuts of which I had on hand. |

 |
I'd not planned to make this locker a showpiece of
cherry, but since that's what I had on hand it seemed
nice to use it, and, as with other lockers elsewhere in
the boat, varnished locker interiors (to a point) would
be pleasing rather than having all storage spaces being
pure utility. Since I planned the upper portions
of this locker for clothing storage, I thought I might
install some of that cedar closet lining material on the
fore and after bulkheads.
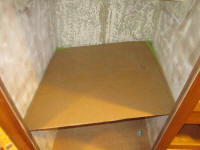
The lower shelf needed additional stiffening. I
didn't plan to permanently install these shelves:
I wanted them to be removable, particularly this lower
one, for best access to the utility space beneath.
So I'd not be securing the shelves to the hull with
adhesive or tabbing. For this shelf, which could
be called upon to support 50 lb. or more, extra
stiffening to prevent bending seemed appropriate.
Since I also needed a means to hold the cooler in place
without sliding around, I thought I'd add the stiffener
on the top side of the shelf, which would act not
only to stiffen the board but also as a cleat to hold
the cooler. So I milled a 3" wide
strip of poplar to fit, angling the ends and rounding
over the top edges for a more pleasing appearance.
I sanded the cleat smooth, and glued and screwed it to
the shelf in the appropriate position. |
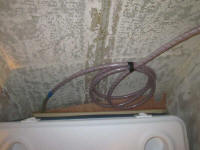 |
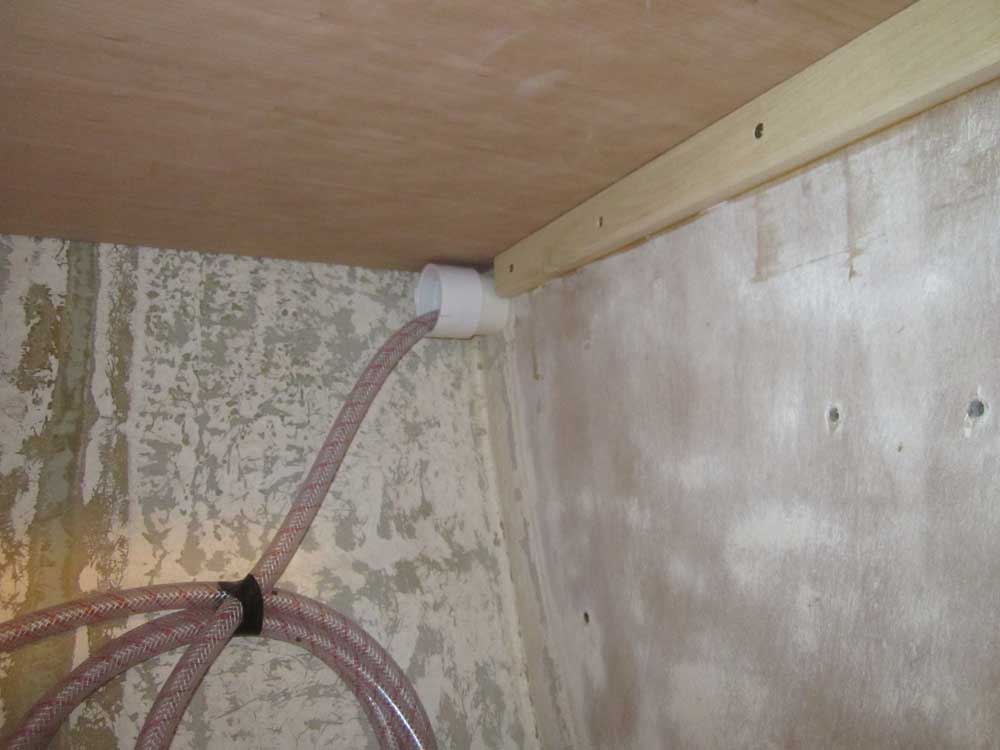
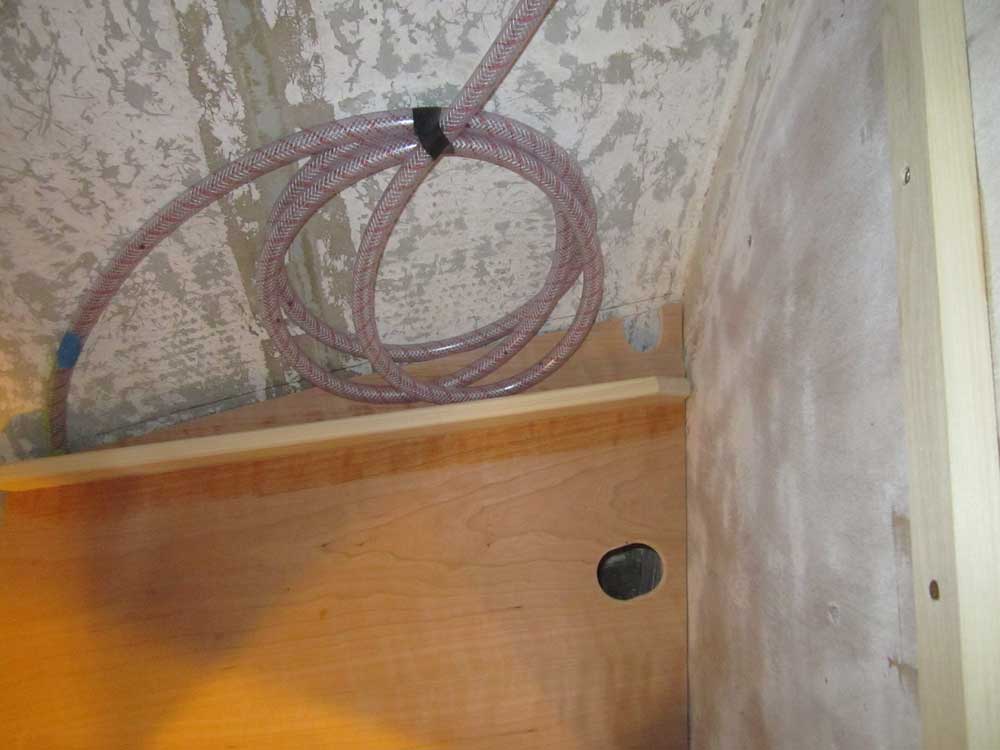
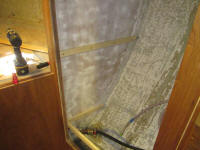
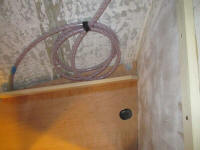
At the aft corner, I cut an opening large enough for
some chafe-reducing hose to surround the potable water
supply line leading from the forward tank to the
plumbing manifold in the engine room. With the
course for this line now determined, I'd be able to
continue leading it forward once these shelves were
installed. I also drilled another hole through the
forward bulkhead, beneath the lower shelf, to allow this
supply line to continue forward.
|
 |
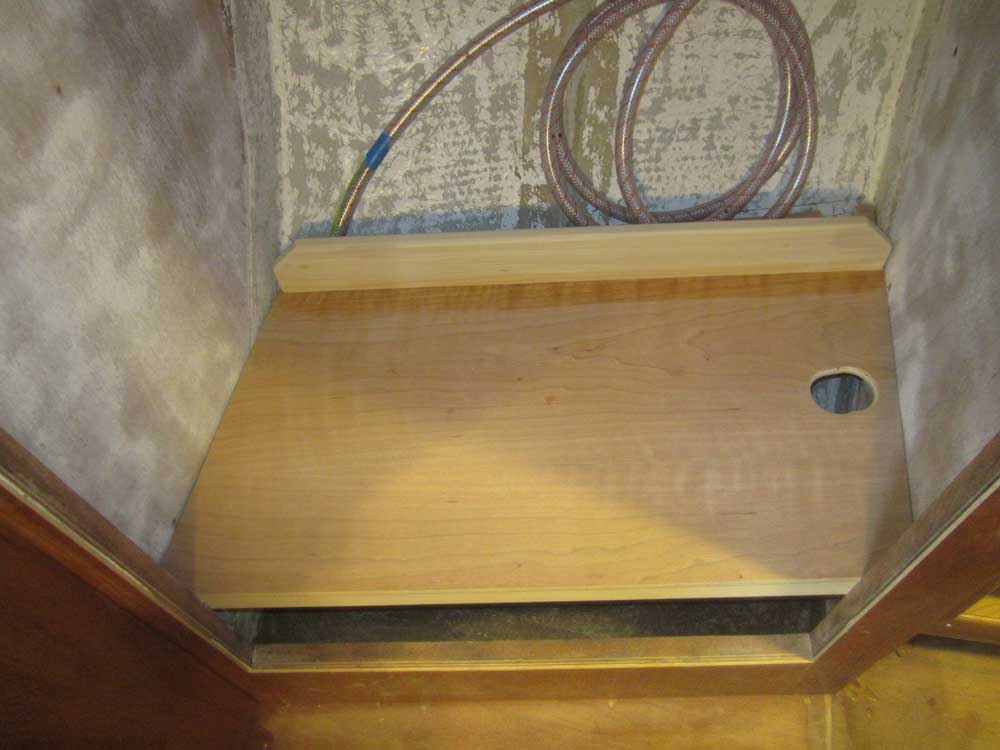
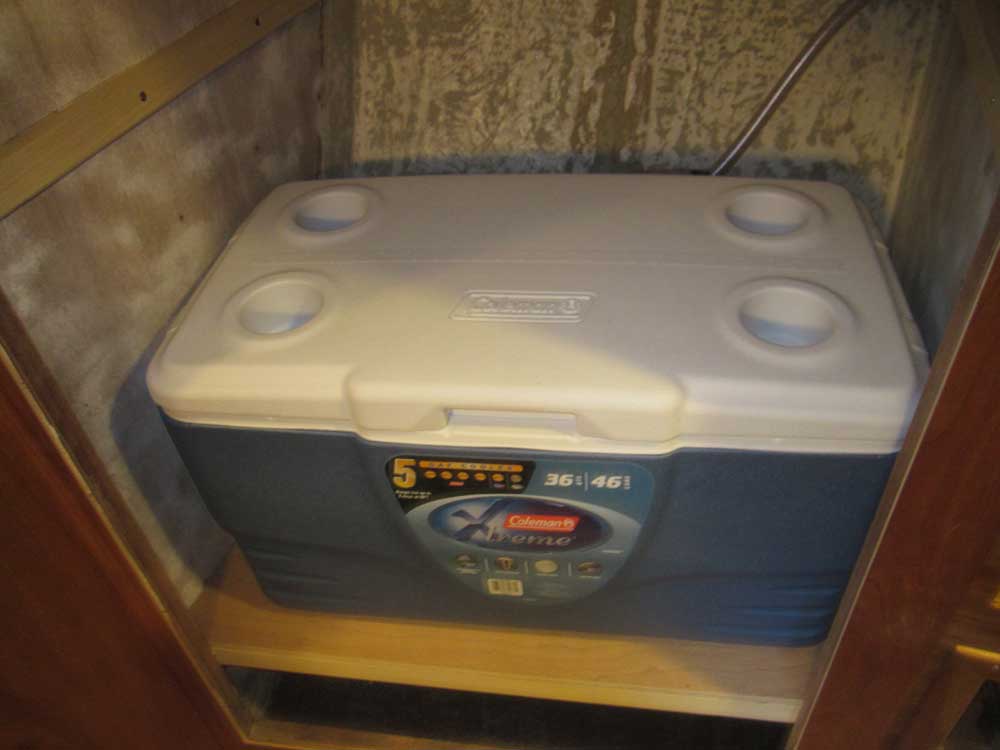
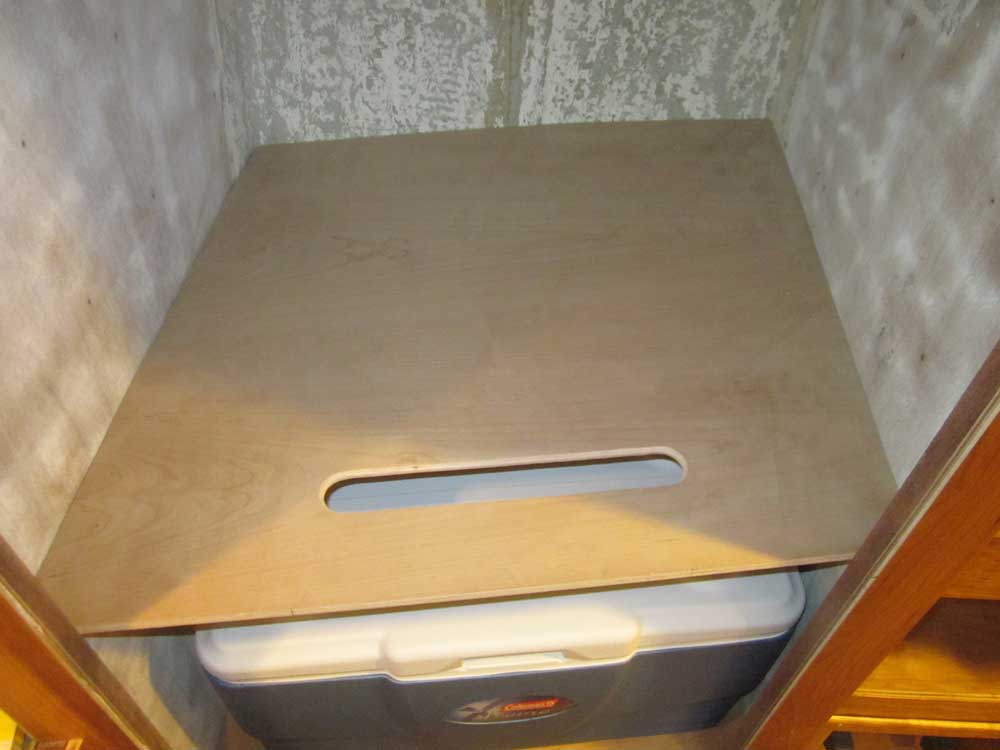
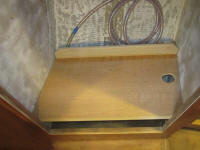
With the new upper shelf in place, I test-fit the cooler
and its lid again. Here I ran into a problem:
a protruding section of the cooler lid, incorporating
the molded handle, didn't allow the lid to open as far
as I'd hoped. This section ran into the shelf 1/2"
before the main portion of the lid, reducing the opening
accordingly. I'd not planned on this, and could
have easily made the shelf supports higher, but they
ended up where they ended up and the situation wasn't
dire enough to remove the glued-in cleats and recut the
shelf. |
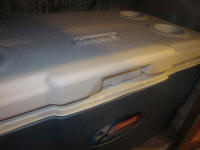 |
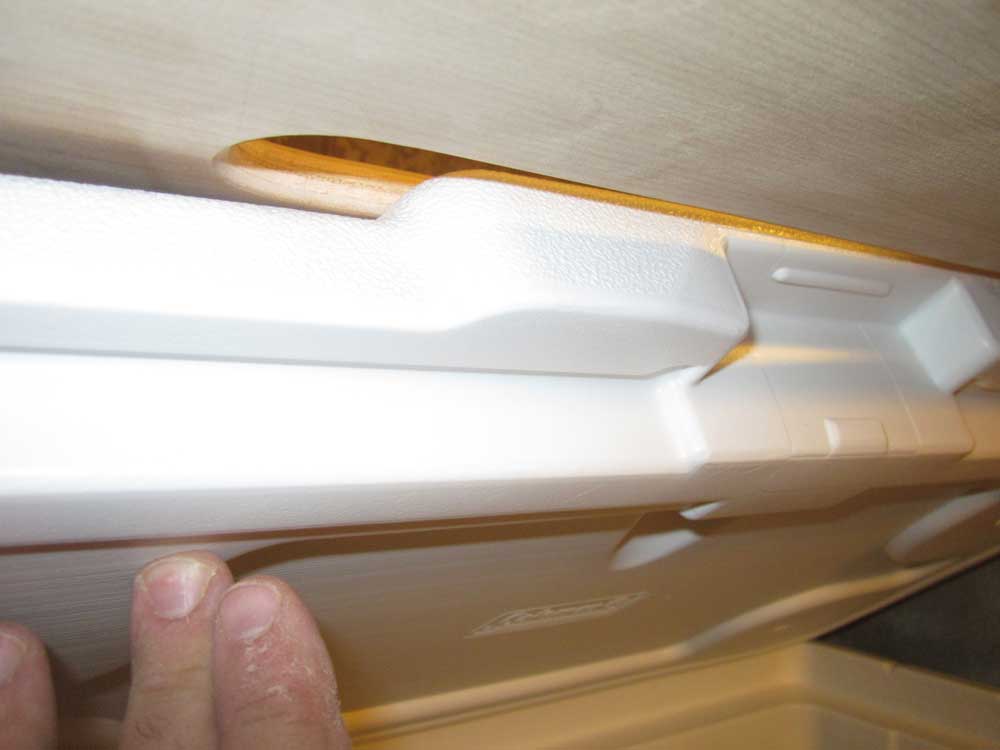
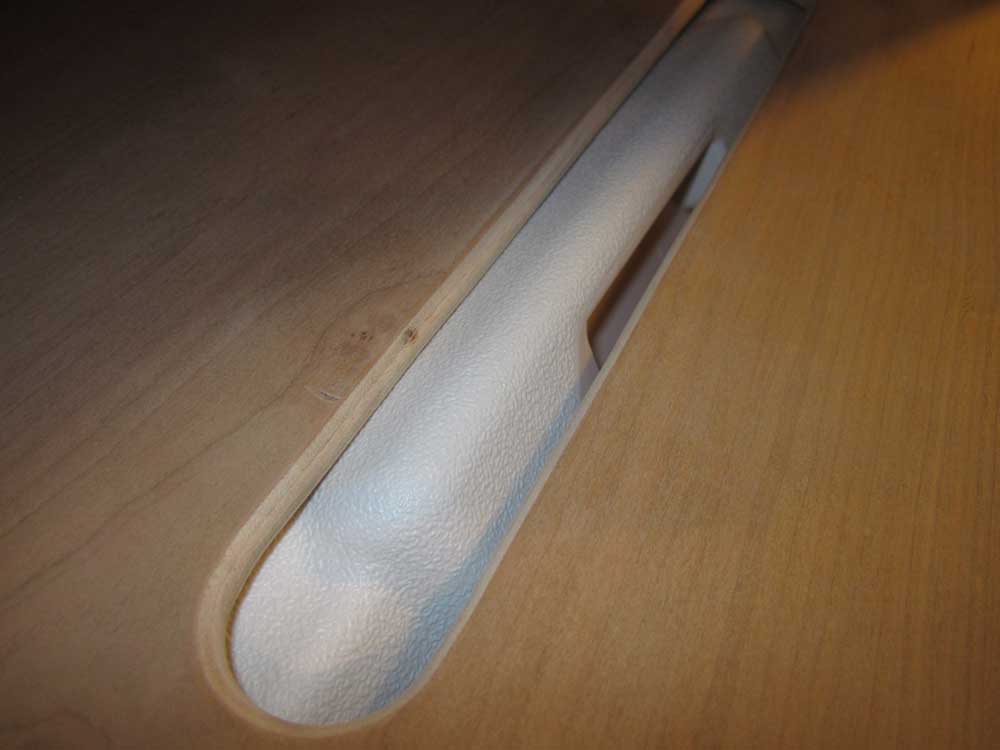
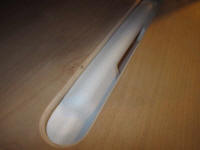
Instead, I realized that if the offending section of lid
could just pass into the shelf a little, I could remedy
the problem. To this end, I cut a 1-1/2" wide slot
just about this molded handle, which allowed it to pass
into the void and enable the lid to open to my required
6" minimum. The slot didn't bother me and wouldn't
adversely affect the utility of the cabinet for storage,
but obviously I would have preferred to have avoided it.
If needed, I'd cover this from above with a slim panel,
but for the moment didn't plan on doing so. |


 |
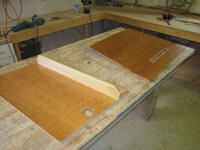
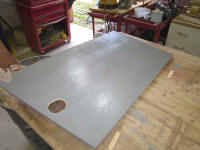
Since I had these nice cherry shelves, I decided to
varnish the shelves for their final finish, so I removed
them to the bench for this chore. I painted the
underside of the lower shelf for protection. |
 |
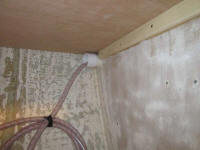
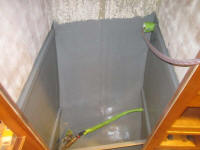
Meanwhile, I painted out the lower section of the locker
with gray Bilgekote, covering all areas, and also
painted the entire back (hidden) side of the cabinet
frame. The upper section, above the shelf, would
receive aromatic cedar paneling, with insulation against
the hull and possibly a simple fabric liner against the
inside of the cabin trunk and overhead. |
 |
| |
Total Time Today: 3.25 hours
|
<
Previous | Next > |
|
|