Project Log: Thursday, January 5, 2012
I started my day's work with the simple chore of
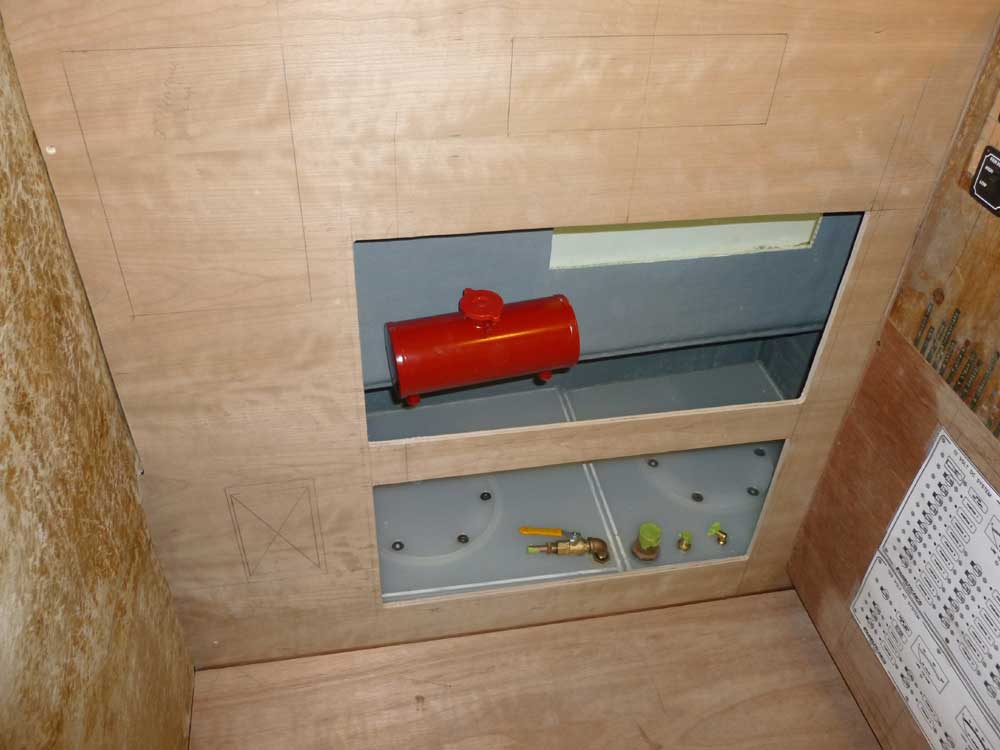
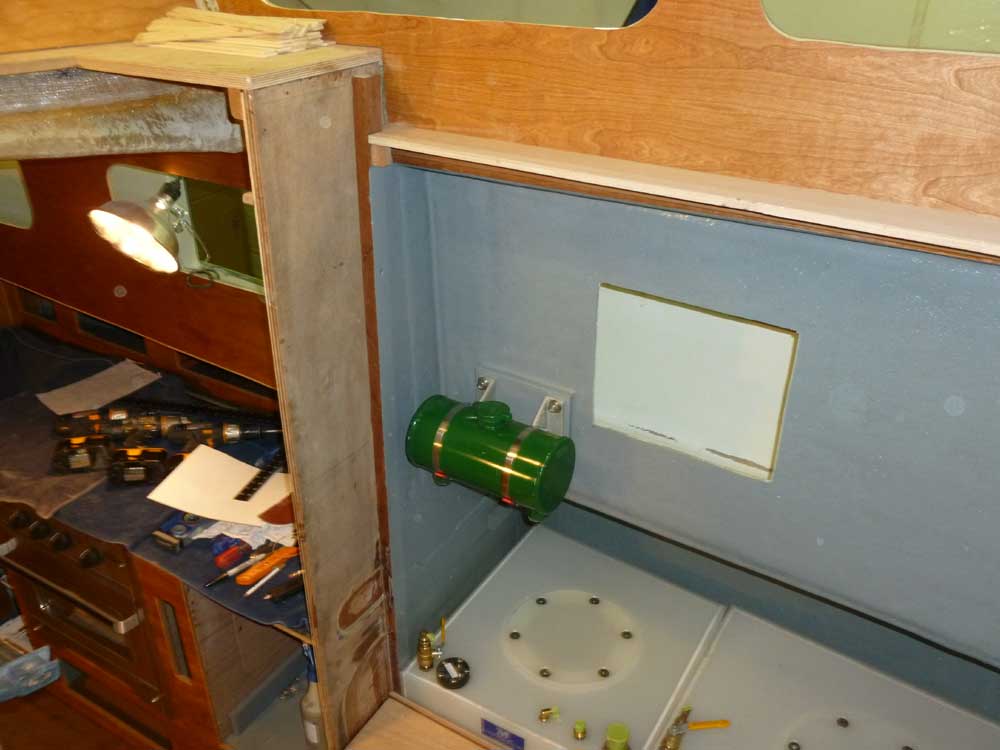
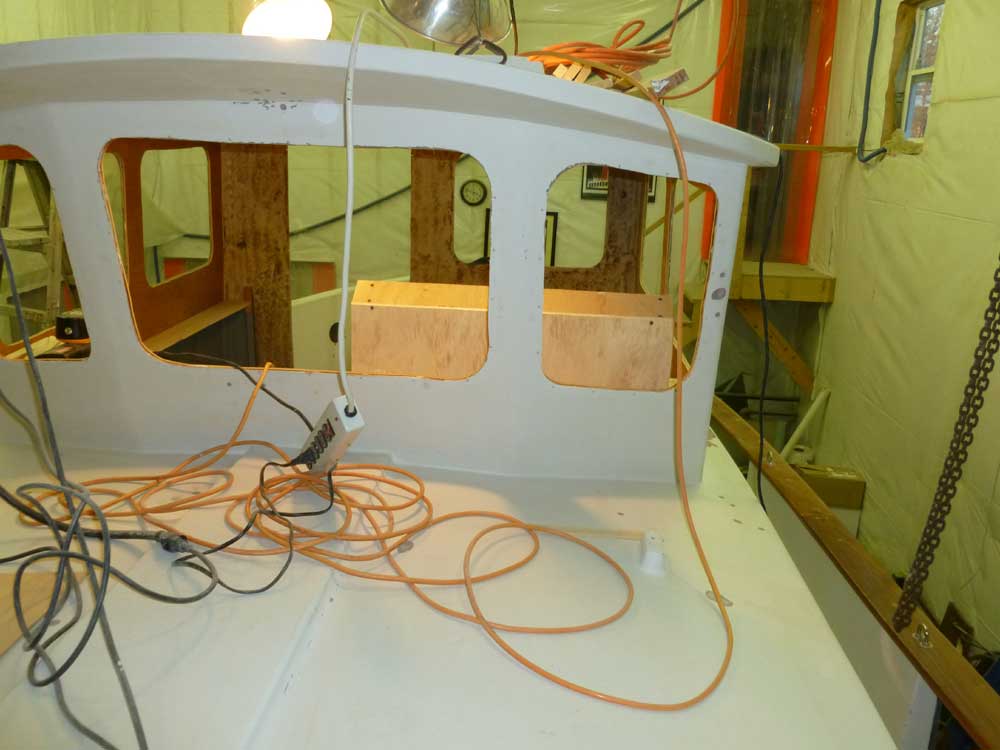
installing the two remote coolant tanks on their
respective brackets. I promise that port and
starboard had nothing to do with my color choices, but
that's how it happened to turn out, with the engine's
tank--which I painted red to match the engine--on the
port side and the heating system's tank--which I painted
green because I had the color on hand--on the starboard. |

 |
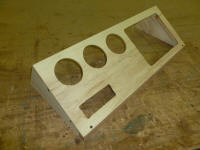
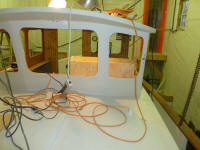
My original 30° angled electronics box looked nice, but
it seemed clear that the low angle didn't work in this
instance; the displays would end up harder to see and
use, even though I liked the low profile the box
allowed. Before rejecting it completely, however,
I went ahead and cut out the various openings for the
electronics, partly because I thought I might reuse the
panel template and partly to give me a better visual
idea of how the displays would look. |
 |
Using the existing mockup as a guide, I played around
with the display angle, propping the mockup first to
45°. This was better, but I thought I could (and should)
go steeper still. |
 |
I propped the display up to a 60° angle, which looked to
me to be about the right angle for best functionality of
the electronics. It was, after all, function first
in this situation, though I didn't plan to abandon
aesthetic concerns in the process--but not at the
expense of pure function. |
 |
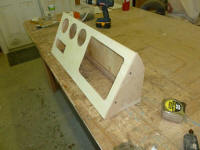
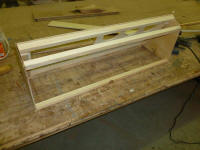
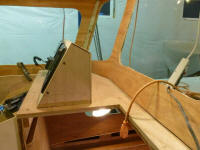
Deciding to proceed with a 60° mockup, I started from
scratch and built an entirely new one. I didn't
reuse the original front panel since on the new version,
I increased the width of the panel by one inch at the
bottom, thinking initially that the additional space and
height would be useful.
I made an error in the layout and construction of this
version of the mockup; the angles of the side pieces
were all wrong, and although I continued half-heartedly
through to completion to test the concept, I knew that
this version wasn't right, and I abandoned it. |
 |
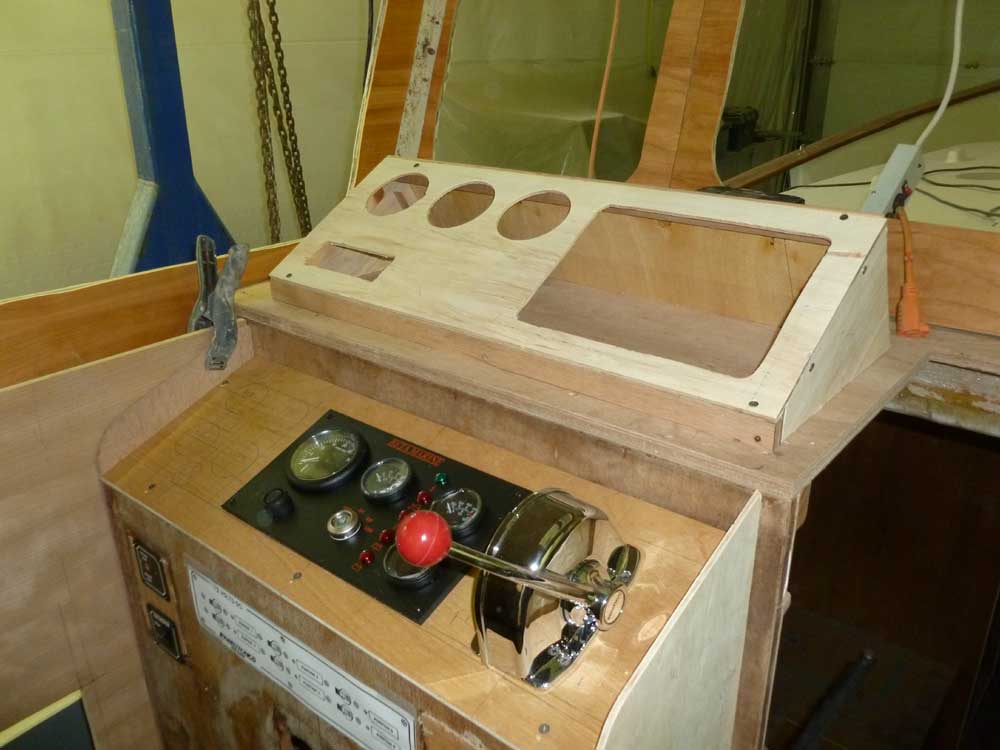
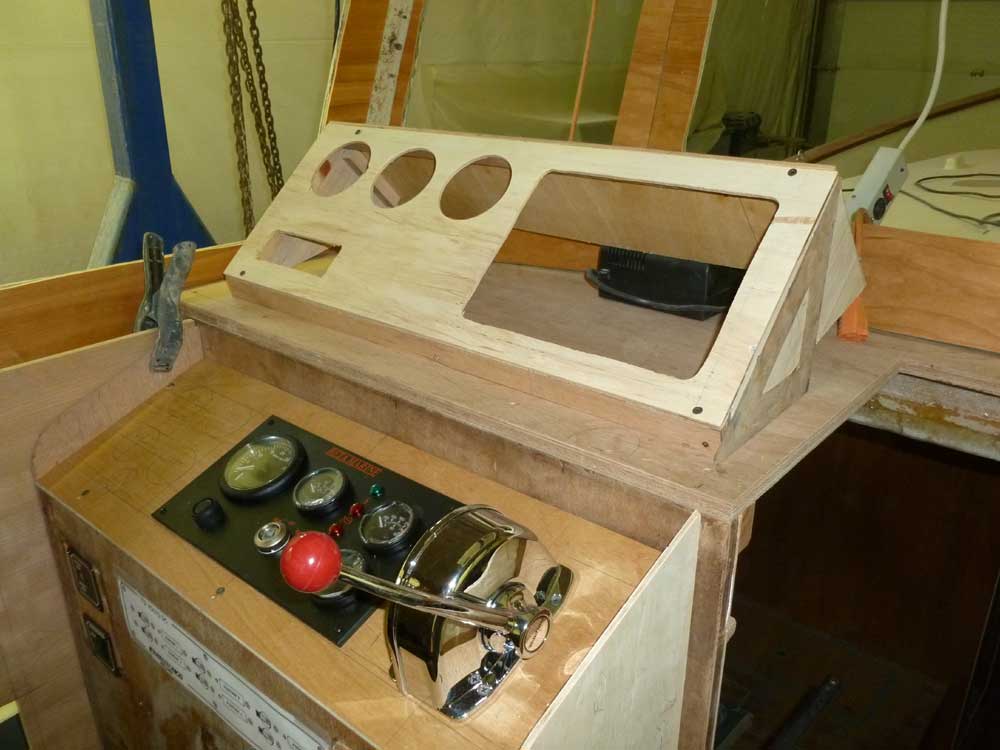
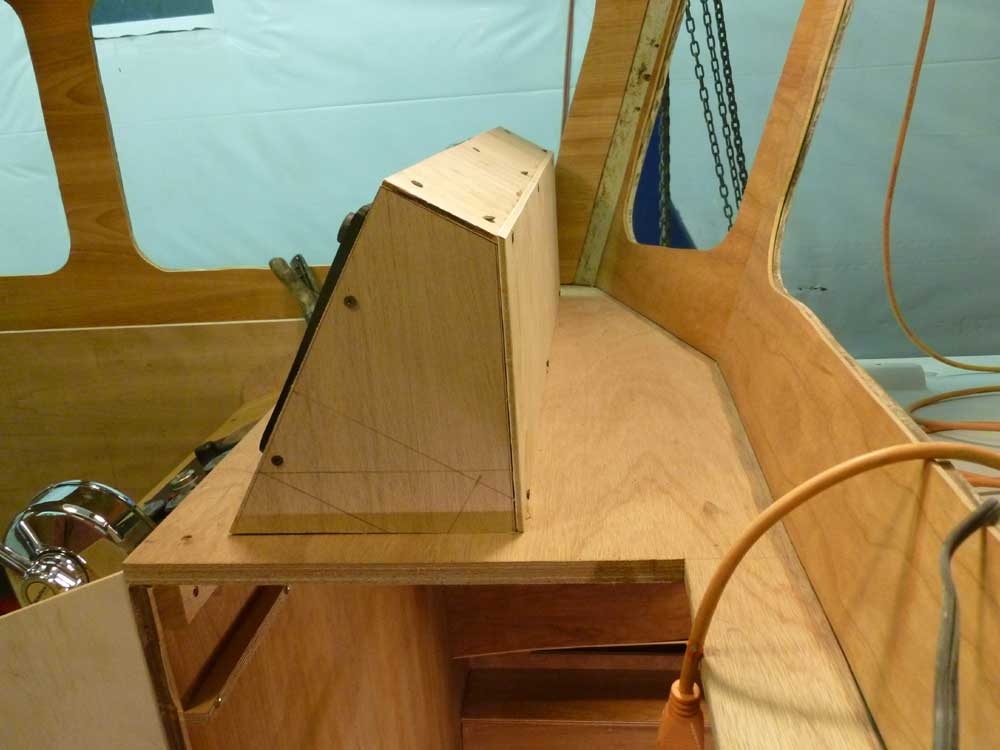
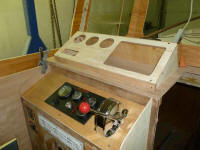
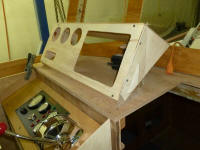
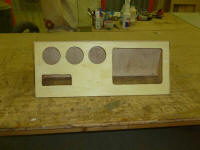
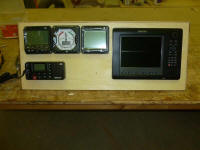
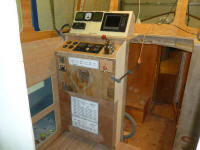
Building off the basic idea, I built an entirely new
version, reusing only the front panel. To minimize
forward-facing visual impact while still providing me
with the depth of box and clearance required for the
electronics themselves, I extended a 3" wide top section
at 90° off the front panel, then dropped plumb to the
base from there. This was what I'd been going for
in the first version just above, but I'd somehow gotten
the angles wrong.
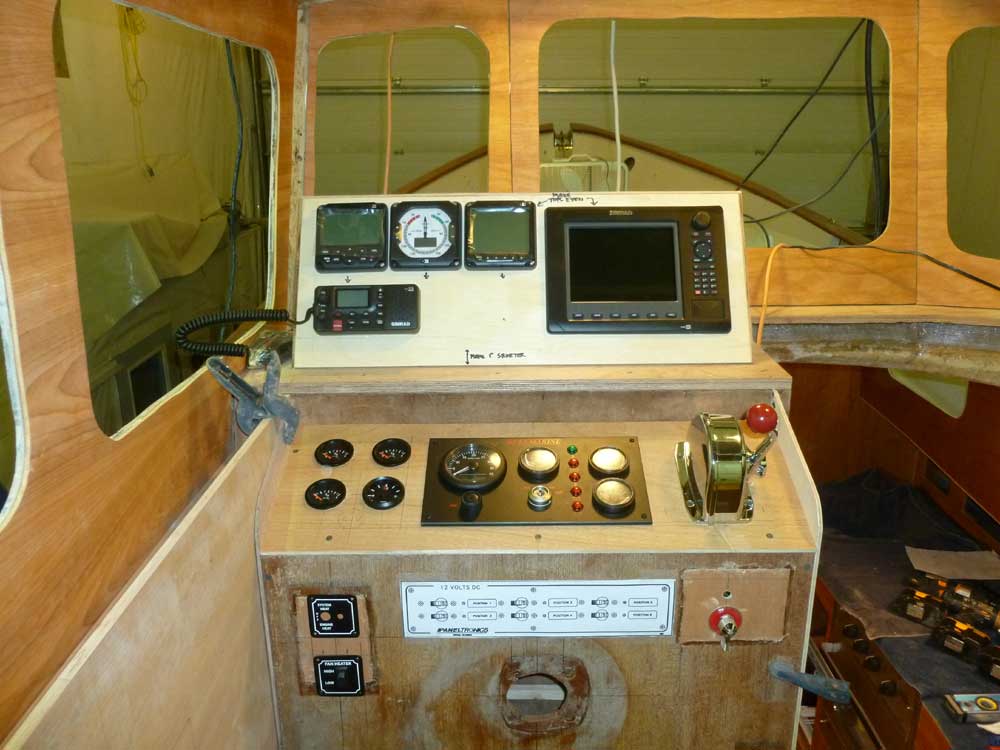
Up in the boat, the new version fit well in the space.
Though at first glance it seemed tall, I soon became
used to it, and from a practical standpoint it did not
impede the view forward at all. |

 |
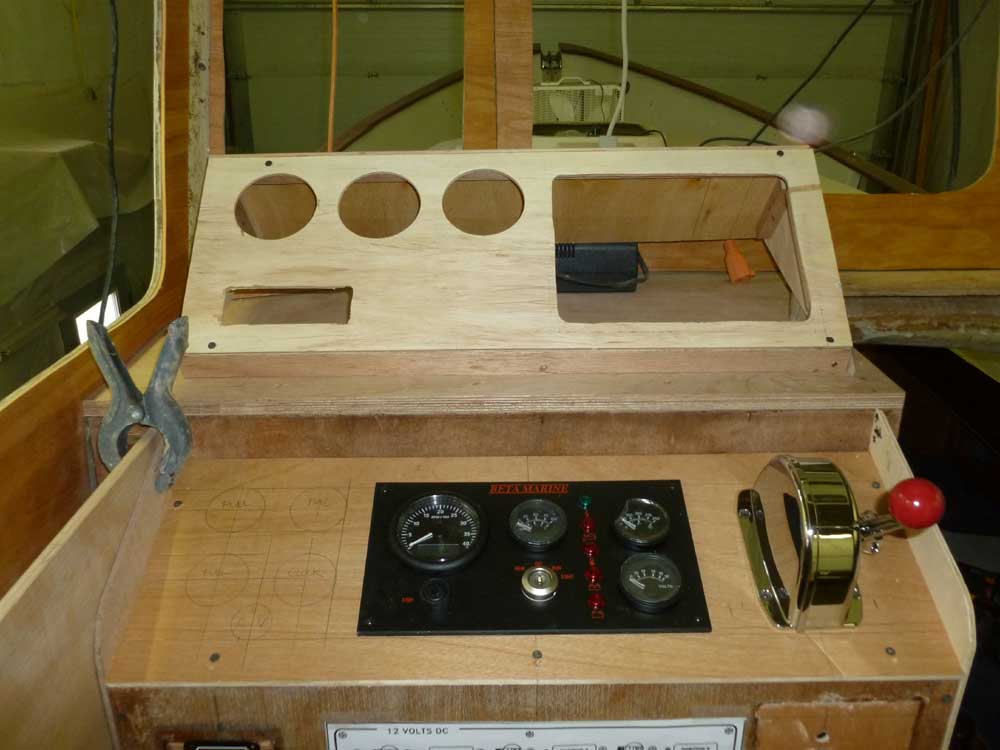
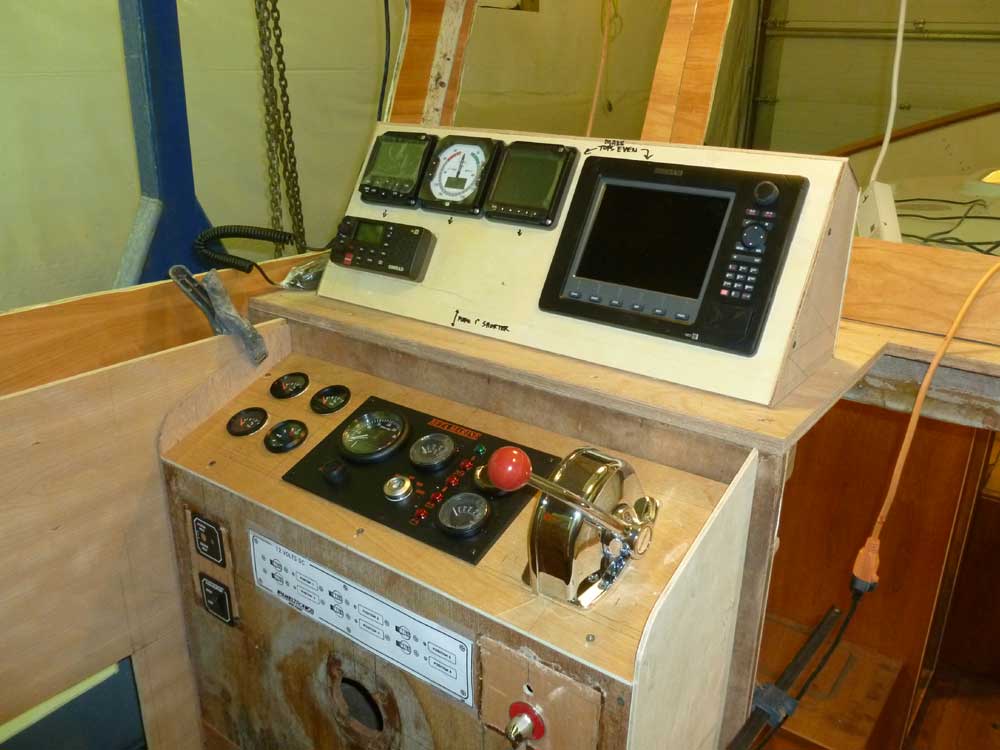
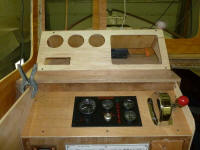
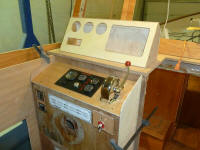
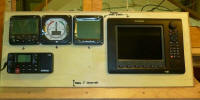
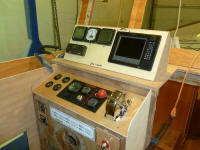
Feeling that the overall height and angle was workable,
I installed the actual electronics in the box.
Immediately, I noticed a problem: the three gauges
were too high in relation to the large display.
This error went back to the first mockup I'd built
yesterday, when I switched the gauges' orientation from
vertical to horizontal all in a row. To mount two
of the gauges vertically above one another, the top one
had had to be at the height shown below; I'd not thought
to check this alignment with the large display when I
changed my thinking. |
 |
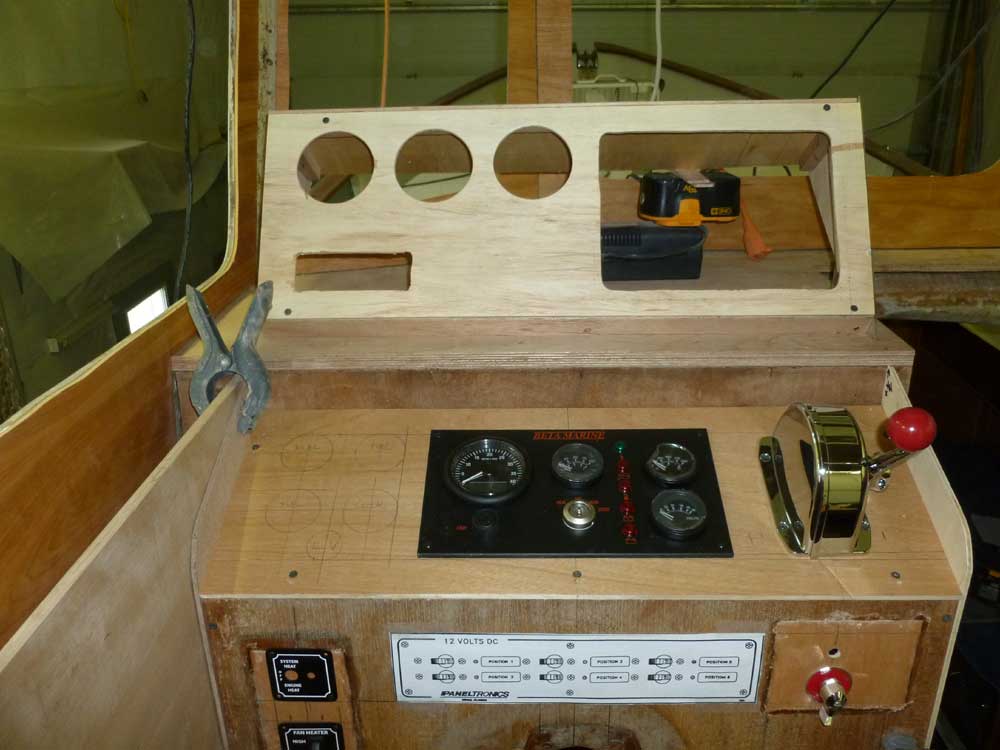
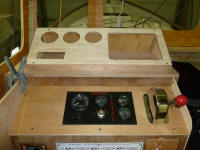
I didn't see a reason to rebuild the template to reflect
this change, but I did go ahead and make some marks
right on the face of it to suggest the changes when the
time came to build the real deal. I also noted
that the additional inch I'd added to the bottom of the
panel was not only unnecessary, but undesirable, so I
made a note to cut the height down. |
 |
Despite the flaws in the mockup (that's why I took the
time to build the mockups, after all), I thought I was
pleased with the overall arrangement and positioning,
all subject to minor manipulations later. |

 |
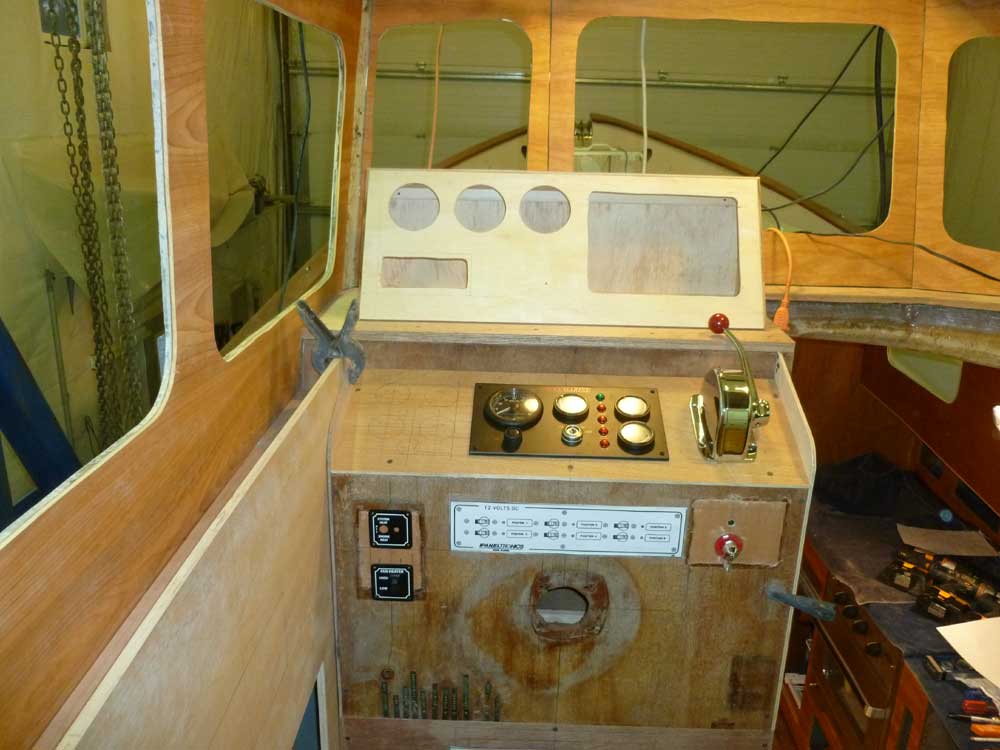
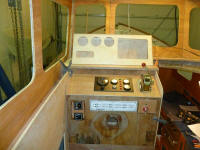
The layout of this version of the box left space ahead
of the box on the dash, between it and the windshield.
This seemed a bit awkward and wasteful, but I didn't
know yet how to best deal with it (if at all). One
more thing to add to my never-ending mental list of
things to think about. |

 |
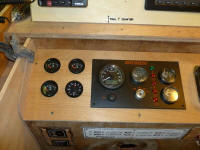
A year ago, when I was involved in the new tankage
project, I'd specified and installed fuel level senders
in the three fuel tanks, thinking that at least a rough
idea of the fuel level would be handy, though the odd
shape of the tanks would likely eliminate true accuracy;
but to know to switch tanks at least when the gauge read
1/4 full or something would be helpful. At best, such
gauges are not known for accuracy anyway.
At the time, I didn't purchase the gauges, as I saw no
need to spend the money then, though I'd selected the
gauges I planned to use. Thinking now was a good
time to buy the gauges as I proceeded with my panel
layout, earlier in the week I'd attempted to order the
gauges--only to find that they'd been discontinued.
To avoid a similar problem again, I found other gauges
that were appropriate and ordered them right away.
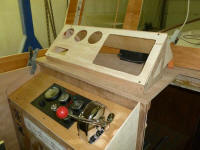
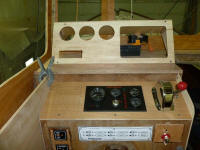
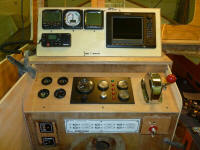
With these new gauges on hand--three fuel and a silly
little clock to keep the layout symmetrical--I drilled
2-1/16" holes in the gauge panel and slipped the gauges
in temporarily.
I'd hoped to exactly match the gauges in the adjacent
engine panel, but ultimately decided against it when I
discovered that the VDO Ocean Line gauges to match the
tachometer were priced far too high for the value I
placed in the fuel gauges (a convenience only), and the
Murray gauges featured in the rest of the panel were
proving too inconvenient to track down, again balanced
against my need and reliance upon these fuel gauges.
So I purchased a less expensive and easily obtainable
version, also from VDO.
Looking at the installed gauges, it occurred to me that
they might be better centered vertically in relation to
the gauge panel, though I'd also penciled in a 12-volt
outlet just beneath the existing gauge positions.
Decisions, decisions. |
 |
| |
Total Time Today: 4.5 hours
|
<
Previous | Next > |
|
|