Project Log: Saturday, November 17, 2012
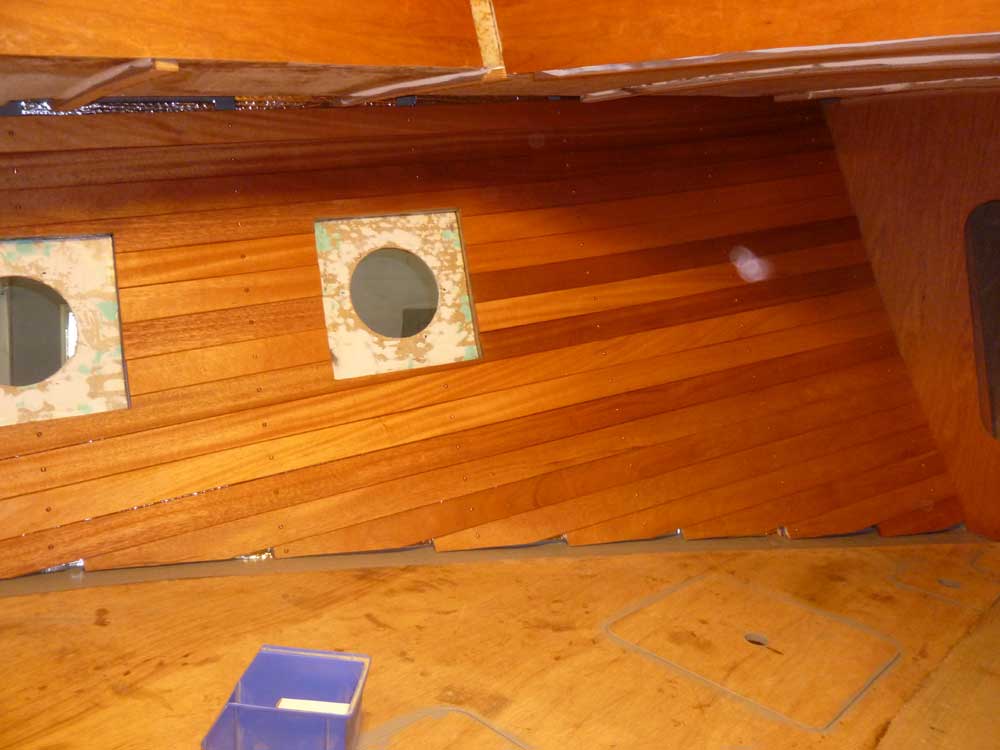
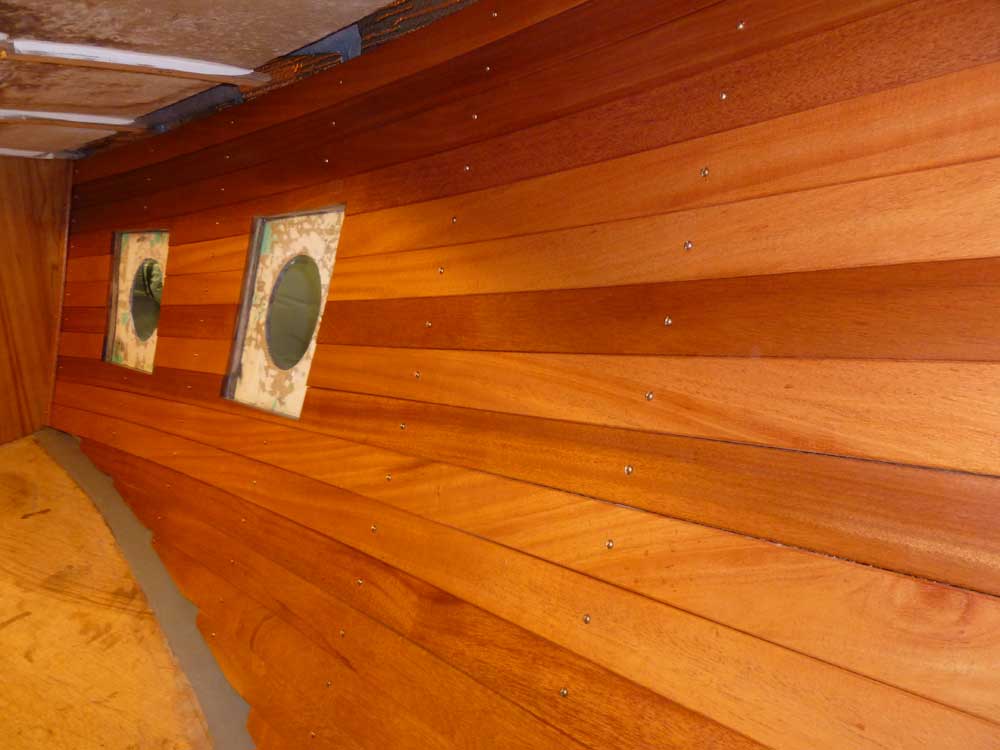
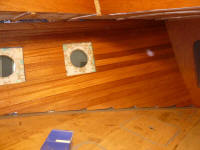
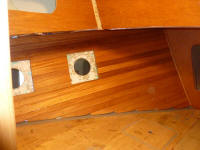
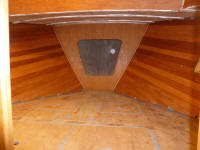
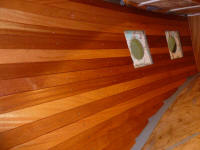
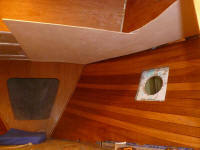
During the morning, I finished the ceiling installation
in the forward cabin. Each piece on each side
required angled cuts at the aft end where the strips
died off into the berth platform. These cuts would
not be visible once the mattress was in place, and
tapering the ends out to a sharp point to hide these
small gaps would have left the pieces too fragile and
unsupported. |
Before trim
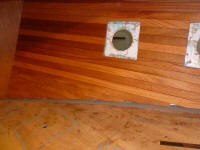 |
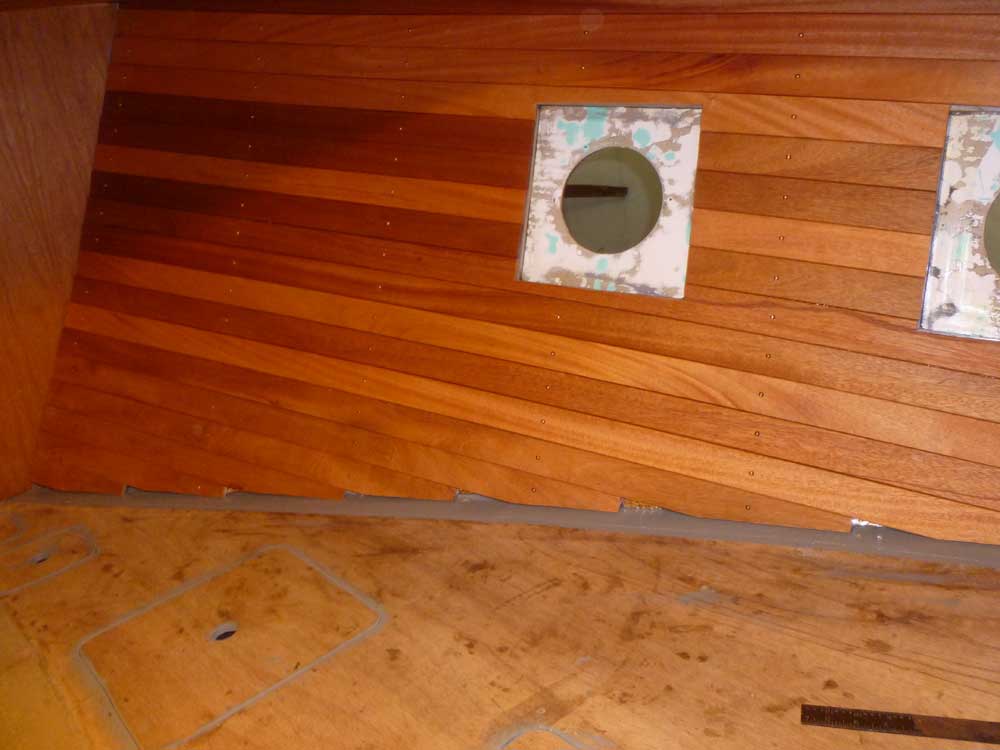
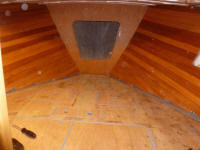
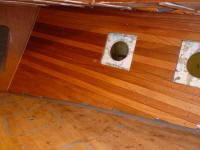
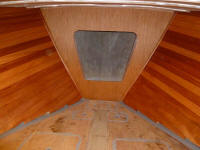
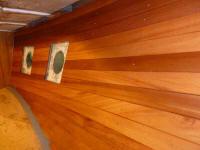
Afterwards, from leftover ceiling stock I milled slim
trim pieces to finish off the ends fore and aft.
Then, I applied additional tung oil to all areas,
something I'd continue doing in the coming days until I
achieved the finish I was after. It took only 5-10
minutes to wipe on a coat to all areas. Later on,
I applied a third coat. Sometime coming up, I'd
have to trim out the deadlight frames, but I didn't feel
like fussing with that just yet. Soon. |
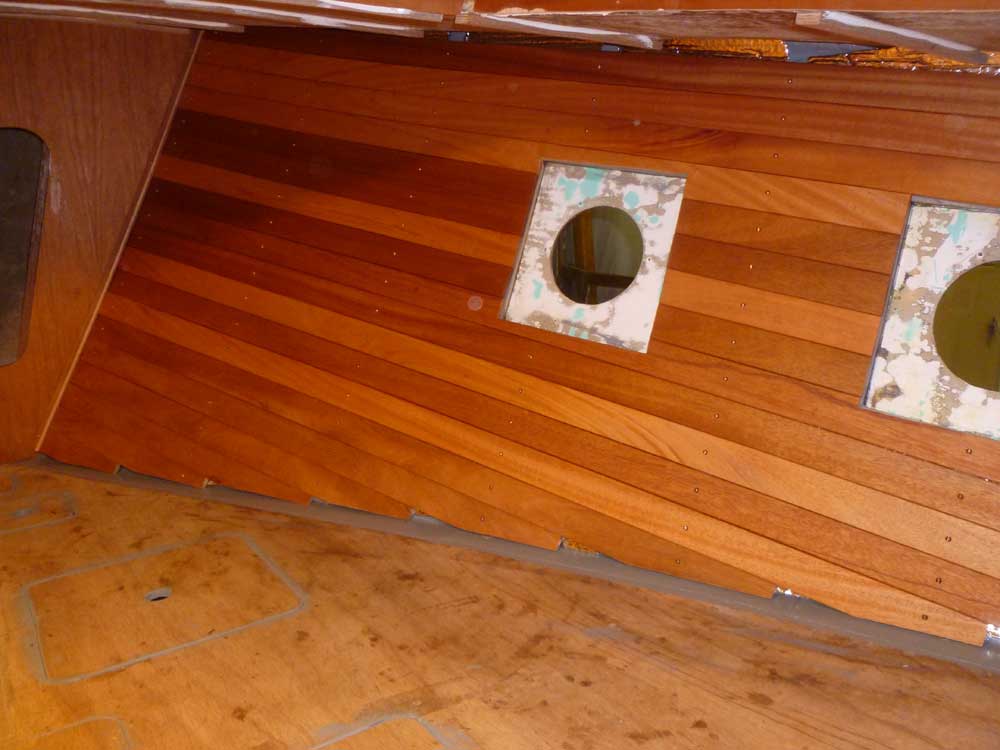
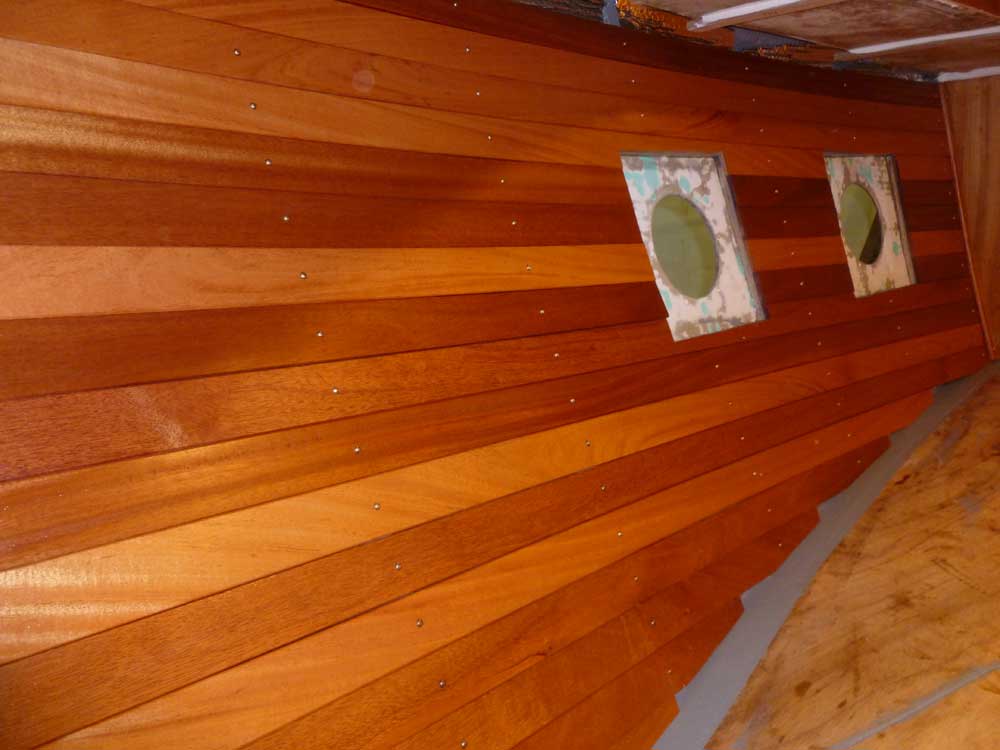
Trimmed and with 2 coats of tung oil
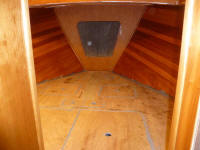
3 coats of tung oil

 |
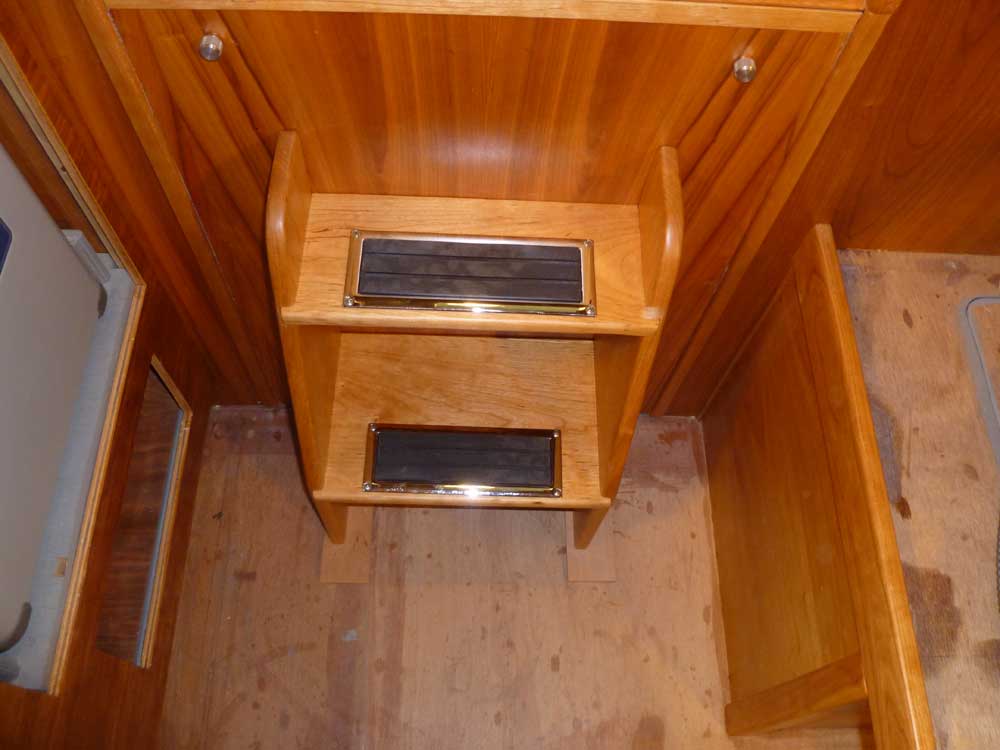
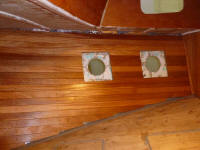
At the companionway ladder, I installed a pair of step
pads (chromed frame with rubber insert) to add some
non-skid capability and prevent wear on the treads.
These required four screws each. |
 |
What I wanted to do next was finish up the trim in the
forward cabin: the cabin trunk panels required
corner trim, some of the last remaining trim in the
cabin. Completing the trim would allow me to
continue related steps to complete that compartment,
such as final varnish on these areas. However,
before I could do that, I realized I needed to work on
the overhead, a job I'd been specifically not
looking forward to ( i.e. dreading) forever.
To begin, I struck a centerline down the overhead, then
made a series of measurements so I could cut a rough
template of one half of the overhead (I planned--hoped,
maybe--to build the overhead here in just two sections,
split down the centerline) from junk plywood.
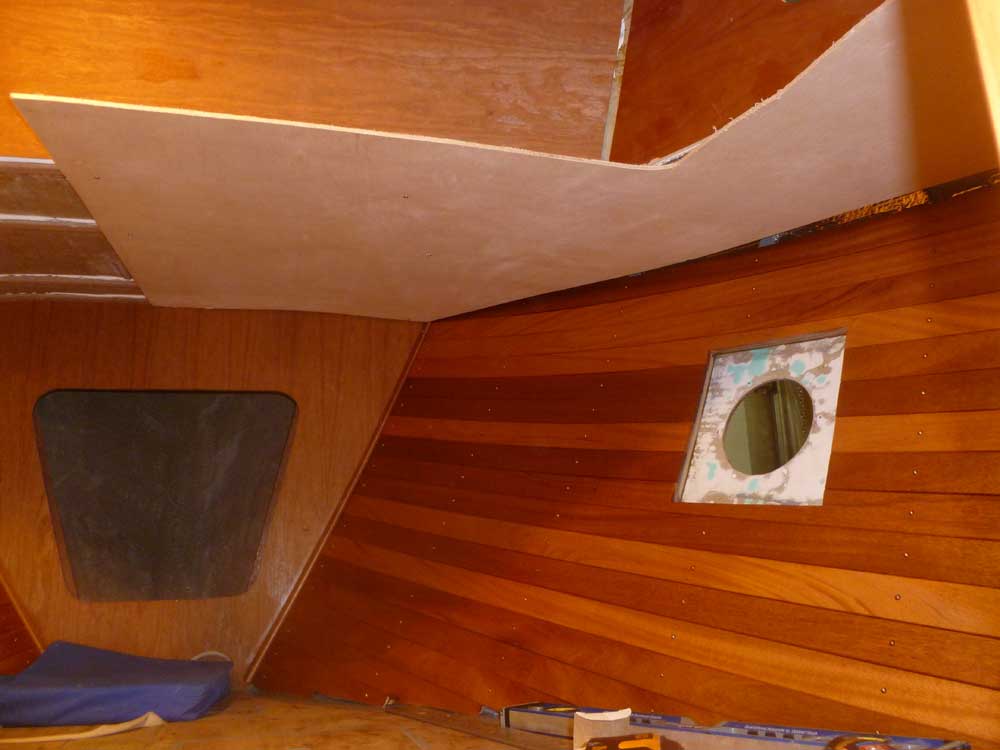
As soon as I brought the template into the
boat--slightly oversized so I could offset it 2" from
the centerline and scribe the outboard edge, and I also
left an overhang beyond where the cabin trunk ended--I
remembered why I'd been dreading the project. It
was difficult to fit the large piece into the forward
cabin, but eventually I managed to get it up there and,
with difficulty temporarily tacked in place along my
reference marks.
|
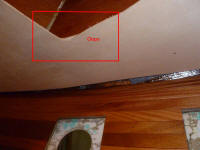 |
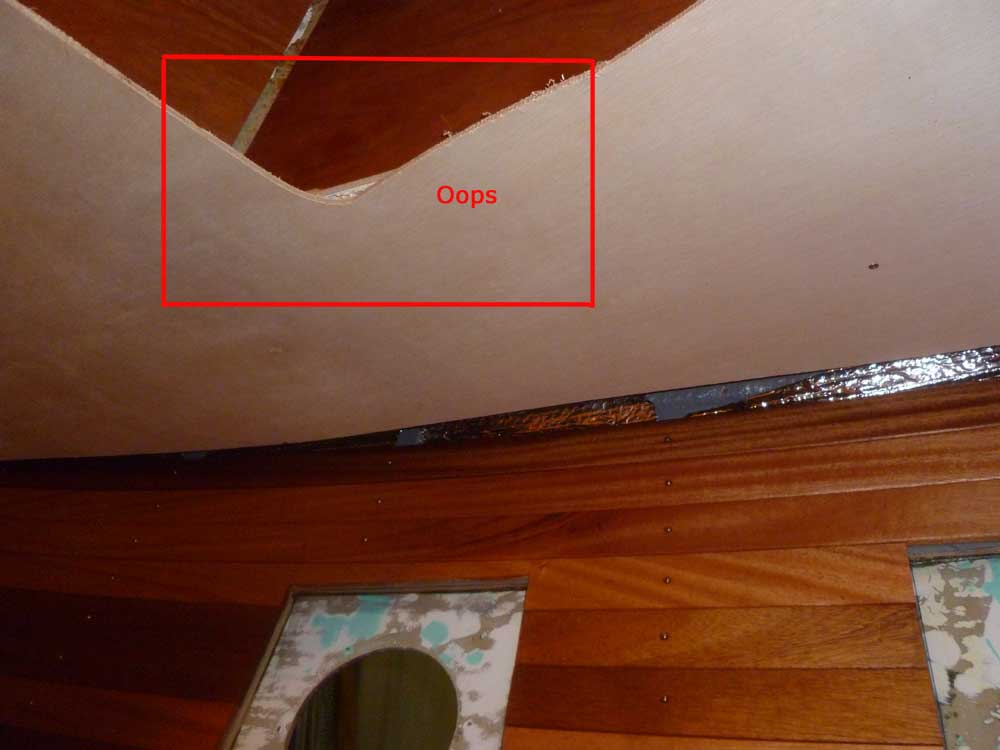
Apparently my measurements at the aft end had been a bit
off, since the gap there was wider than I'd anticipated,
and I'd made a mistake at the forward end of the
narrower sidedeck section, removing too much material in
advance, but nonetheless I was able to scribe the
outboard edge at a 2" offset, which was the main point
of the exercise. Afterwards, I removed the sheet
for trimming before testing the fit again (I seem not to
have any pictures of the re-fit).
I wasn't that happy with the fit despite all this, since
the initial template had basically gone wrong from the
getgo, but I'd learned a few things of value that I
hoped would make the continuation of the job a bit
easier next time. I thought the forward cabin
would be the toughest section in the boat, thanks tot he
tight quarters and unusual shape, so it was a good place
to make my mistakes and learn. |
|
Total Time Today: 6.5 hours
|
<
Previous |
Next > |
|
|