Project Log: Sunday, November 18, 2012
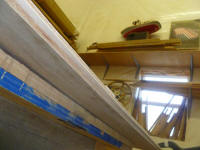
With a new outlook on the overhead, I began the new day
by ripping 1-1/2" plywood strips out of the original
template and some additional plywood. I'd use
these strips to make a skeletal template of the
overhead, a method I normally didn't employ since it's
more labor intensive and I usually didn't find it
necessary. But in this case, it seemed this sort
of template construction made the most sense for this
challenging area.
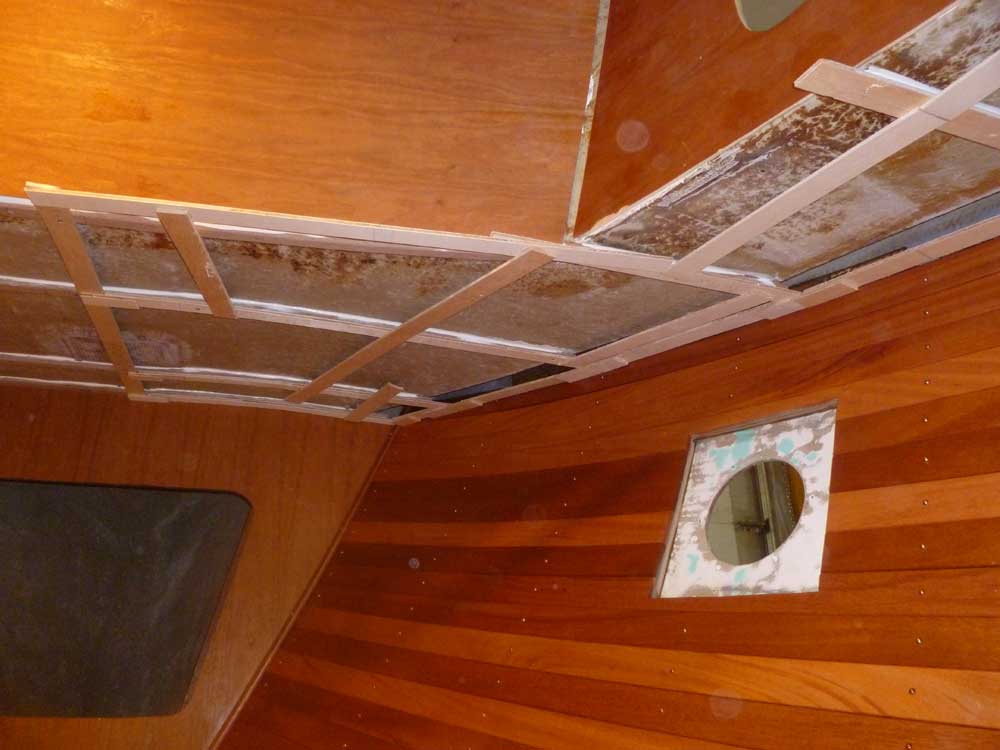
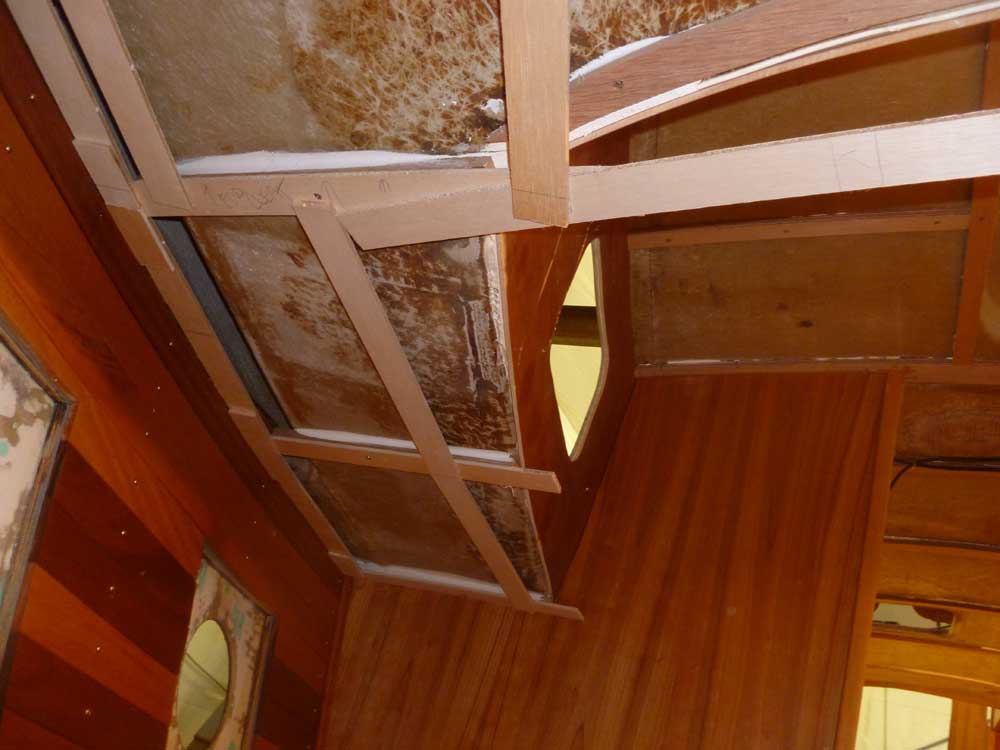
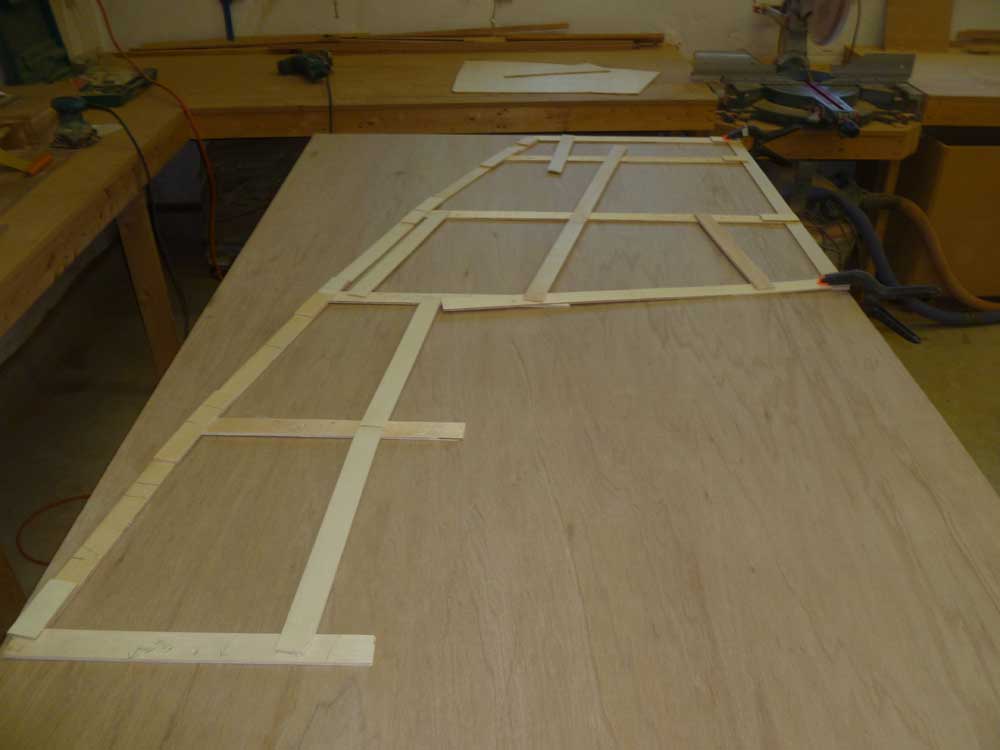
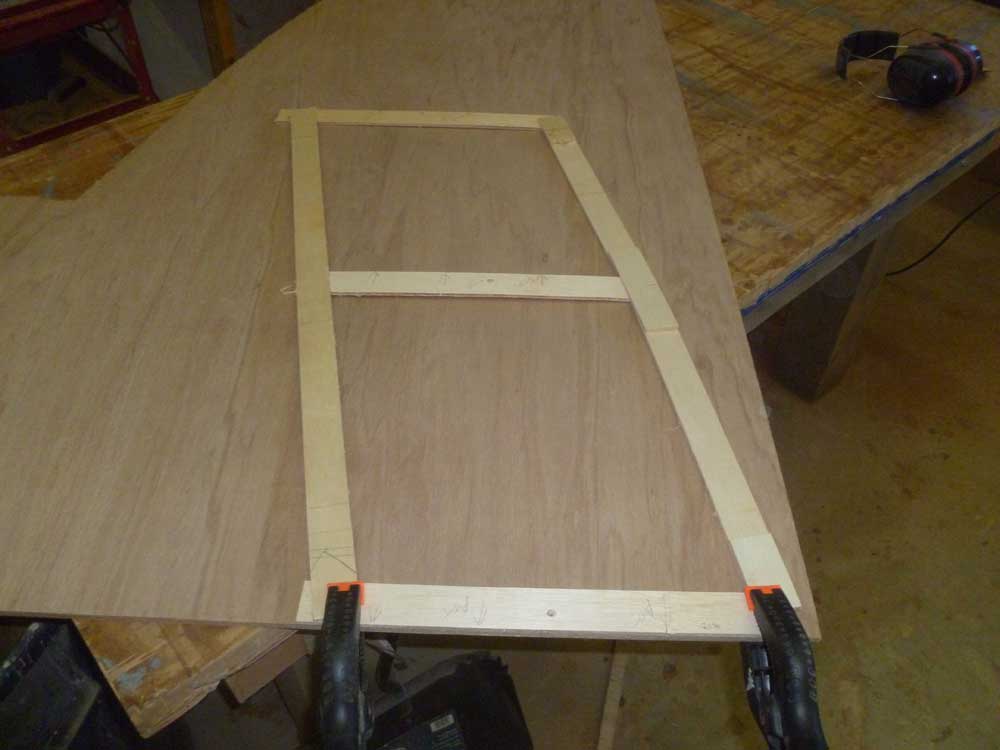
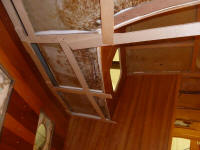
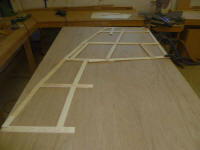
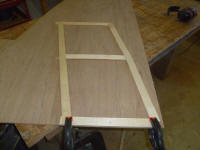
Armed with a pile of strips, a saw, and a glue gun, I
built a template of the starboard half of the forward
cabin overhead. I temporarily attached various
strips to the overhead supports with screws as needed,
beginning with a strip down the centerline, then one
down each of the transverse overhead supports before
gluing in shorter pieces to follow the curve of the
outboard edge, along with additional sections to hold
the whole thing together as needed. I aligned one edge
of the template strips with an edge of the support
strips for later reference, as I could use these to mark
out screw locations to streamline installation of the
actual overhead. |
 |
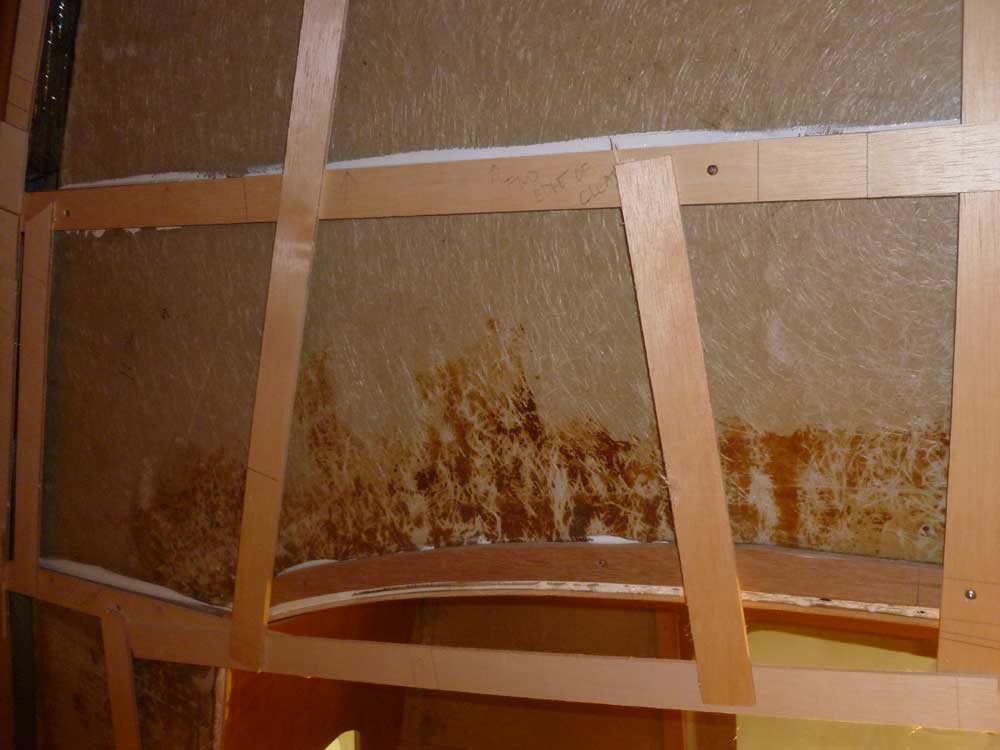
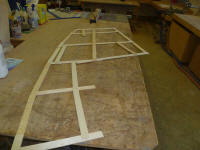
I carefully removed the template from the boat.
I'd made this template in one piece, but once I removed
it from the boat--with difficulty--I decided I'd have to
do the overhead in two sections per side: I knew
I'd never be able to reasonably get the heavier plywood
overhead into place in a single piece. Much as I
wanted to build this part of the overhead from only two
pieces, it simply wasn't going to happen without much
frustration, difficulty, and the likelihood of damage to
surrounding surfaces. |
 |
To ensure that the final fit wasn't too tight, I held
the template slightly off the straight centerline cut,
using a scrap of the 3/16" thick plywood, which would
leave a gap between the two halves and allow easier
removal and installation; there'd be trim strips to
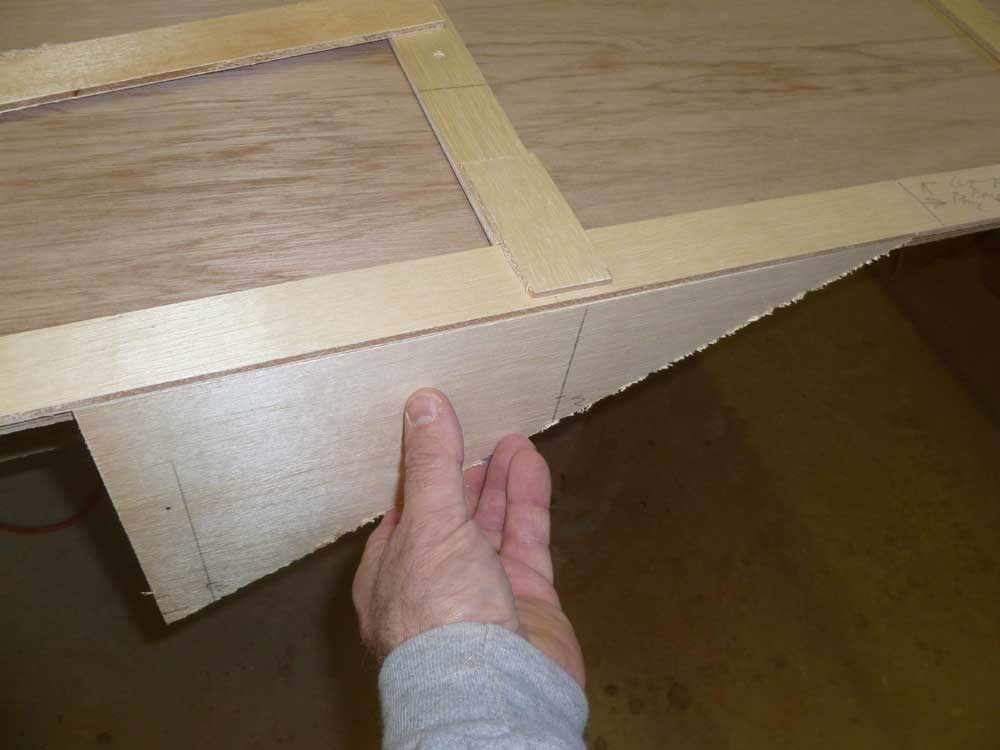
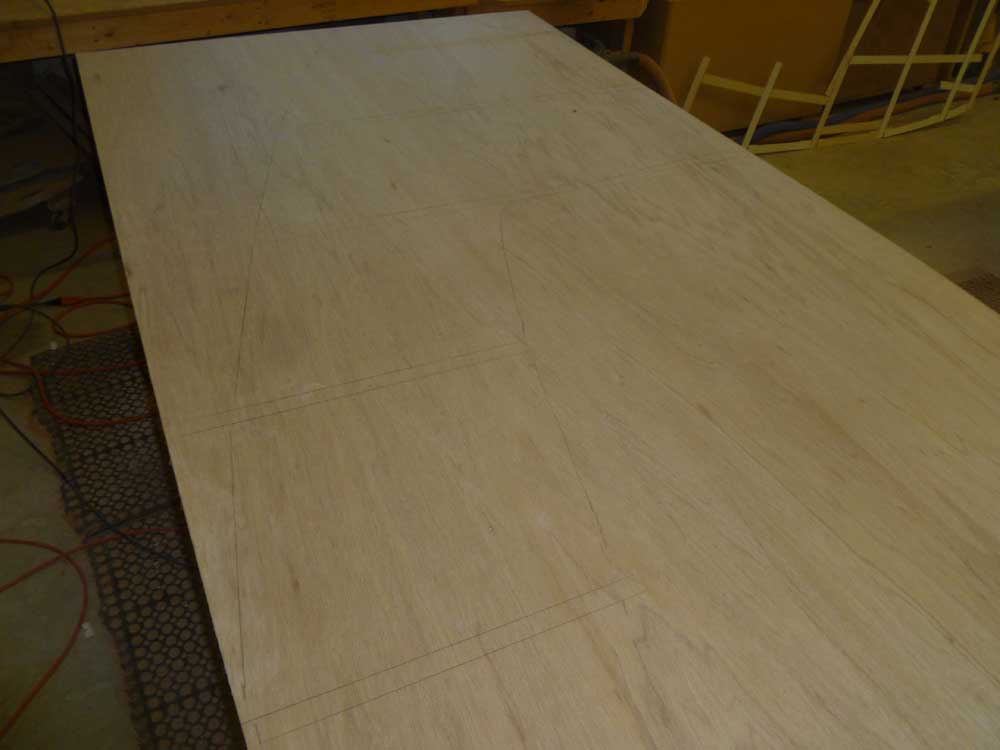
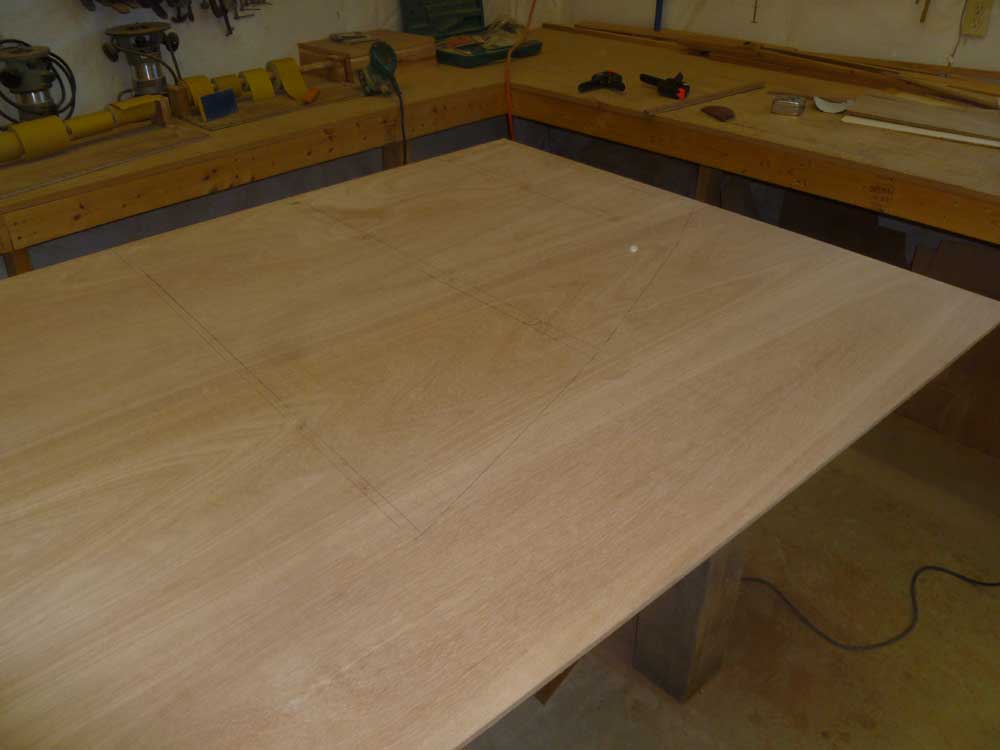
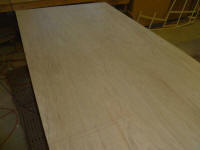
cover this seam, and others. I traced the template
onto a sheet of 9mm marine plywood, including the
support strip locations, and cut it out, then cut the
section into two pieces--a larger section for the wide
forward section, then a smaller piece for the sidedeck
extension. For now, I left excess material where
the sheets would hang out past the cabin trunk so I
could mark those cuts in place. I marked and
drilled fastener holes where I planned to install
screws. |

 |
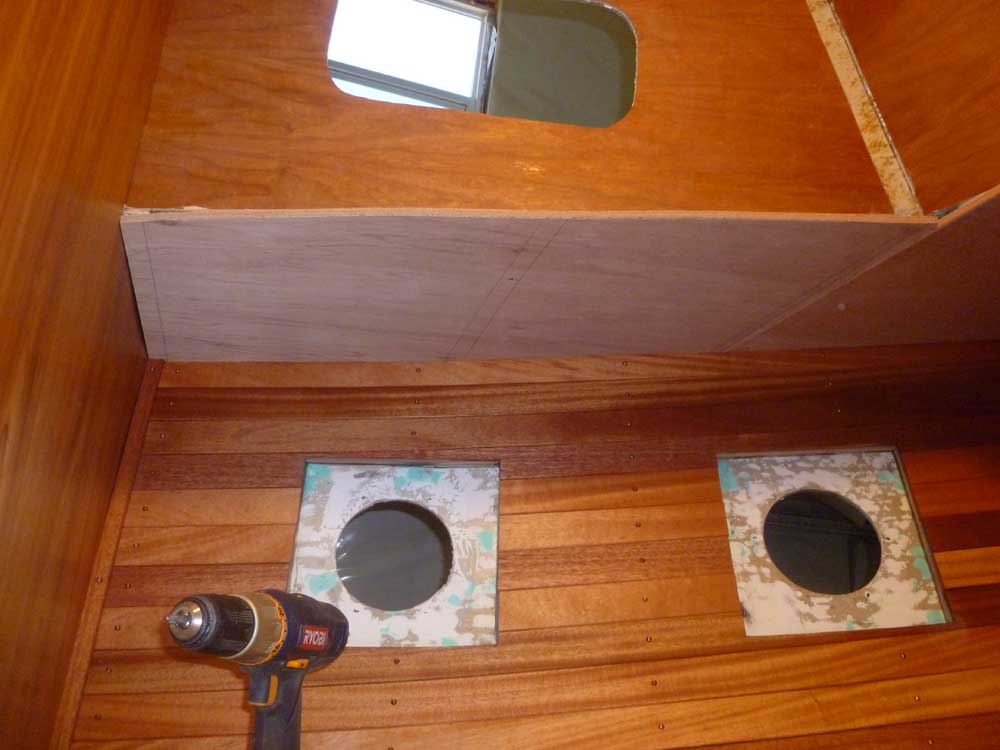
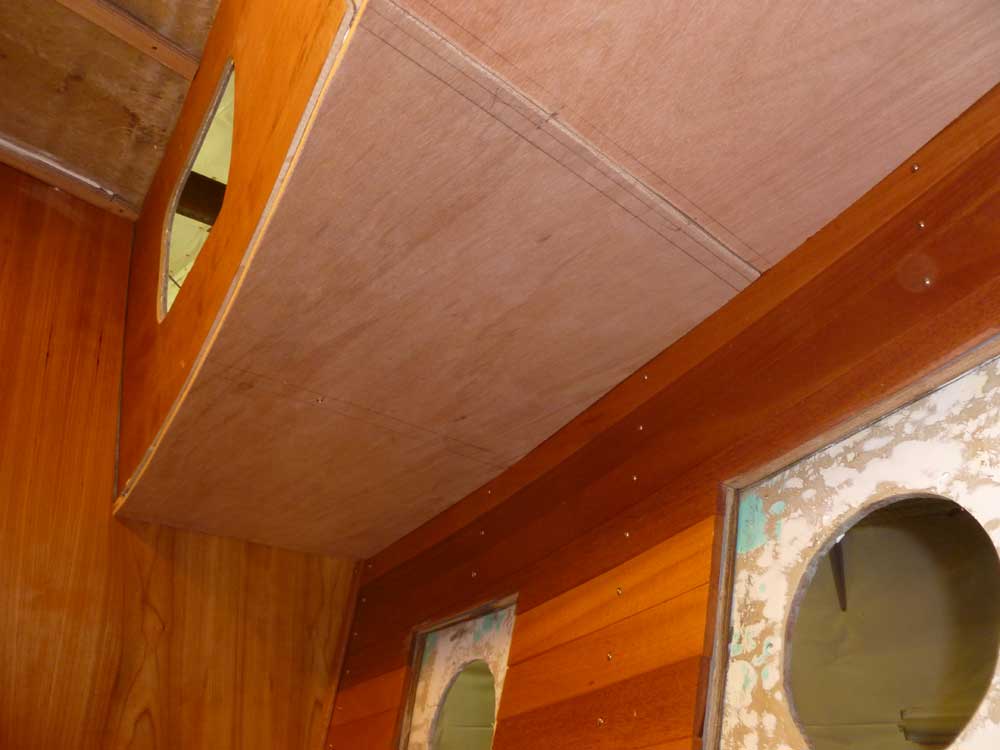
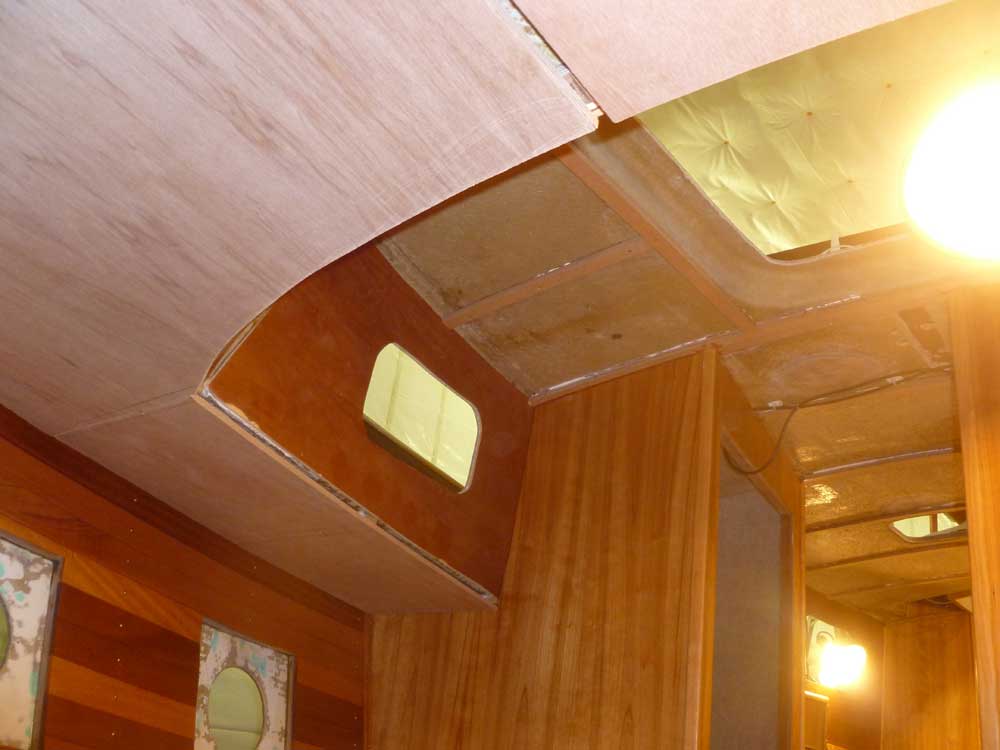
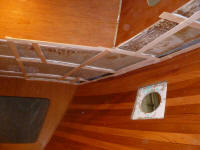
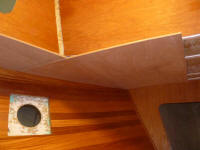
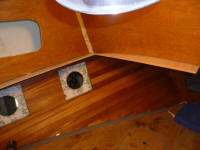
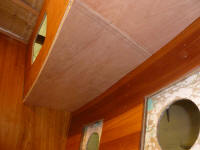
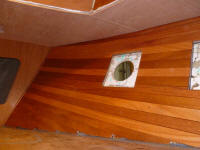
I found it was much easier to maneuver the smaller
sections into place, and had no trouble temporarily
installing the overhead with a few screws through my
pre-drilled holes. I was pleased with the fit, and
this vindicated the extra time it had taken me to make
the hot-glued template. I traced the outline of
the cabin trunk on the overhanging part of the sheets,
and removed them for trimming.
|

 |
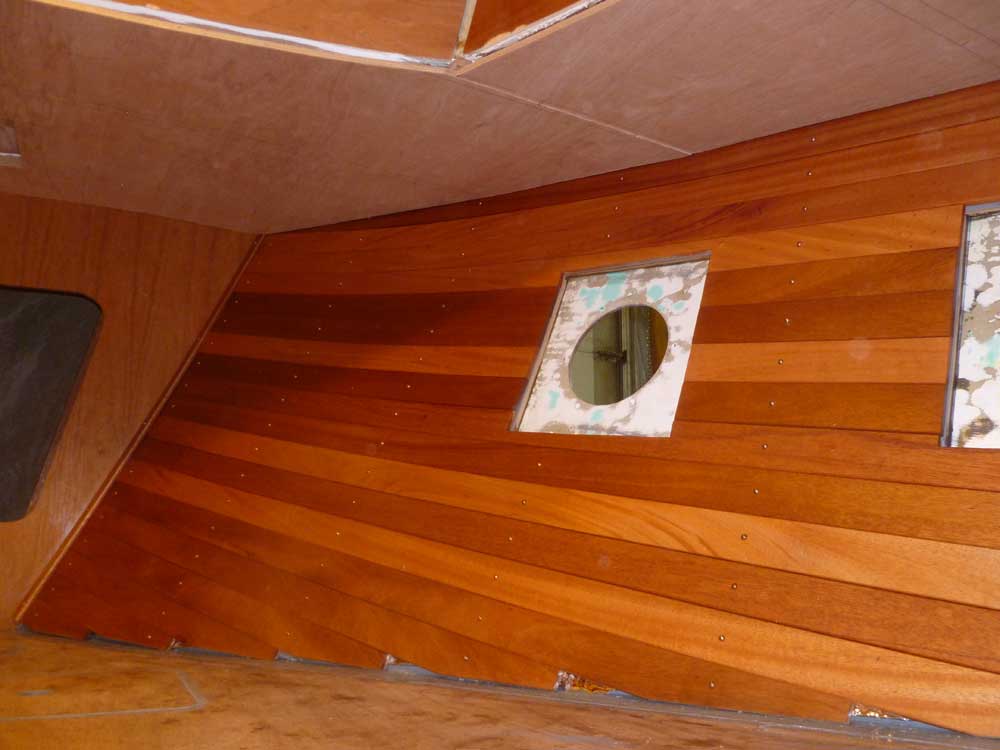
I repeated the process for the port side, after
determining that the overhead was far from symmetrical:
I attempted to fit the starboard section over the port
side (after inverting it) and found it was nowhere near
the same. This time, I built the template in two
sections, corresponding with the planned seam between
the sidedeck and foredeck areas. |
 |
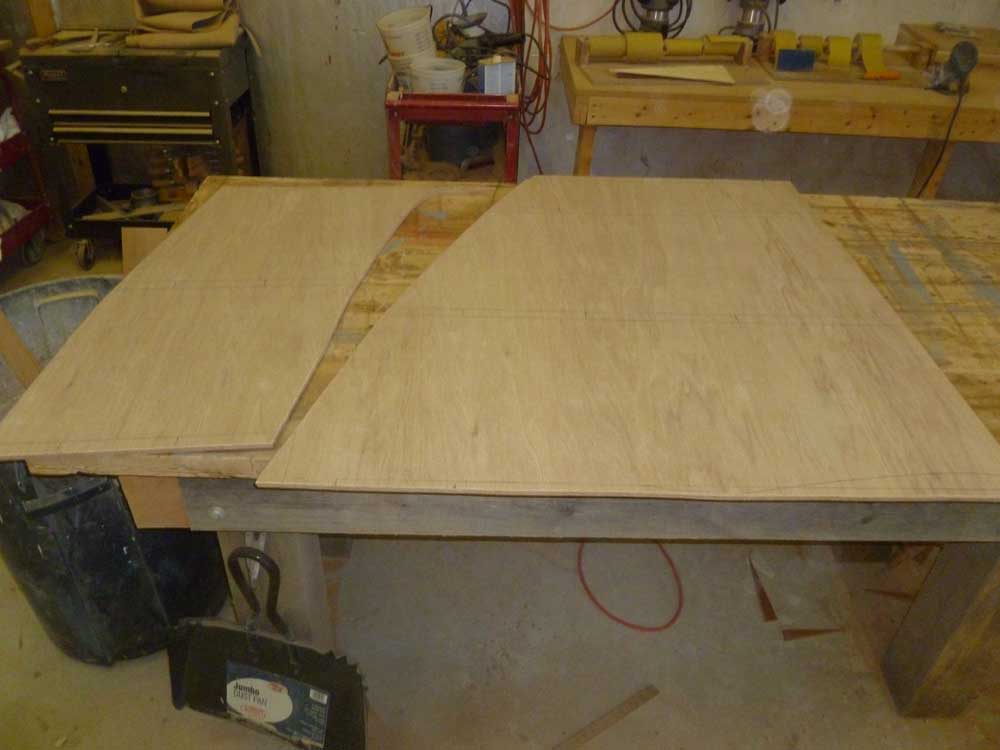
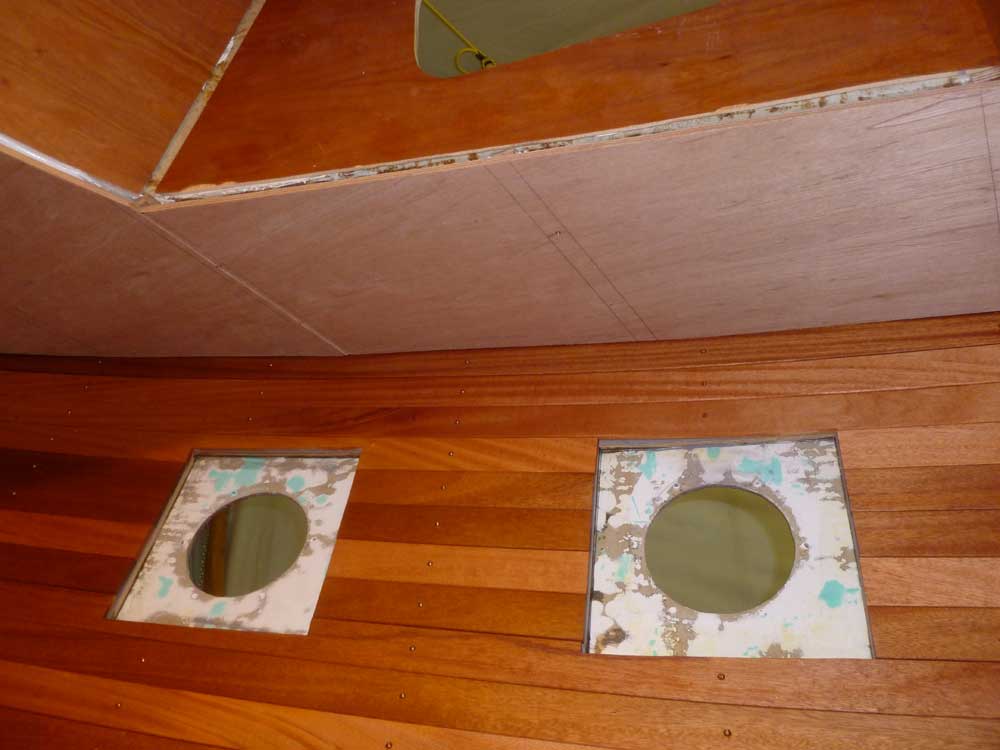
I cut out the plywood overhead sections according to the
templates, and dry-fit them to check the fit and mark
the cabin trunk boundaries before removing the sections
and trimming off the excess material. |


 |
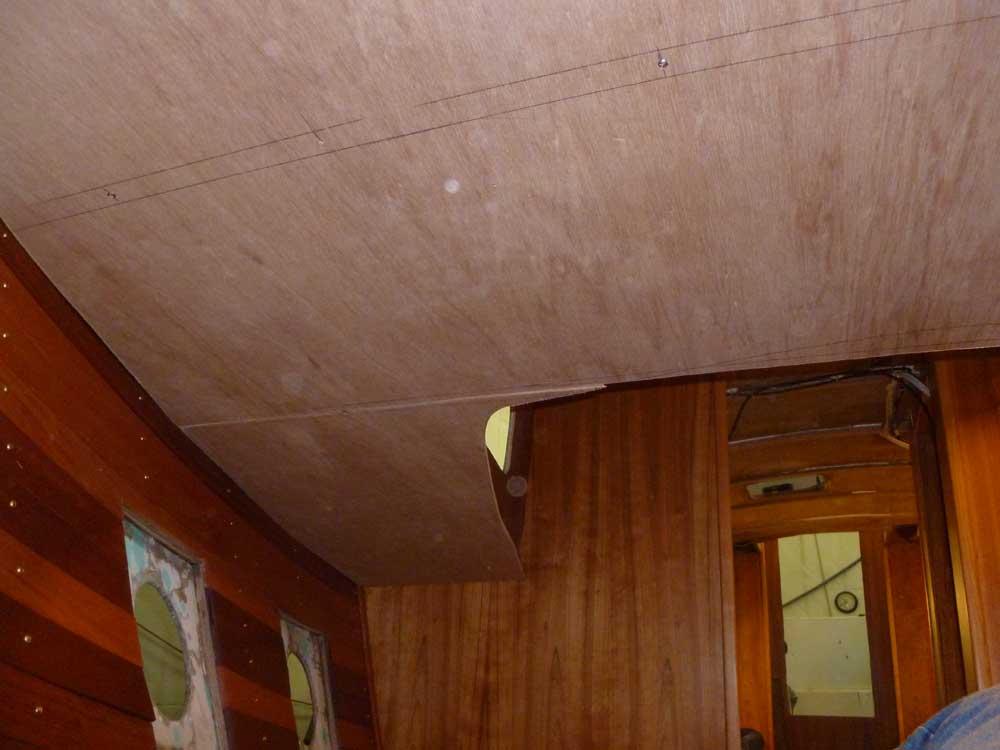
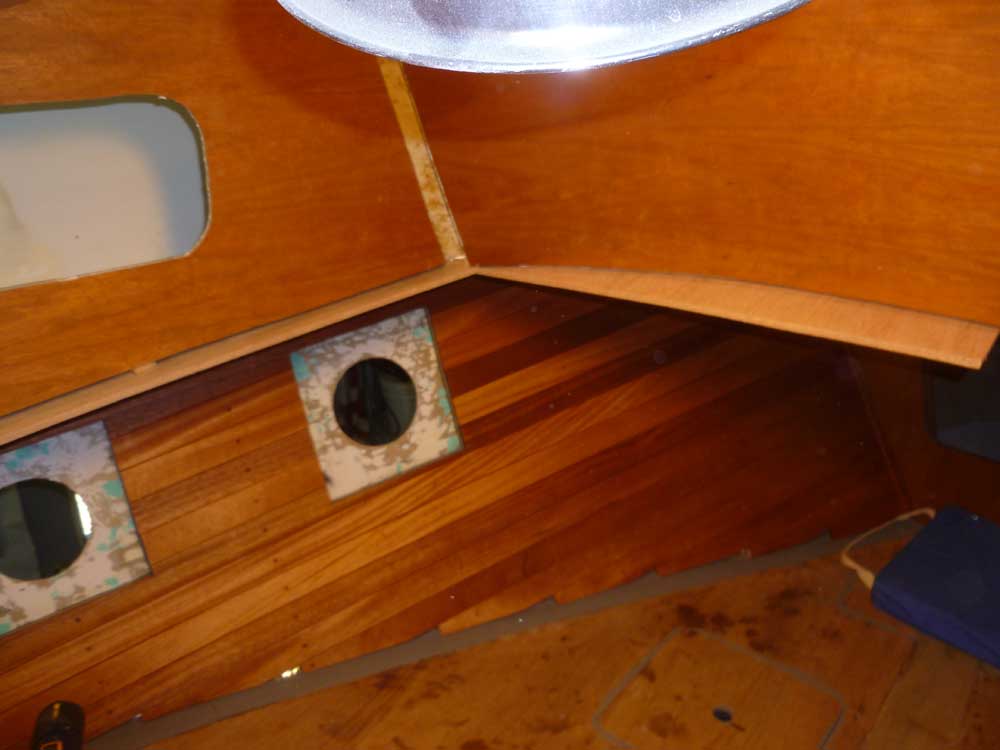
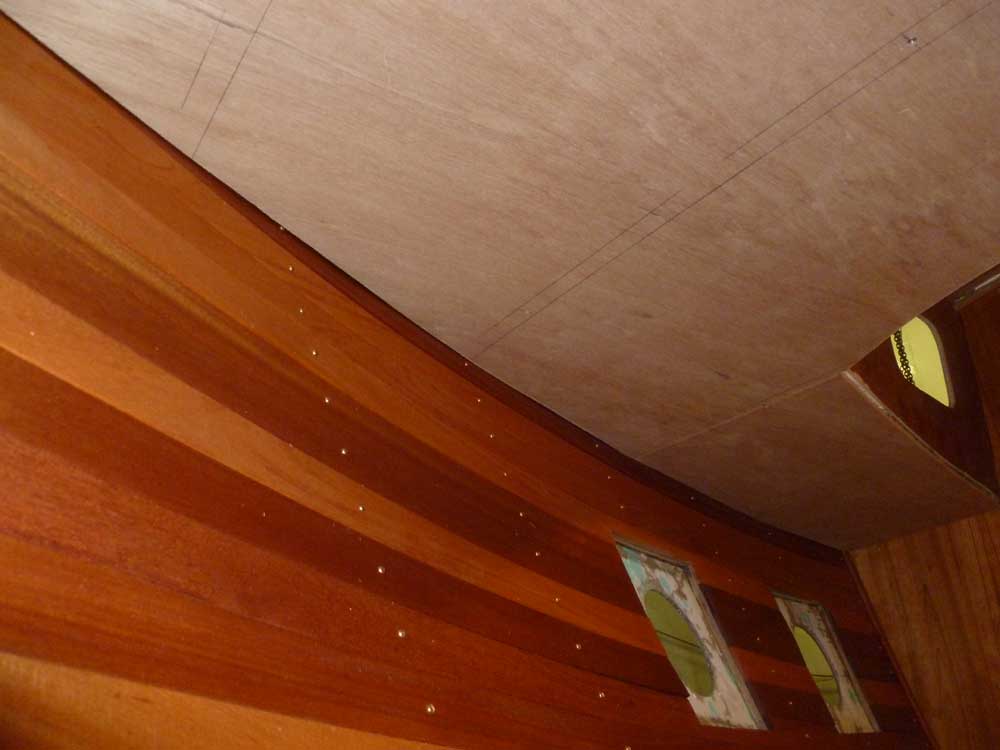
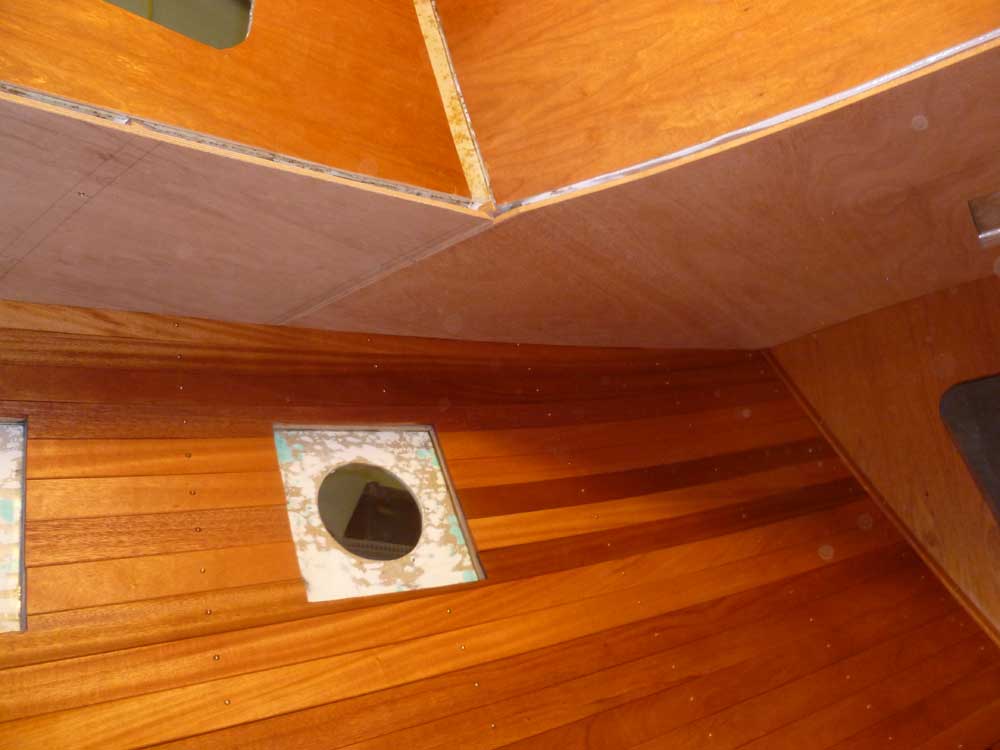
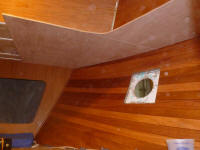
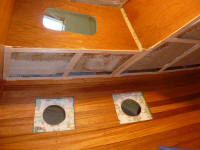
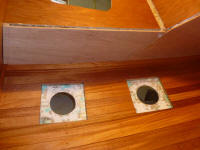
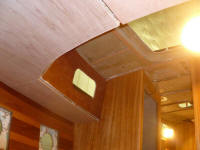
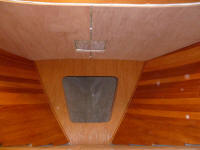
Then, to ensure the fit of all pieces, I reinstalled the
four sections. The centerline gap ended up a bit
wider than I'd originally envisioned, and I'd reduce the
amount of the gap in future overhead sections, but in
any case that posed no problem since the planned trim
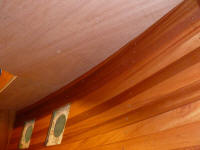
would cover the gap regardless. Cabin trunk trim
pieces would cover the plywood edge and the air space
between the overhead and the underside of the deck. |


 |
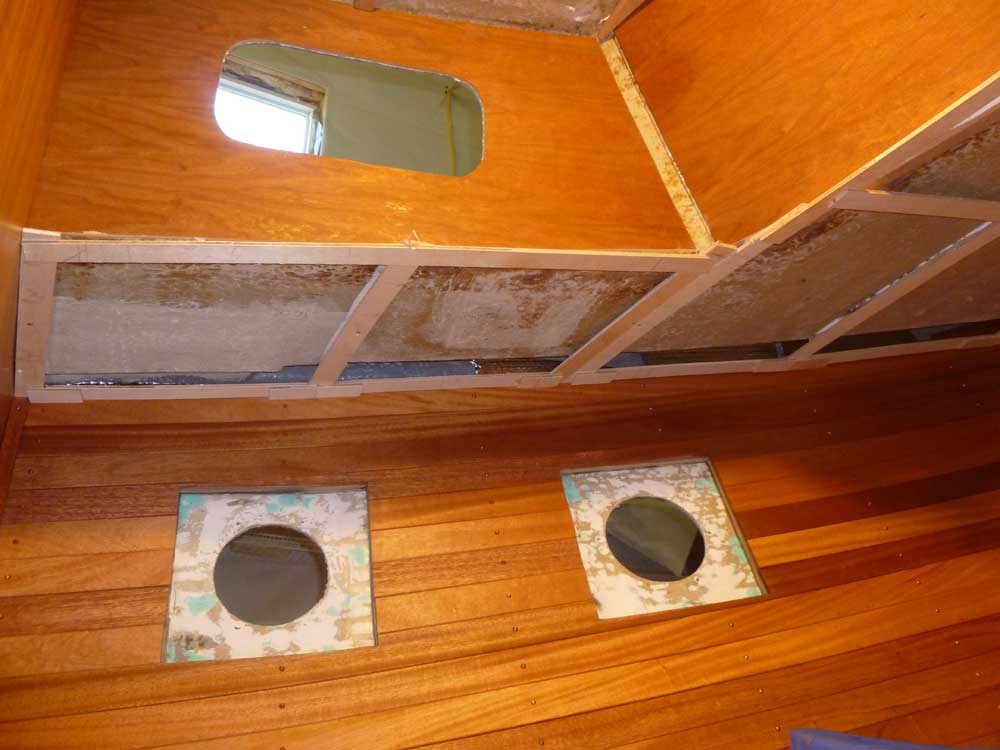
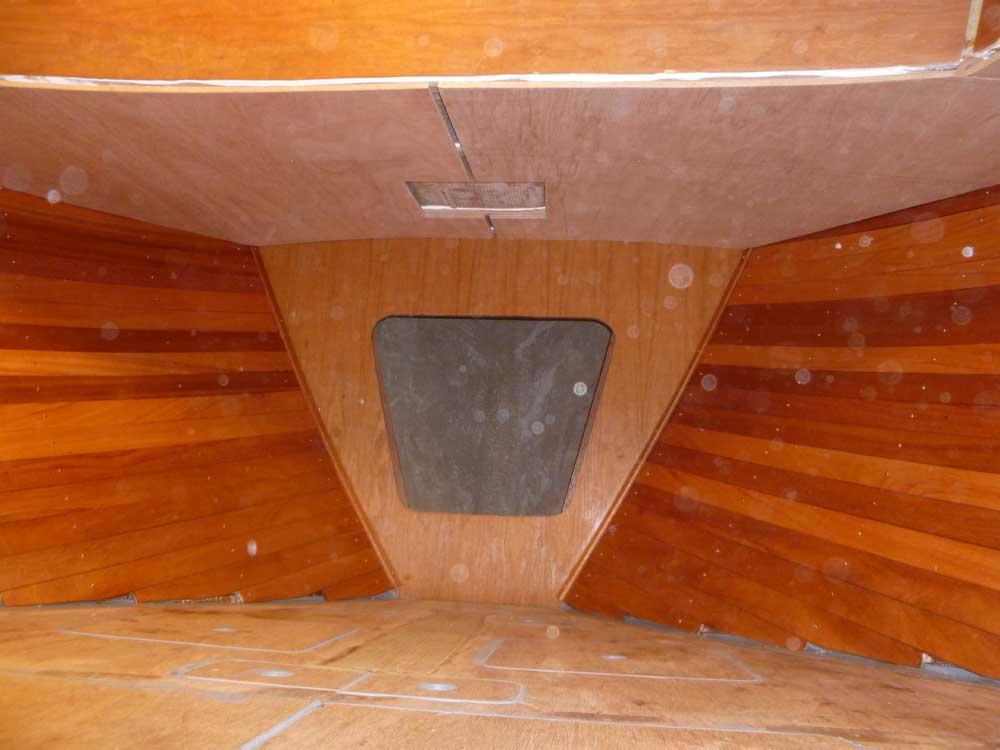
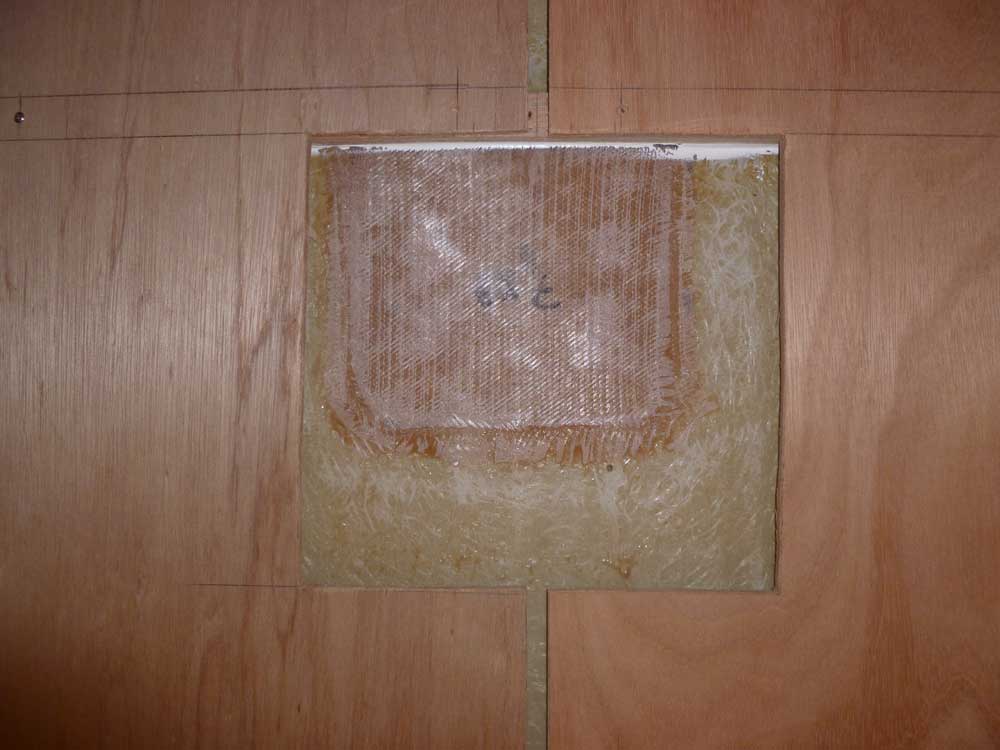
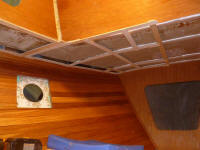
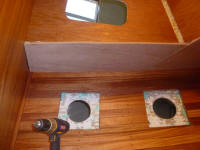
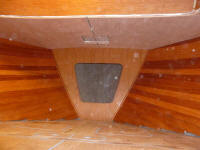
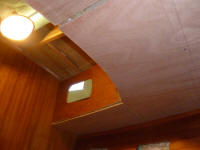
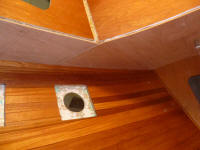
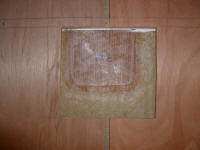
In way of the main bow mooring bit, located on the
centerline near the chainlocker bulkhead, I cut out a
10" square section of the overhead, which would allow
for a hefty backing plate and bolts for the bitt, since
the clearance between the overhead and the fiberglass
deck was not large enough to hide this installation.
Later, I'd cut and install the backing plate to fit. |
 |
Before final installation, I'd remove and paint the new
panels, which I'd do as time allowed in the near future. |
| |
| |
Total Time Today: 4.5 hours
|
<
Previous |
Next > |
|
|