Project Log: Sunday, September 15, 2013
Before beginning the masking for the paint work ahead, I
wiped the entire deck down with solvent to clean it and
prepare for tape. I like masking and never find it
onerous when handled with the correct attitude:
it's a clean, soothing quiet, satisfying job that I find
always provides a pleasing interlude in an otherwise
dirty, loud, messy, and often tedious overall process.
The idea is that masking is its own job, to be taken in
turn and of its own volition rather than viewed an
irritation to be handled before beginning the "real"
work of the paint. Masking takes a long time, so
no wonder those who view it wrongly find it so
frustrating.
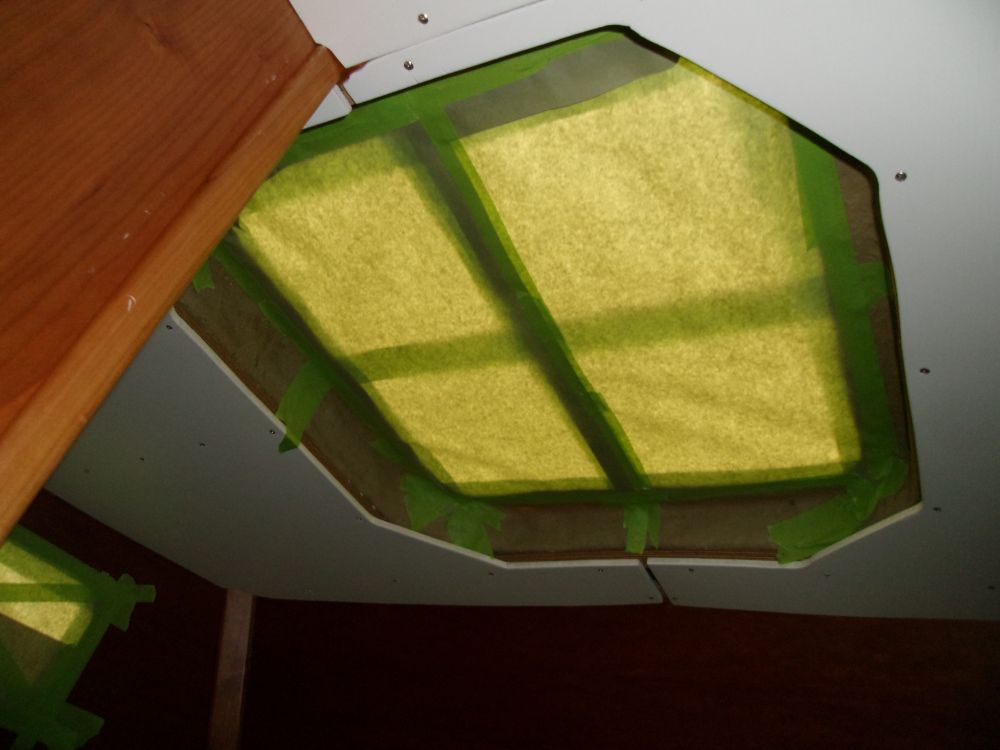
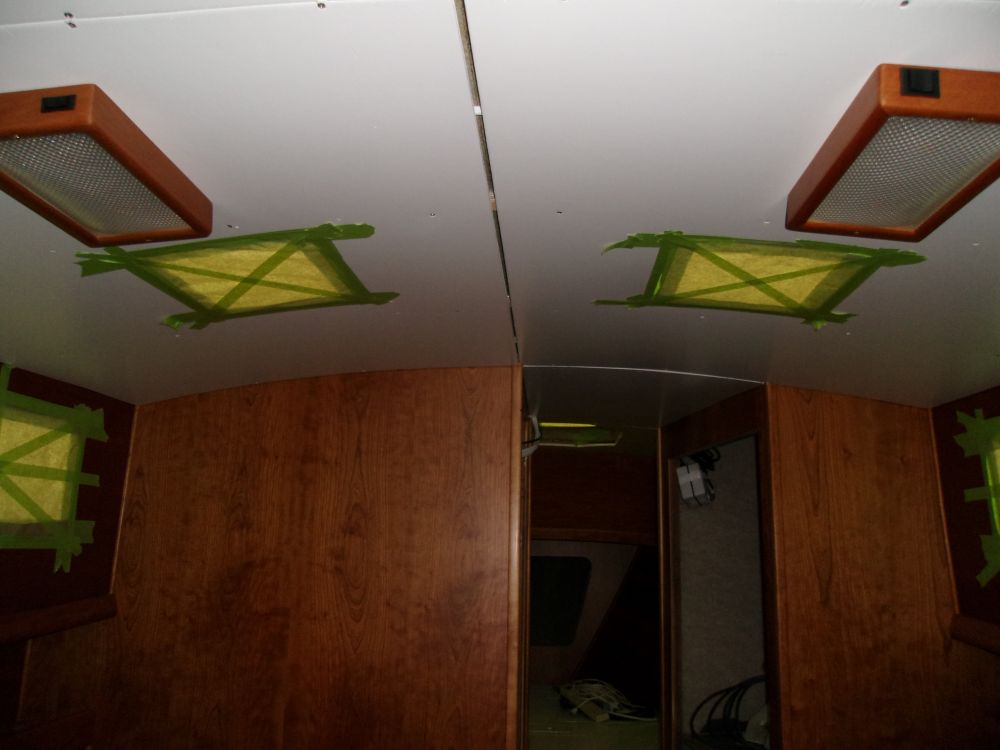
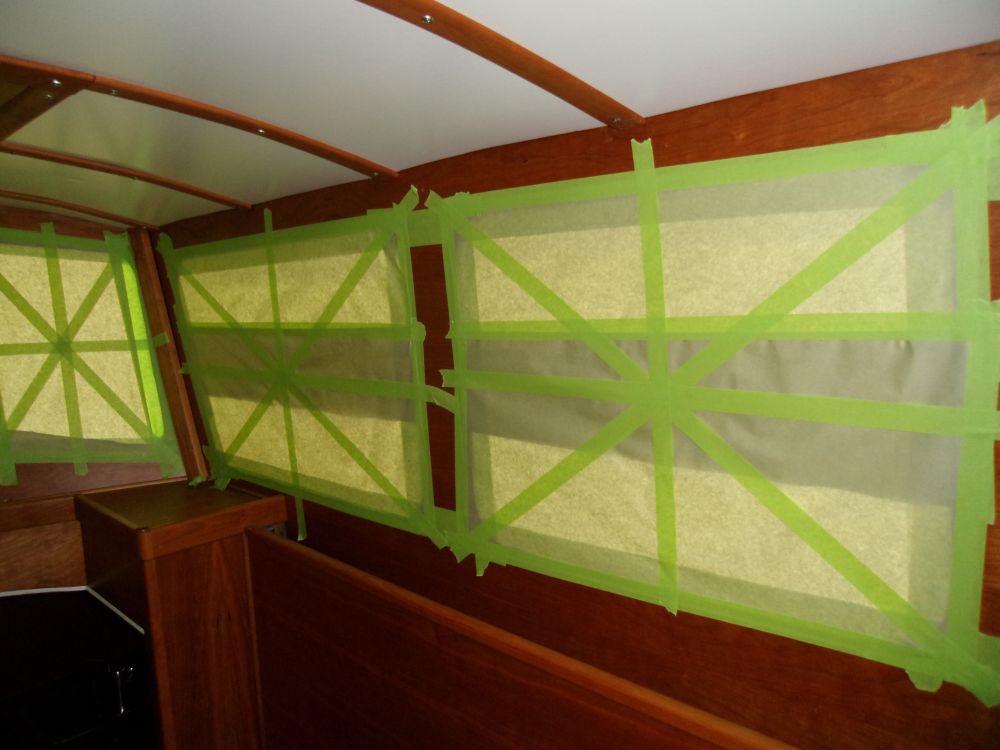
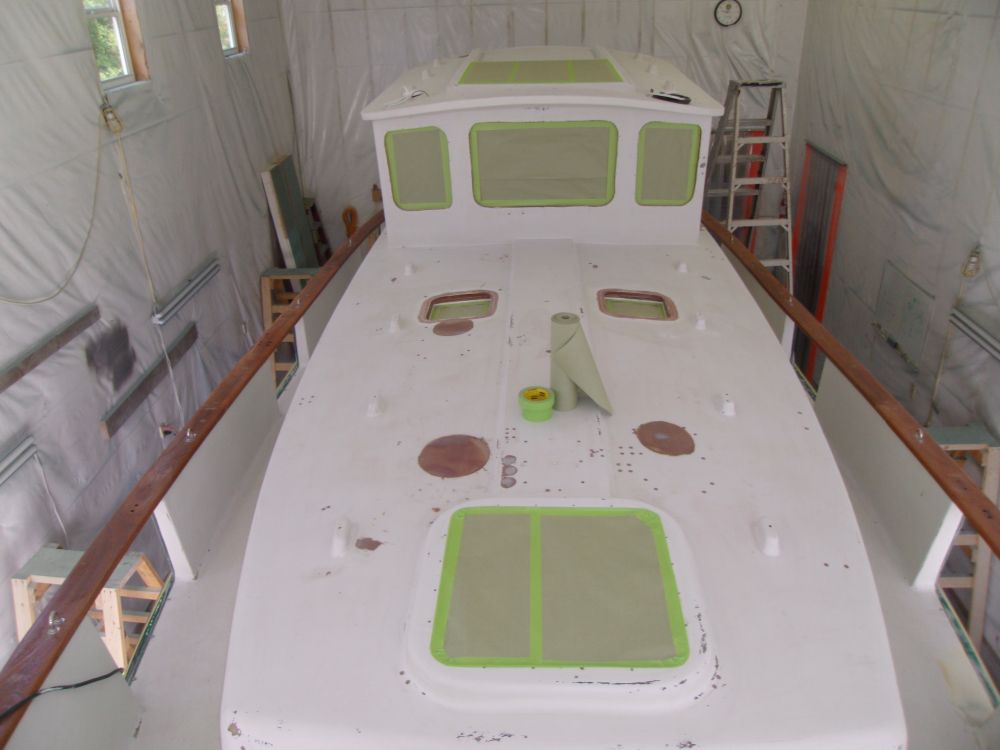
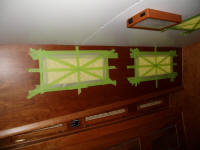
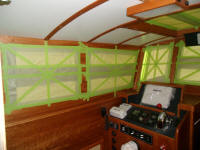
Working from inside the boat, I masked off all the hatch
and port openings, using masking tape and masking paper.
I decided to mask over the overhead hatch openings from
both inside and outside for extra protection during the
long priming, sanding, and painting processes ahead.
|

 |
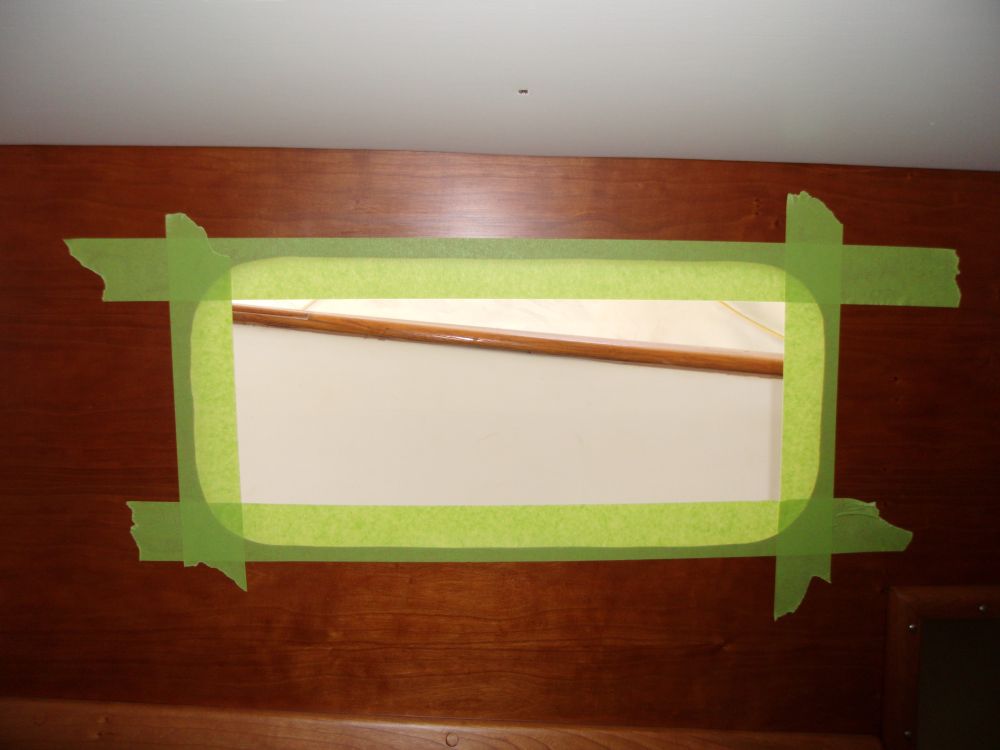
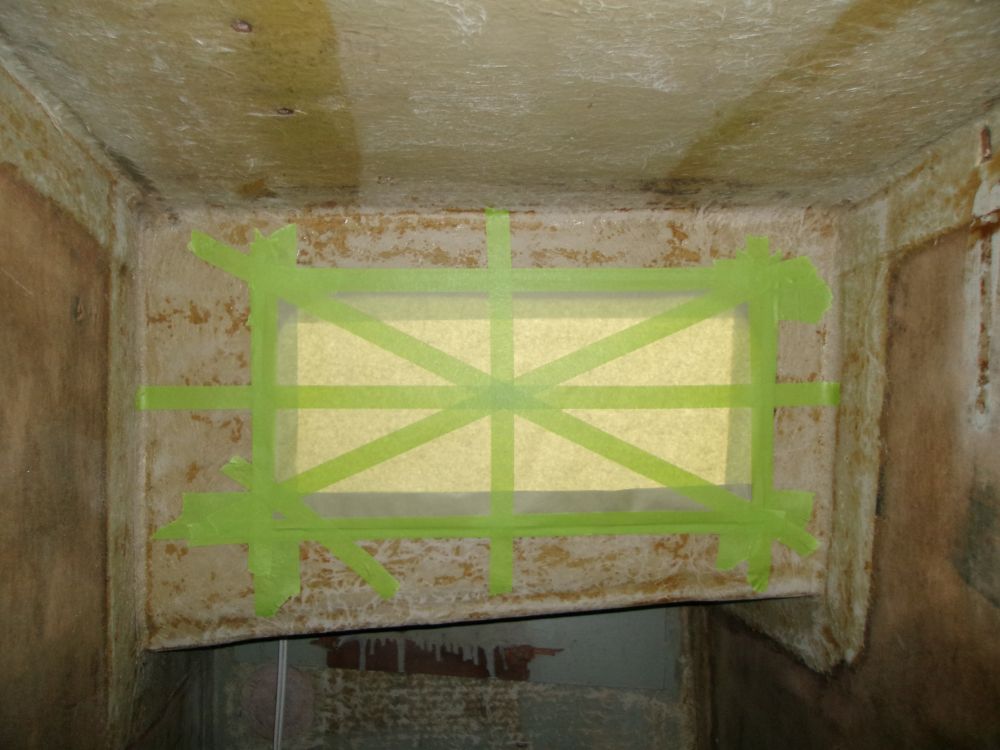
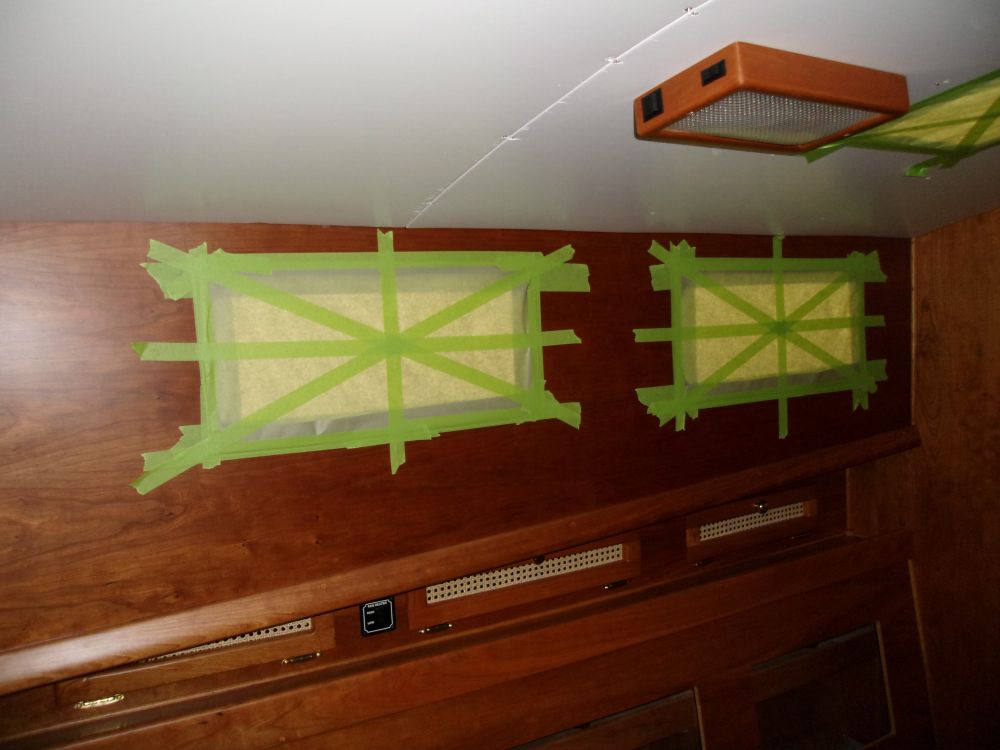
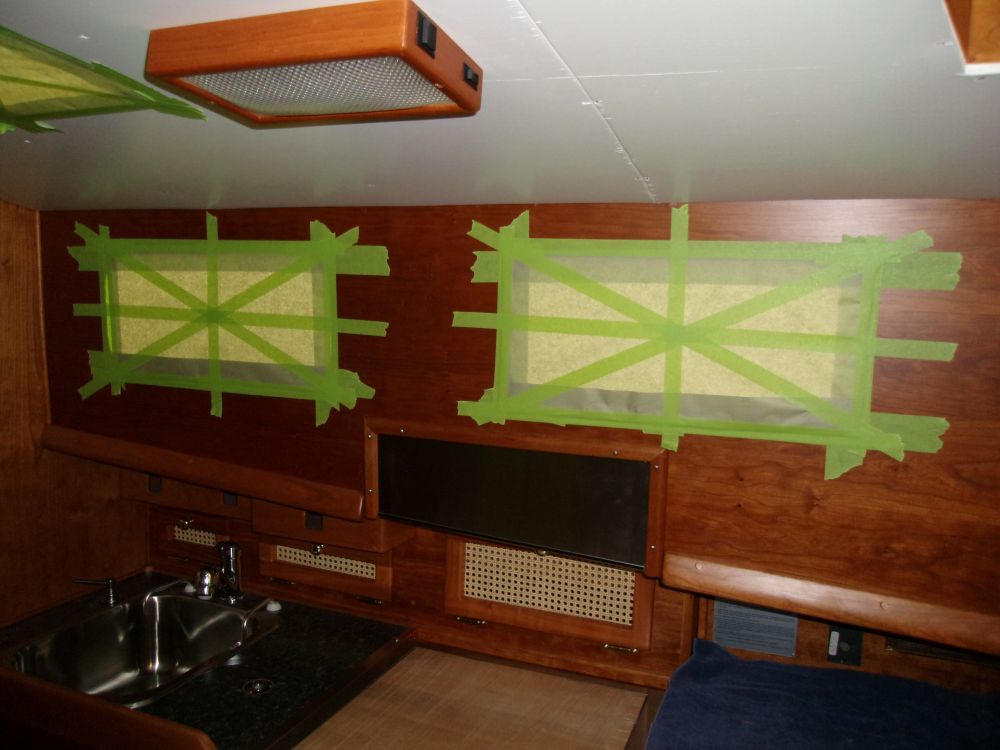
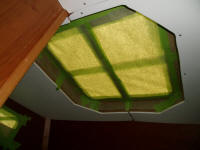
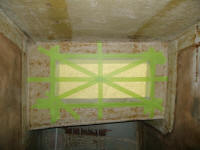
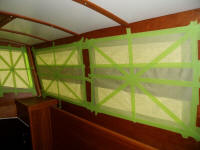
At each opening, I began with a perimeter of 2" masking
tape, which formed the first barrier of defense to
protect the finished inside surfaces from the overspray
outside; since the tape was pressed tightly to the edges
of the opening all around, it formed the necessary seal
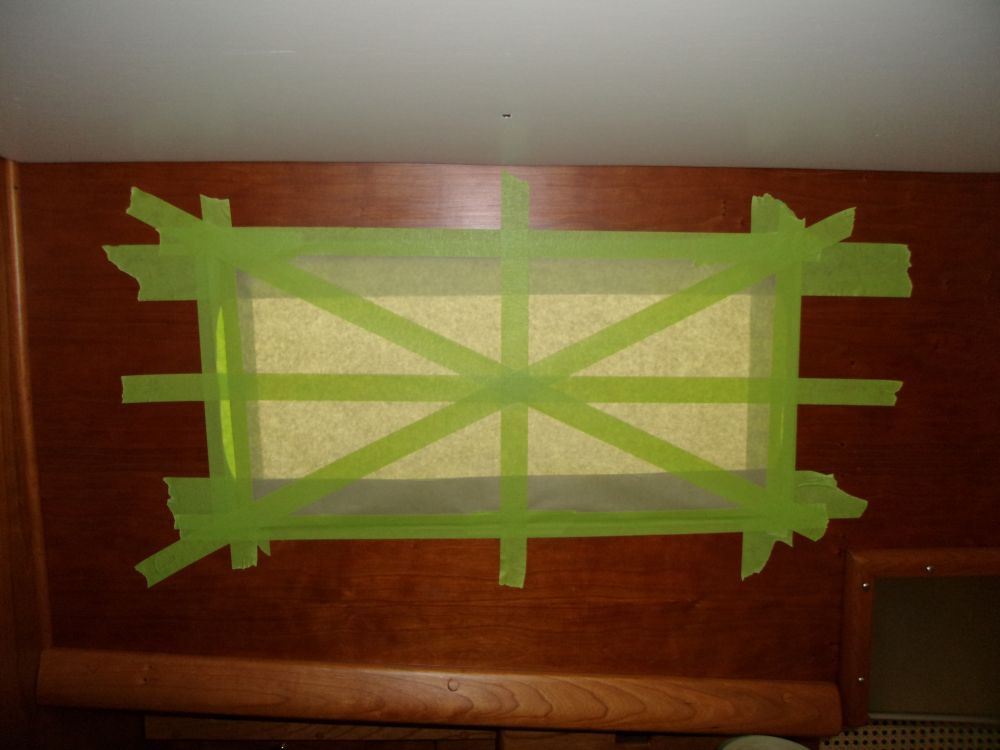
to prevent any chance of interior damage. Then, I
filled in the field with paper, taping it tightly to the
boat and adding reinforcing strips in a vaguely Union
Jack pattern. The final stages of the masking
would occur from outside a little later, and would form
an essentially impenetrable barrier once complete. |

 |
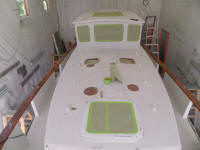
In this way, I worked through the interior and covered
all hatch and port/window openings. That
disgusting unfinished space in the first photo is the
head compartment. |


 |
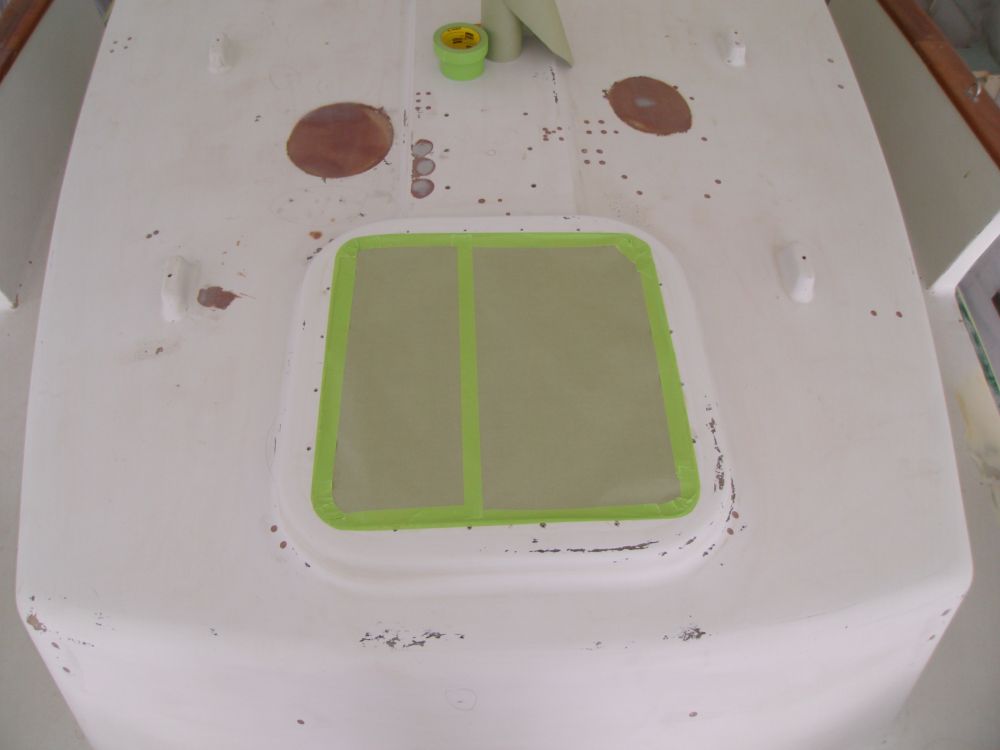
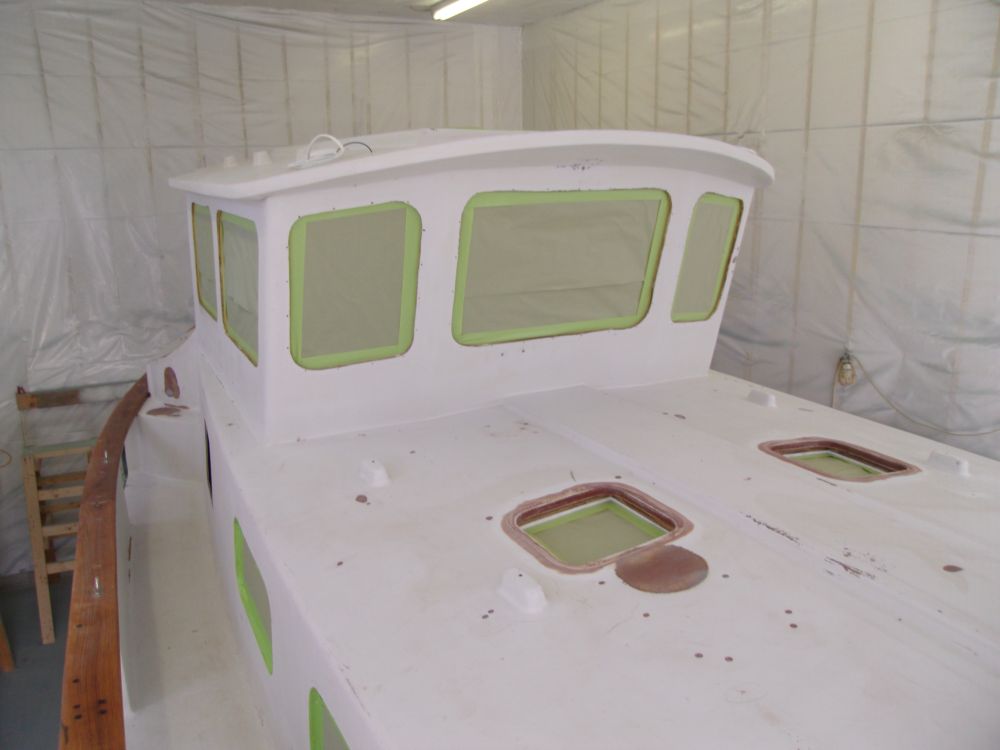
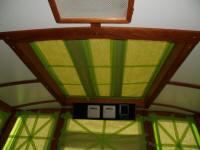
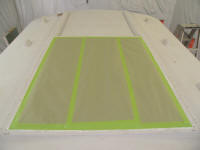
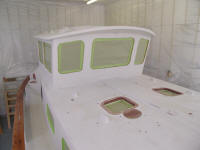
Back outside, I started with the large overhead hatch in
the pilothouse and sealed up the opening tightly with
tape and paper. The small areas covered by tape
around the edges of these openings would later be hidden
by the hardware installations.
|
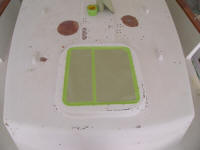 |
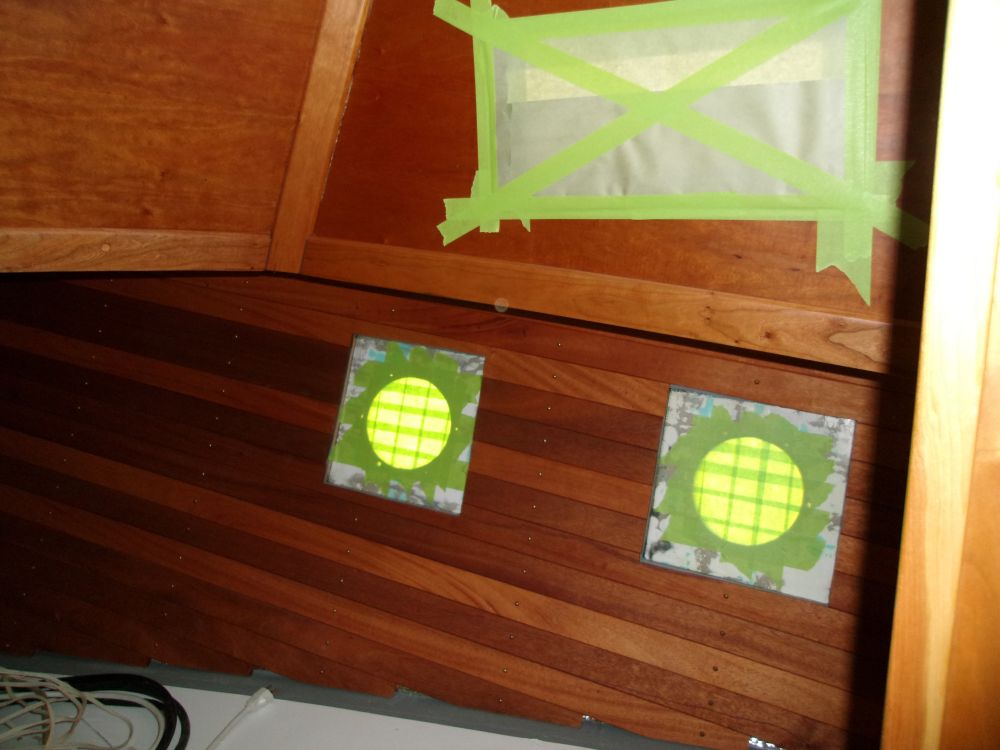
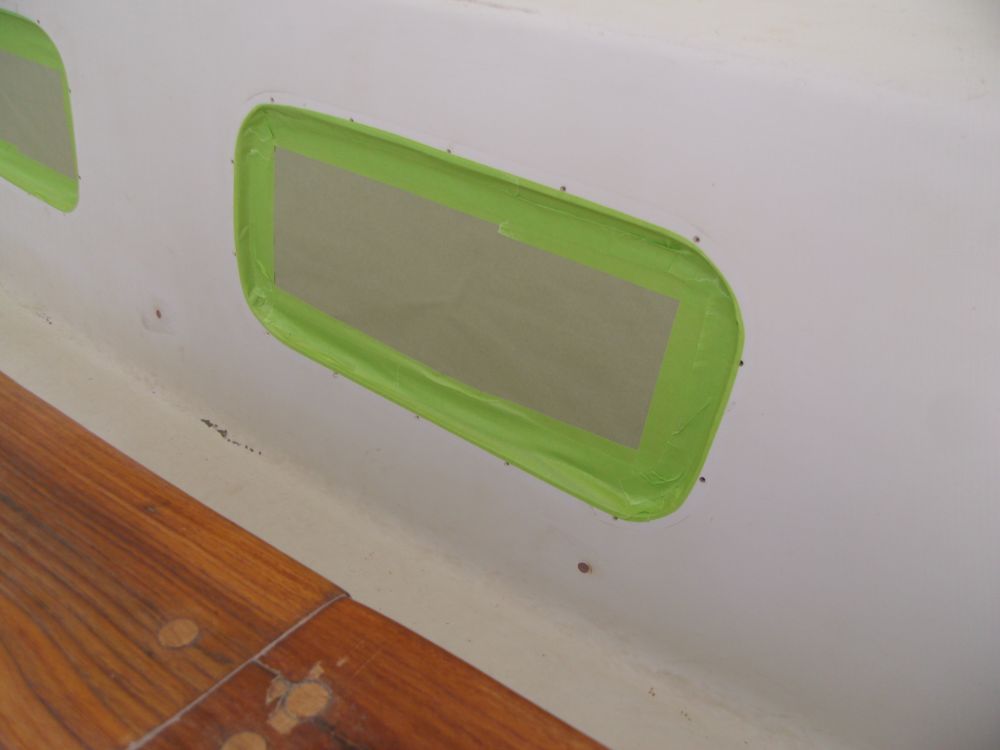
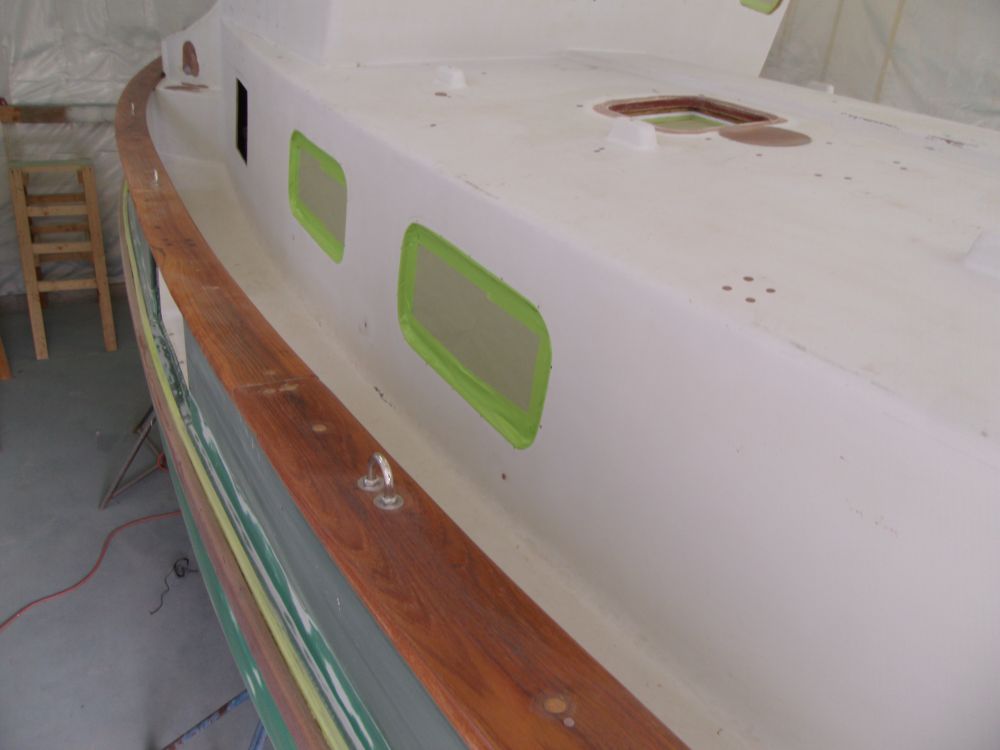
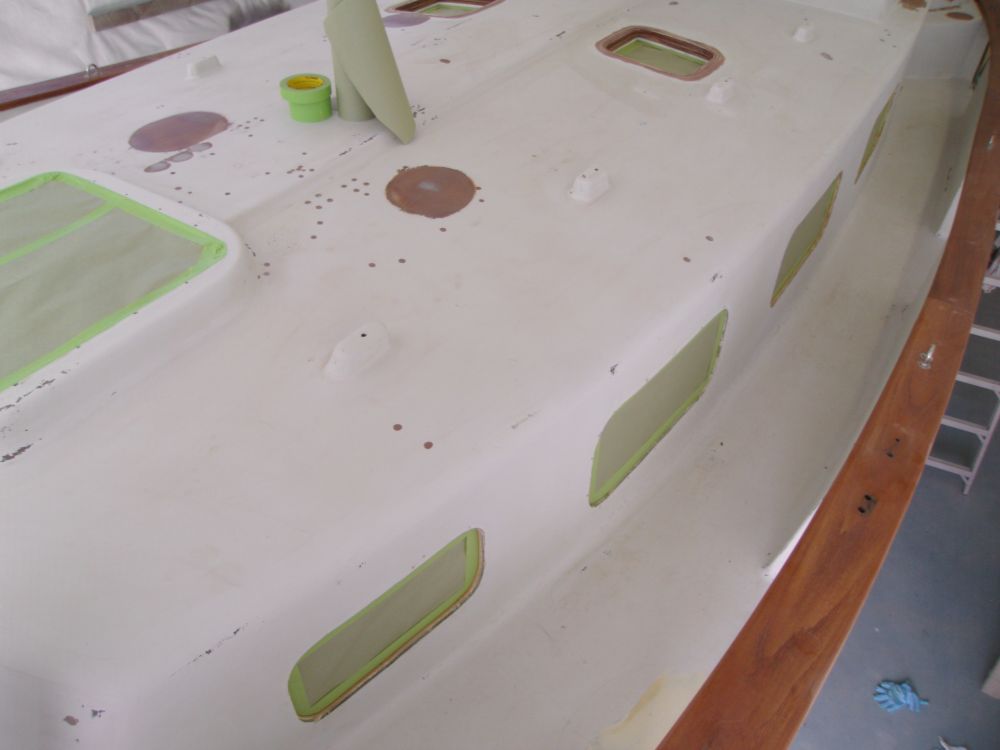
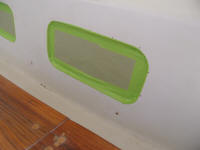
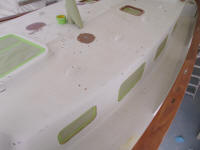
To finish off the port and window openings, I masked
around the edge from outside, taping directly to the
side of the cabin but well within the footprint of the
port flanges themselves, then wrapped the tape inside
the openings, covering the exposed edges of the cutout
and sticking securely to the exposed sticky side of the
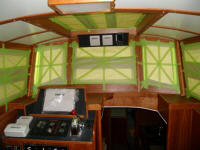
perimeter tape within. I added additional strips
of tape to fully secure the areas and provide a tight,
clean surface that would be easy to clean, resist
corners and hidden pockets that could collect sanding
dust and make a mess during spraying, and remain tight
and secure throughout the painting process--and, most
importantly, protect the finished interior from
overspray damage. |
 |
By this point, I'd exhausted the time I had available on
this day, so I'd continue the masking another time. |
 |
| |
Total Time Today: 3 hours
|
<
Previous | Next > |
|
|