Project Log: Saturday, December 13, 2014
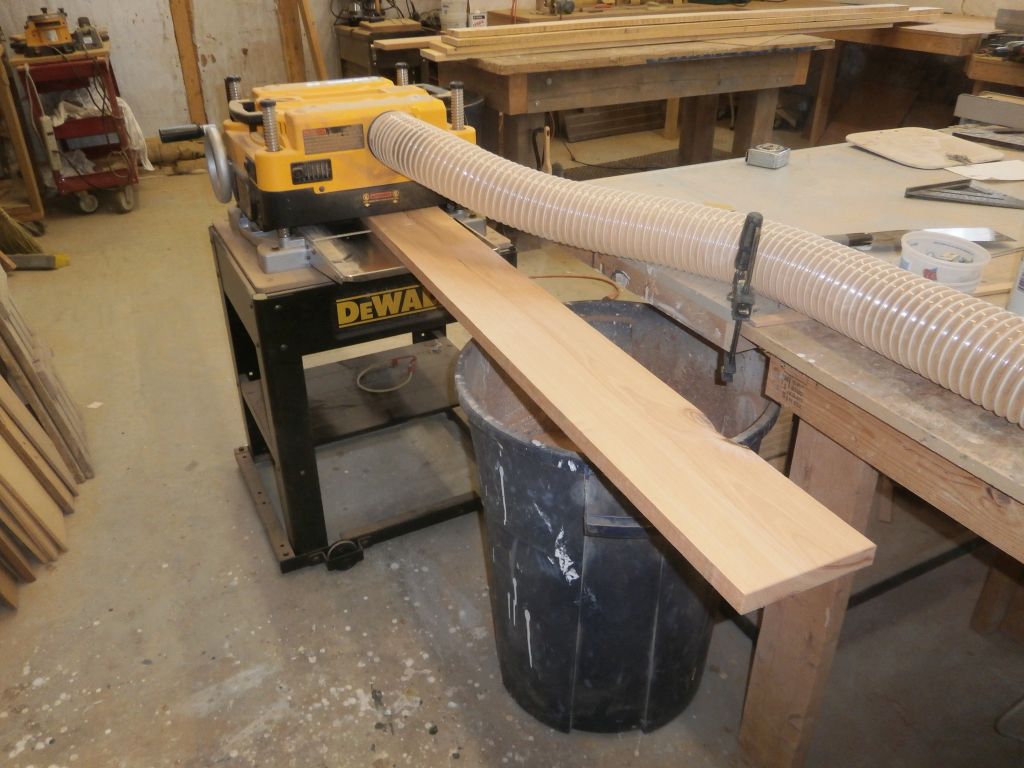
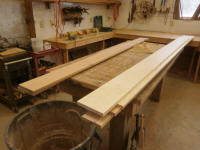
I spent the first half of the day working on stock
preparation, only a small amount of which was actually
for this project: I dimensioned and edge-straightened
enough rough cherry stock to (hopefully) give me what I
needed to finish off the few cherry trim projects on
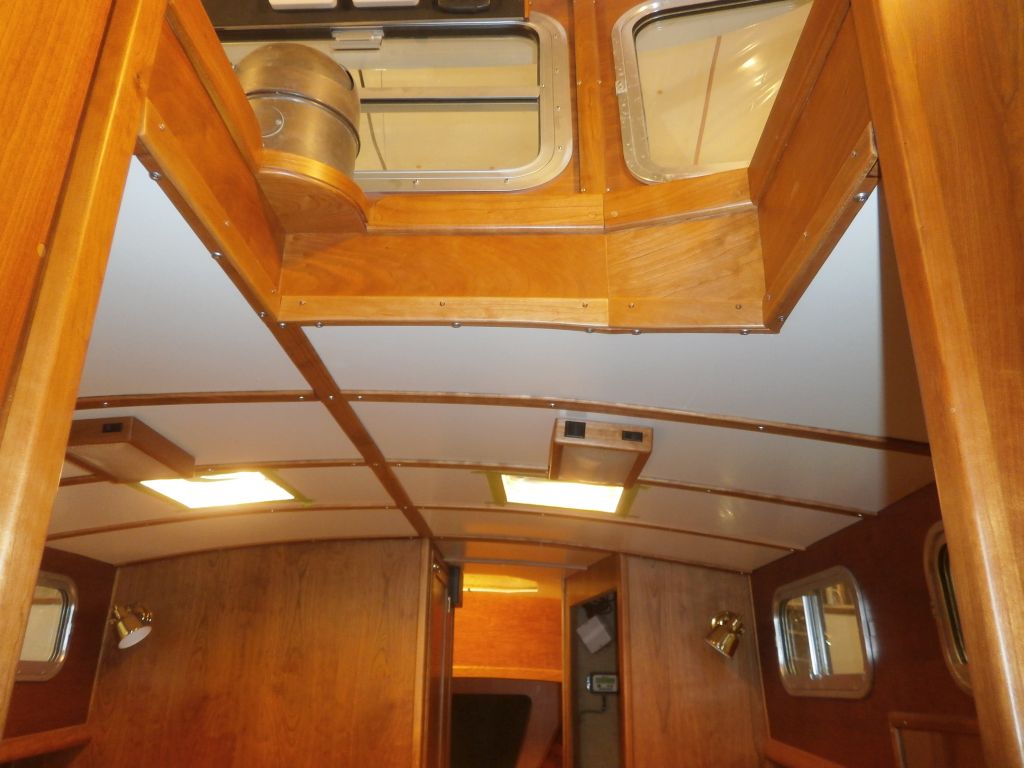
board, mainly some additional overhead trim pieces for
the forward cabin and the aft lower pilothouse trim. I
had more rough cherry stock now on hand, but it takes so
long (and I dislike the process so) to plane and
straighten the wood that I chose only to do the minimum
amount I thought I needed. Now that my supplier no
longer offered basic planing services, which when
available had been very reasonably priced and which
convenience I'd greatly enjoyed for some years, I'd no
choice but to force myself through this (to me)
inefficient time-wasting process.
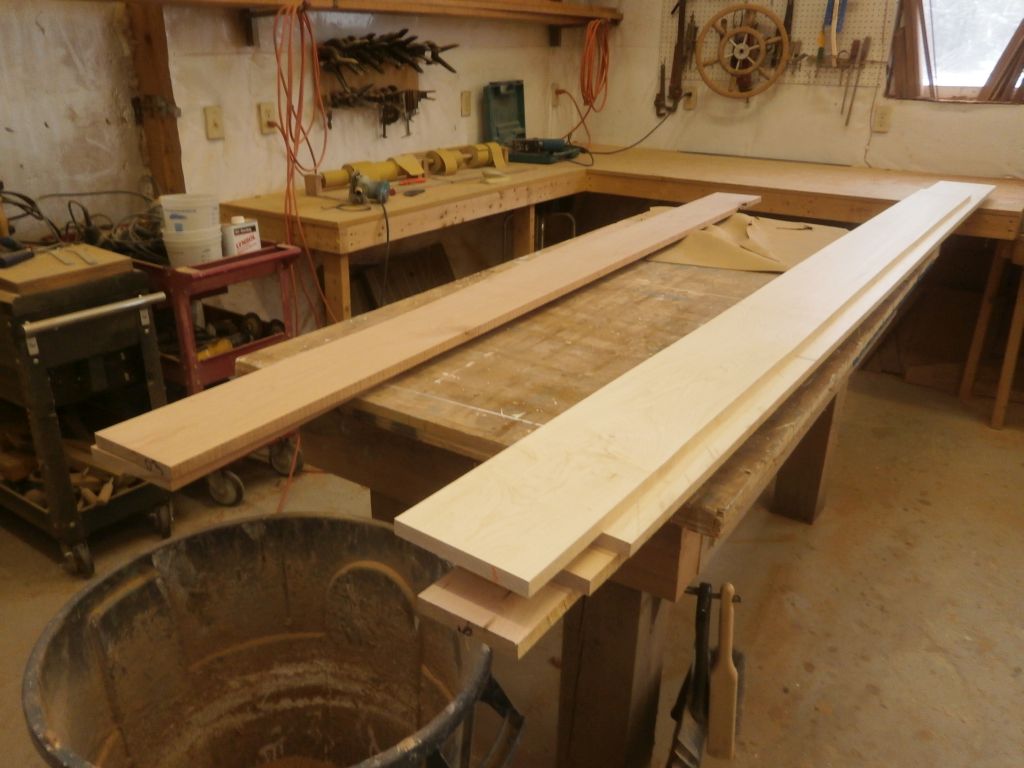
The other material I planed and rough-dimensioned was
maple for an unrelated bookshelf project, though this
stock preparation (and glue-up of four panels) consumed
much of the morning's time (not included in the hours
total below).
|

 |
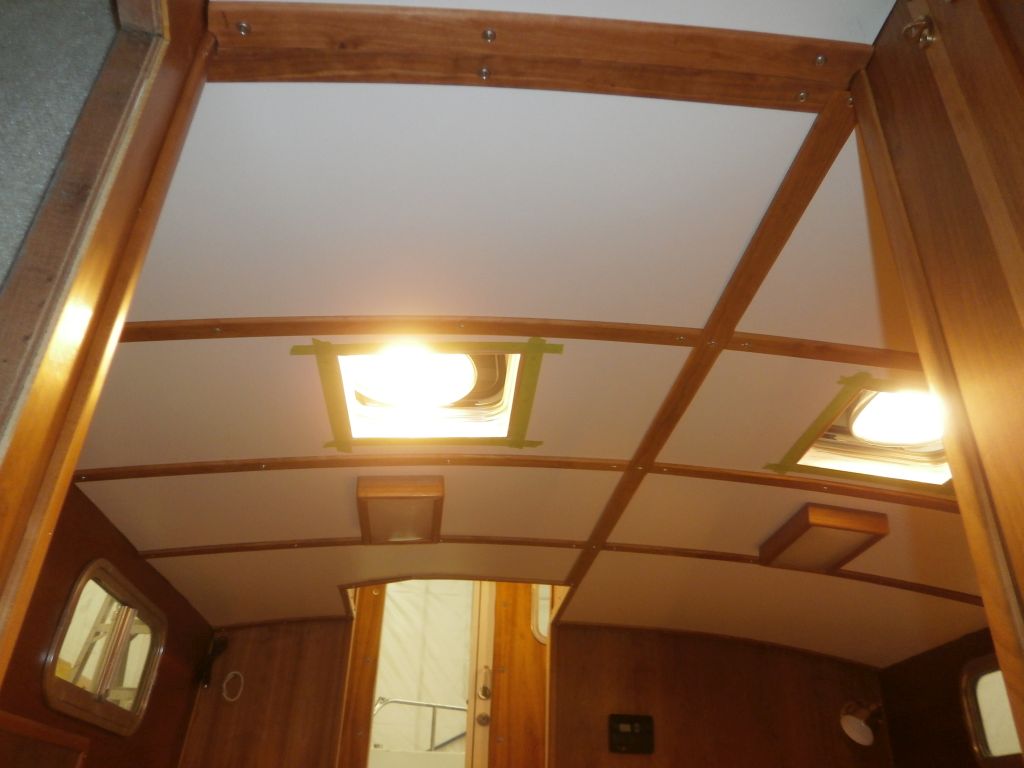
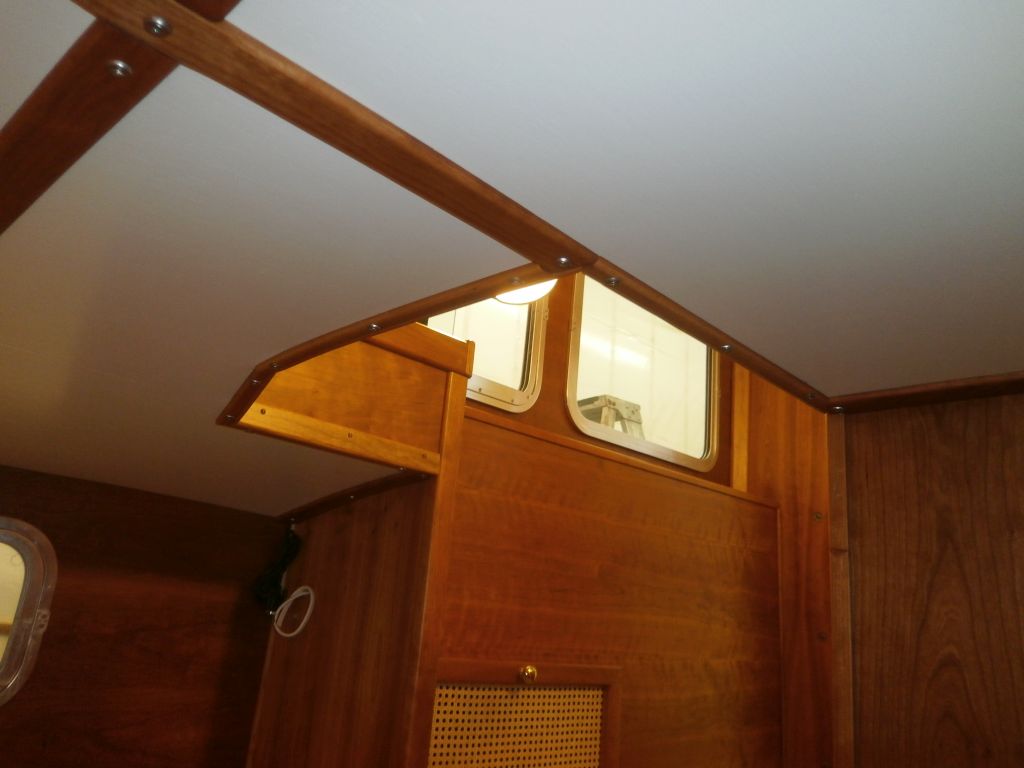
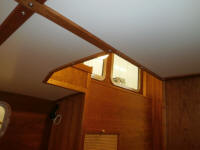
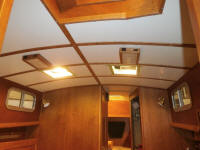
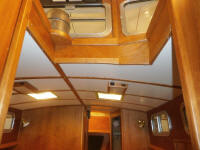
The overhead trim strips, to which I'd applied several
additional coats of tung oil over the past days, were
done and ready for installation, so I took care of this
next. |


 |
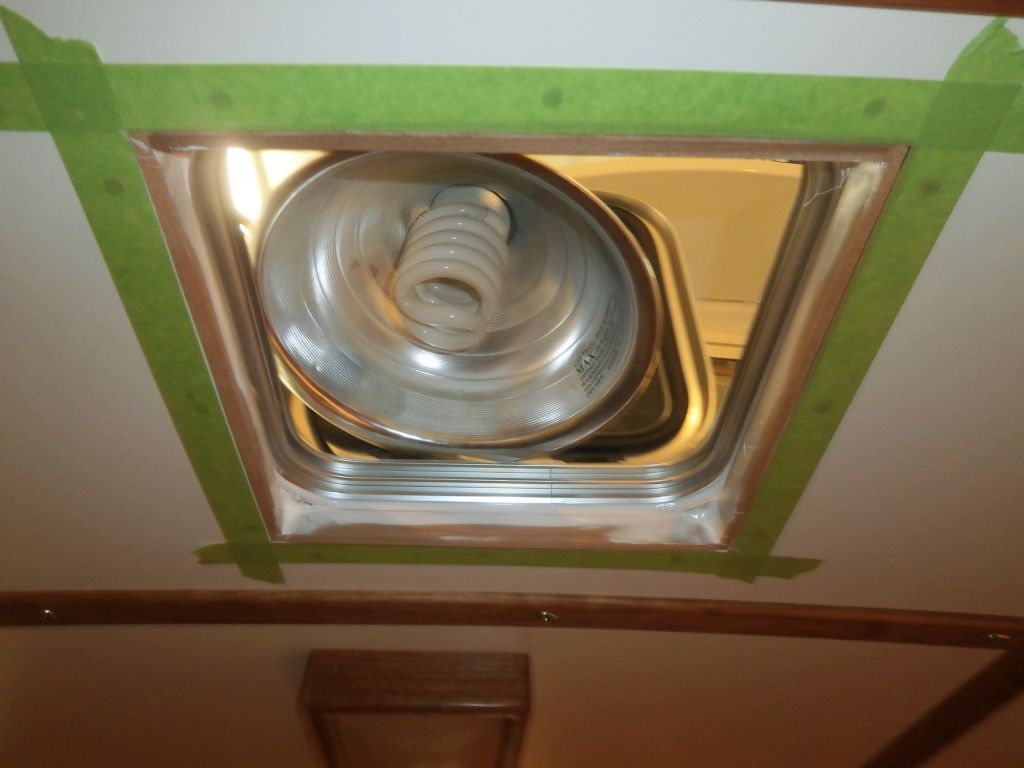
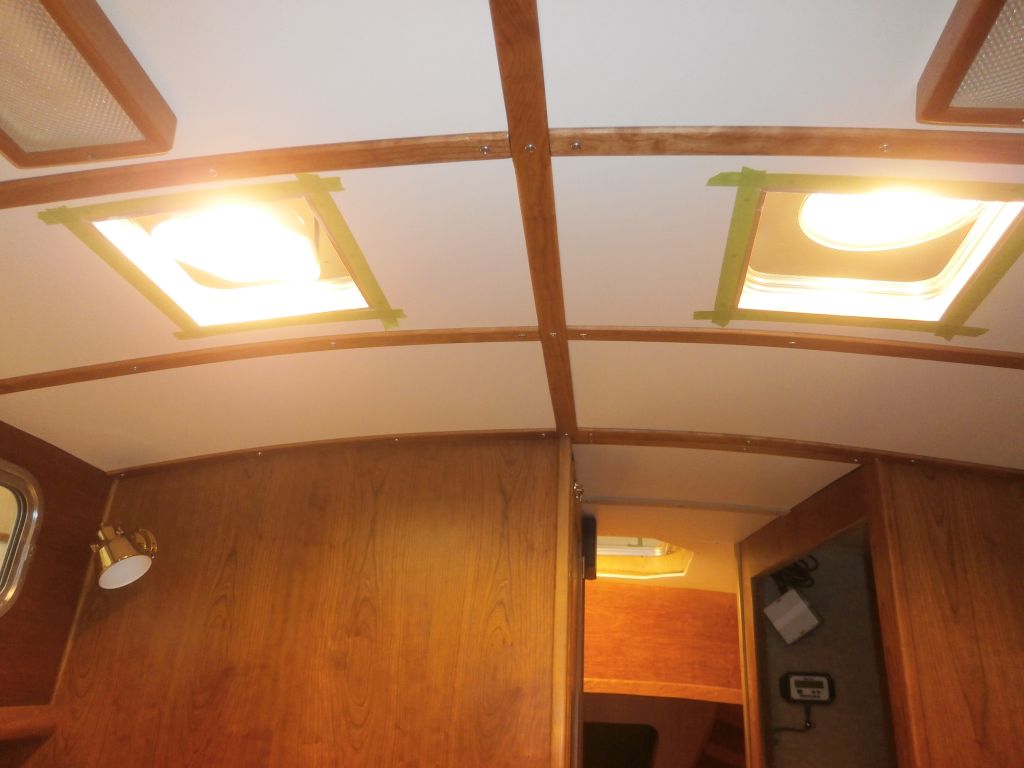
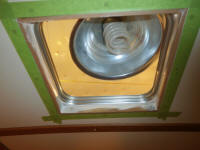
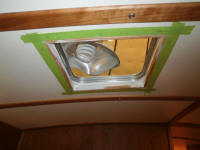
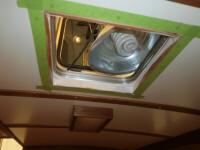
Earlier, I'd applied a bead of cosmetic sealant around
the main cabin overhead hatches to finish off the top
part of the openings above the new inside trim.
With the sealant now cured enough to proceed, I applied
paint to the area, the first of a couple coats as
needed. |


 |
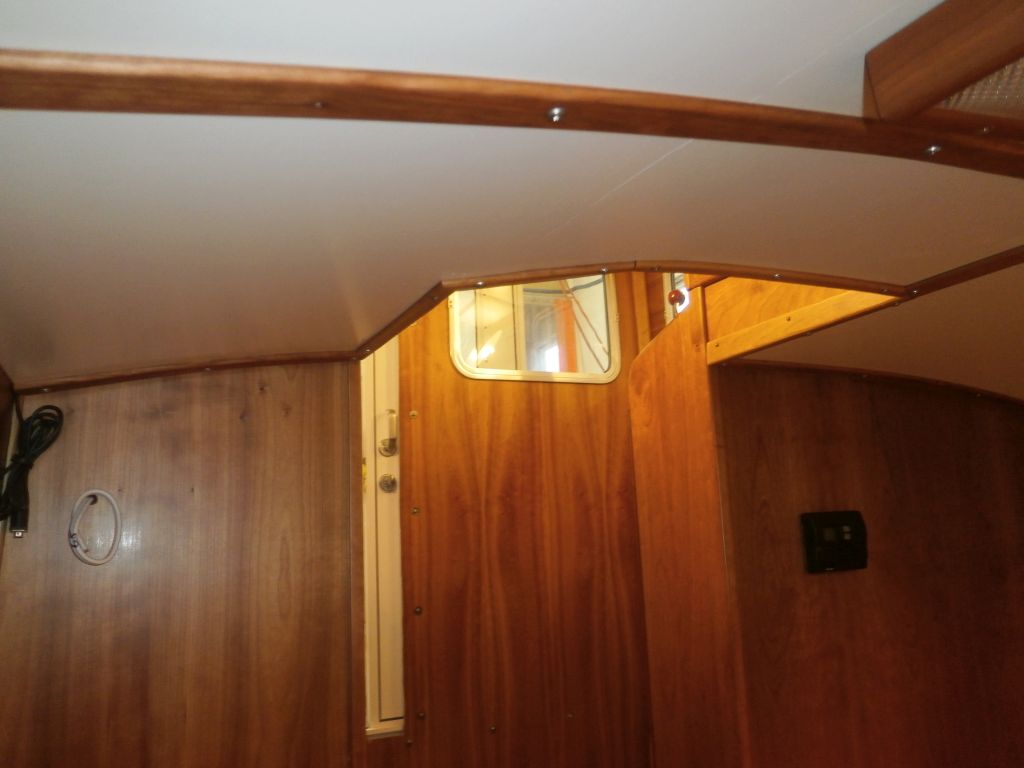
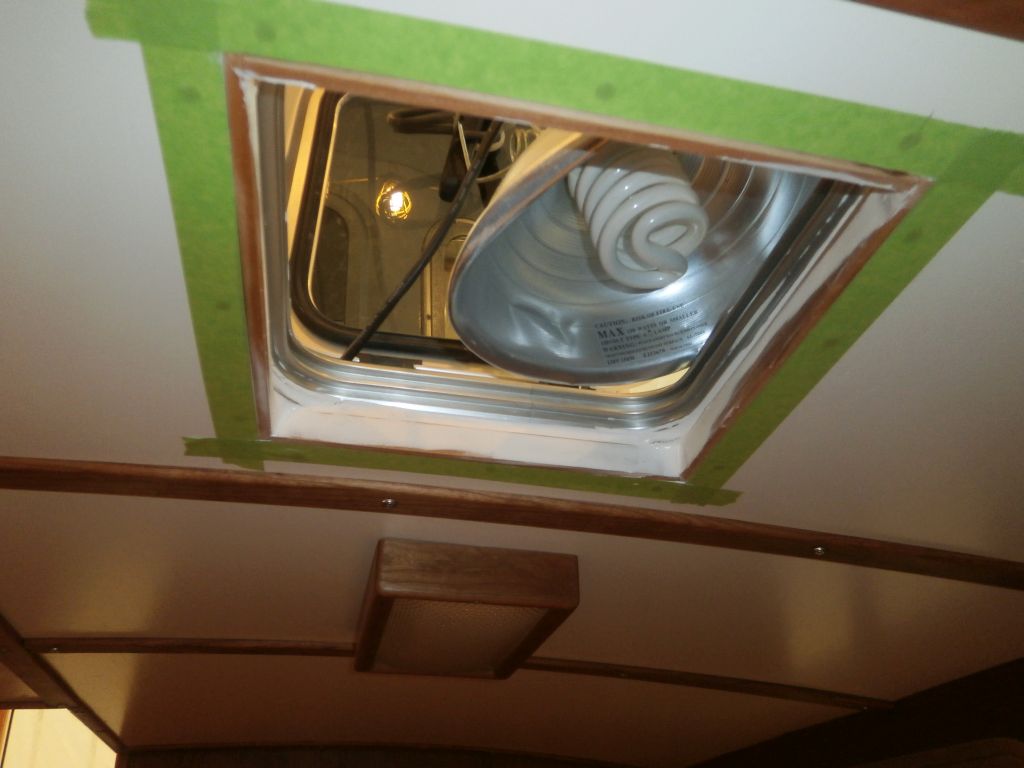
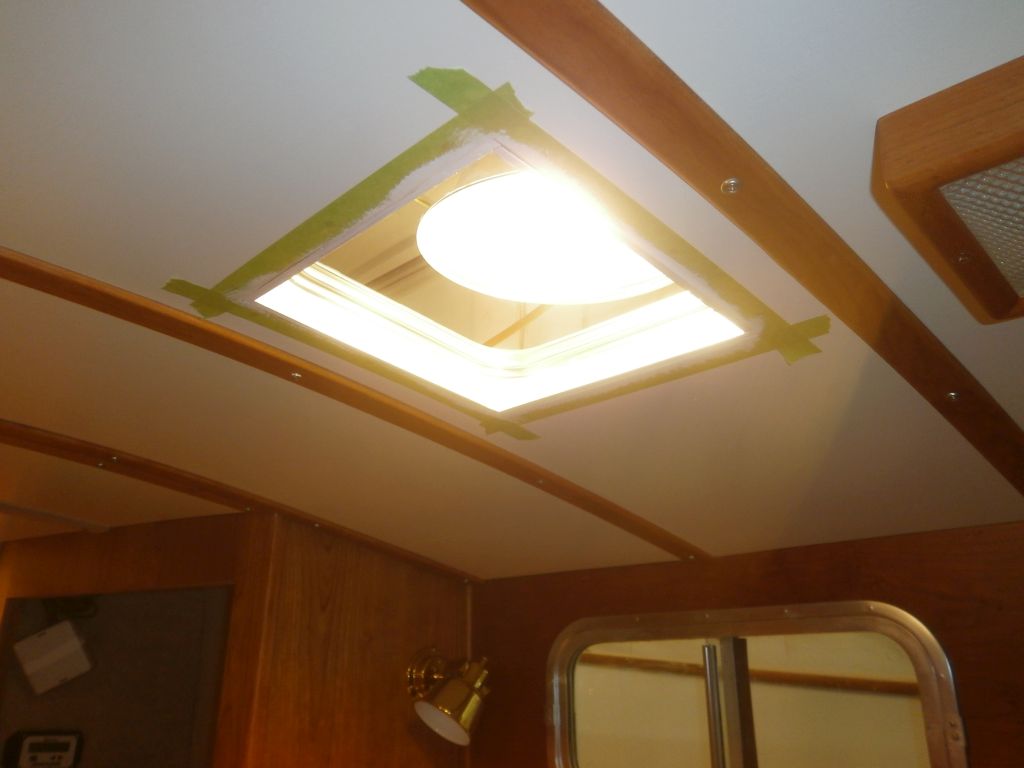
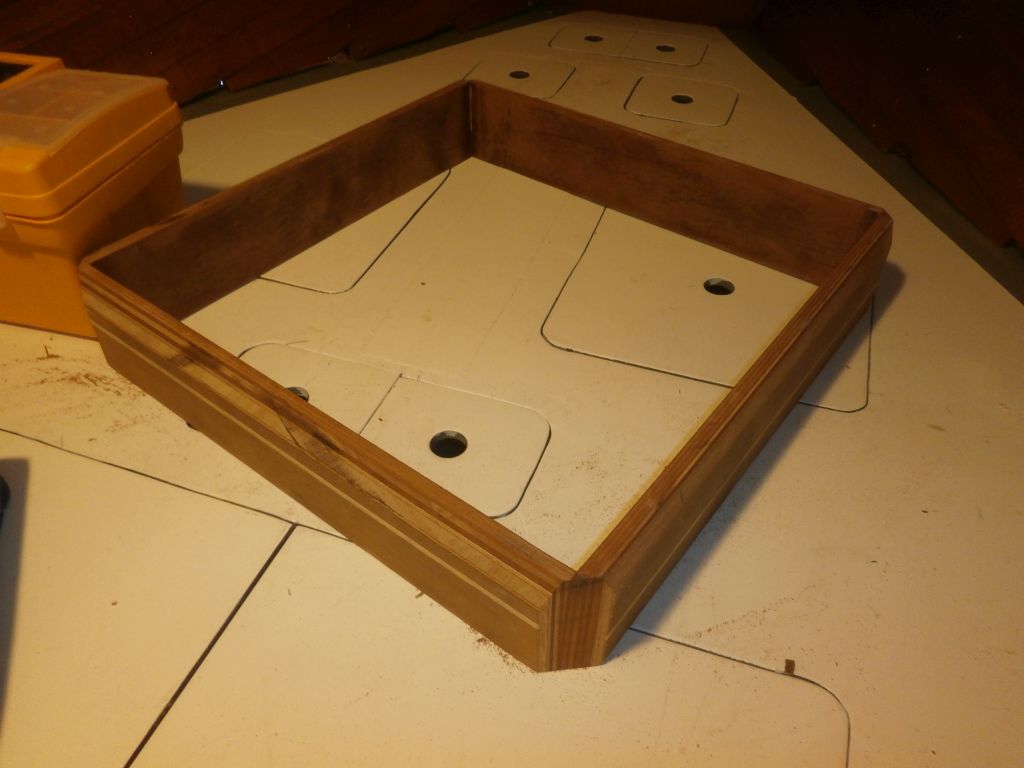
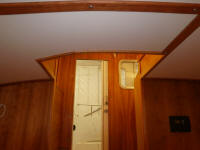
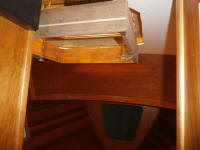
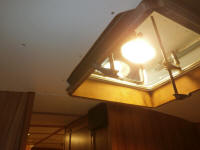
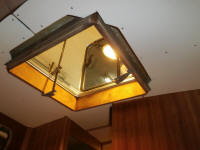
With the basic square trim collar for the forward hatch
glued up, my next step was to get it to fit. When
I'd built the overhead long ago, I'd left angled corners
on the opening around the hatch recess, perhaps thinking
this would be helpful down the road, as at the time I'd
given no thought to how the final hatch trim would work
out (the hatch itself wasn't even installed back then).
Now, I needed to cut out a bit of these angled corners
to allow the square frame to fit within. Clamping
the frame in place, I marked the corners and cut them
out with a handsaw, which allowed the frame to fit up
and inside. |
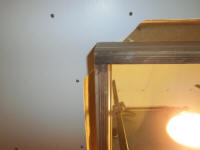 |
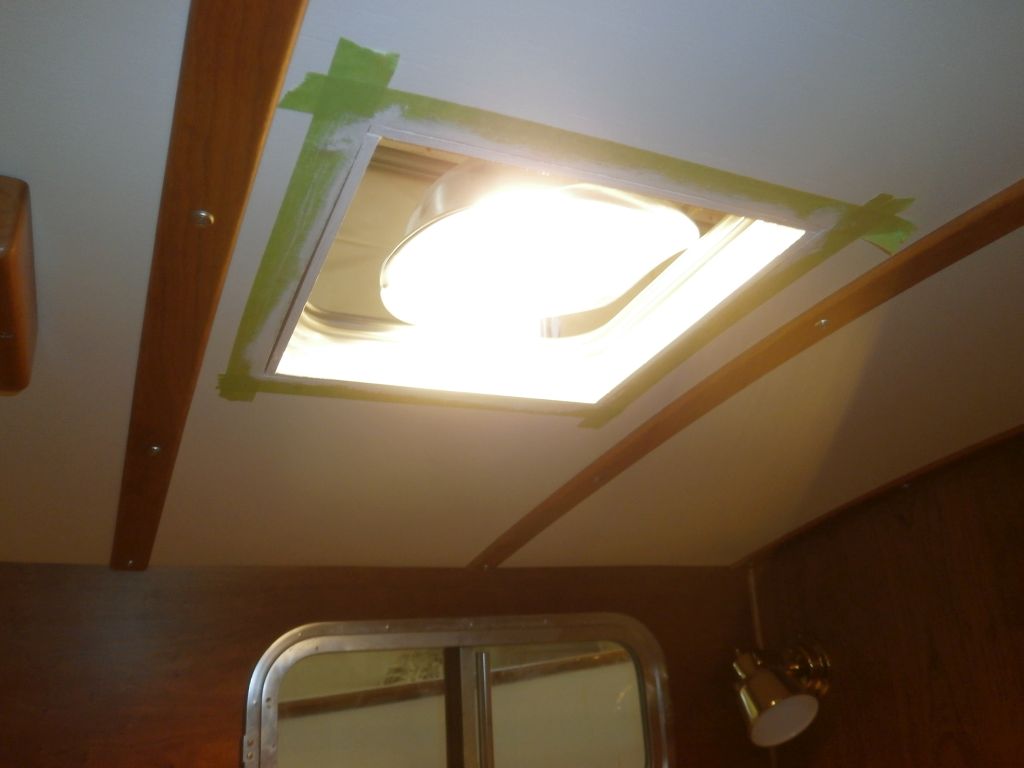
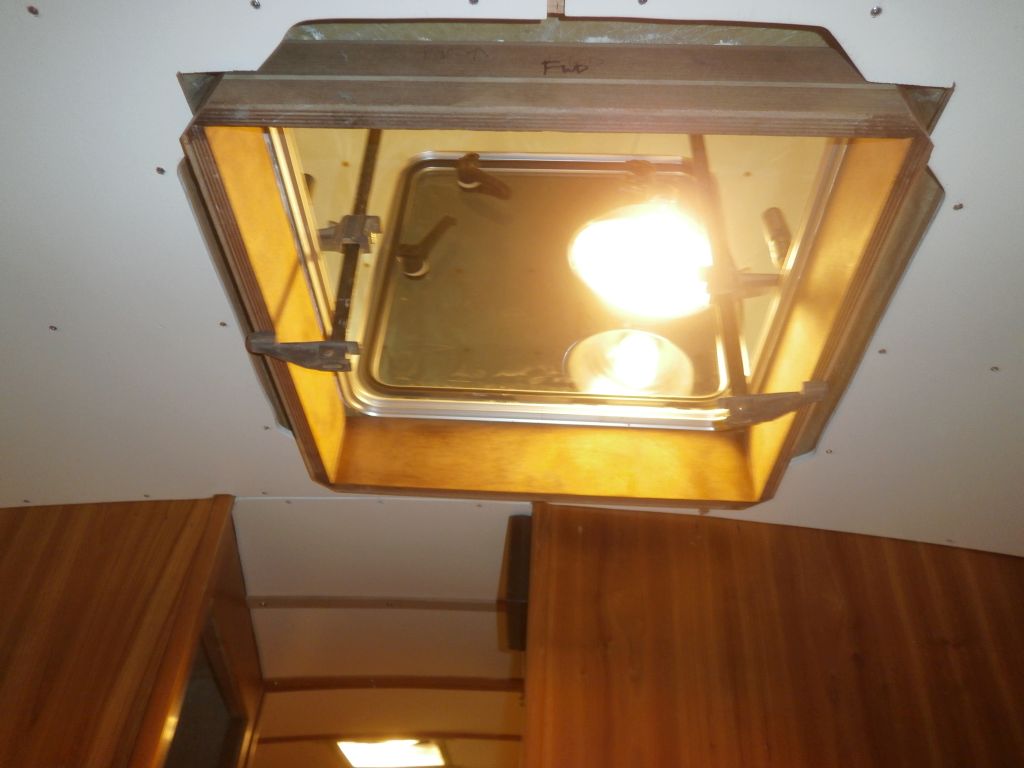
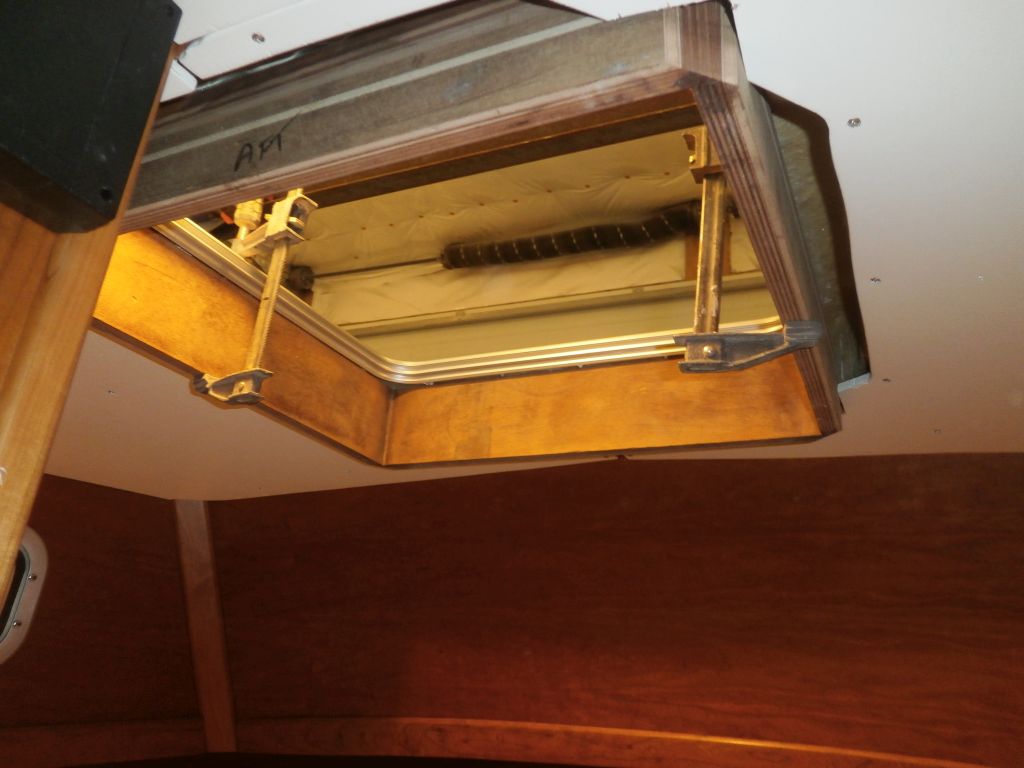
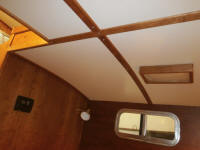
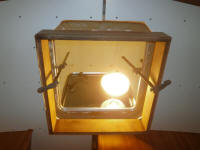
The rounded and contoured shape of the molded deck area
on which the hatch was installed required that I clip
the corners of the new frame, and also that I bevel the
top outer edge of the frame, narrowing it down so it
might fit within the tight confines. This took a
couple rounds up and down to the shop to fine-tune.
Eventually, I'd pared enough material away to
approximate the frame's final position, clamped in place
for now. I still needed to trim some material at
the after edge, but I left that for next time. |


 |
| |
Total Time Today: 3.25 hours
|
<
Previous |
Next > |
|
|