Project Log: Sunday, March 16, 2014
Sundays are good days for odds and ends.
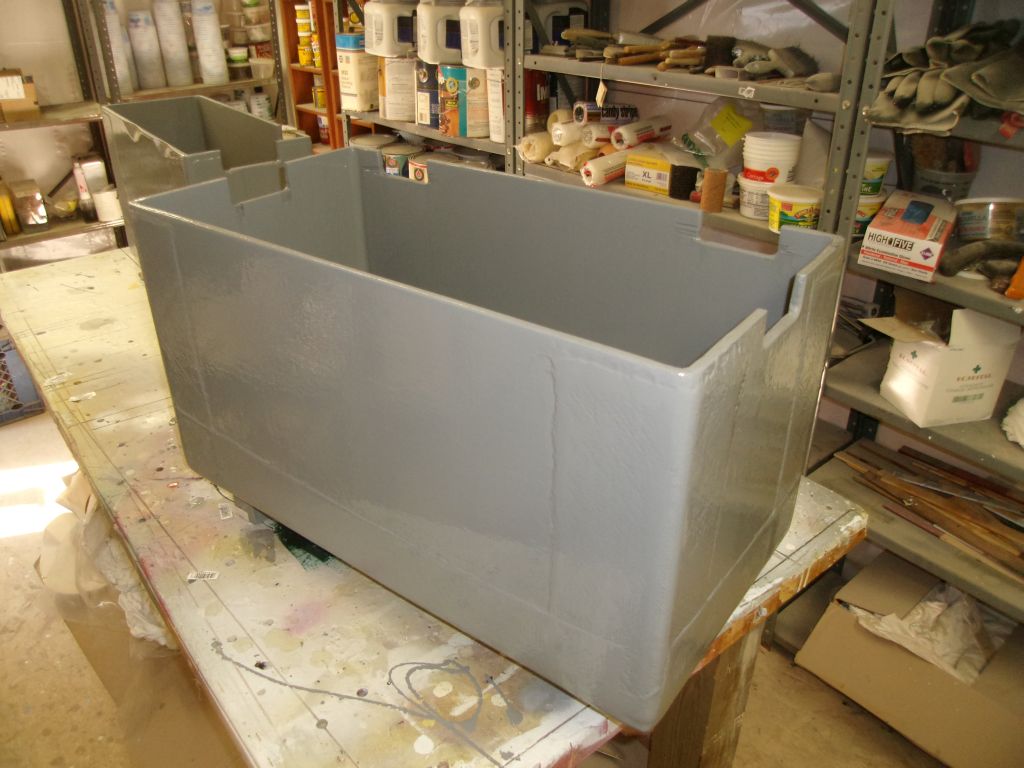
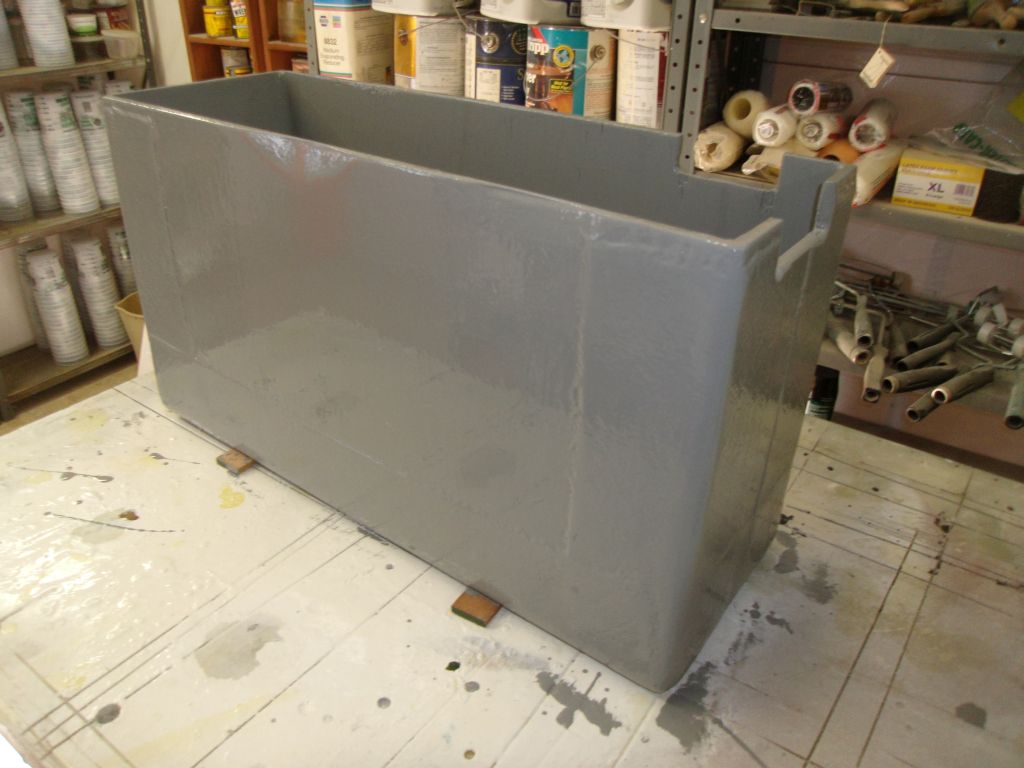
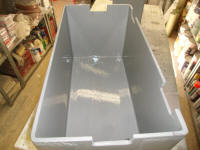
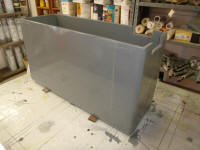
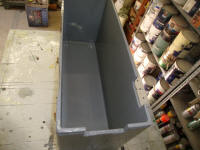
A day or two earlier, I'd painted a couple small test
patches on the battery boxes to determine if the epoxy
had cured pas the point required for the paint to set
up. It seemed to be fine, so I went ahead and
painted the battery boxes with gray Bilgekote inside and
out.
|

 |
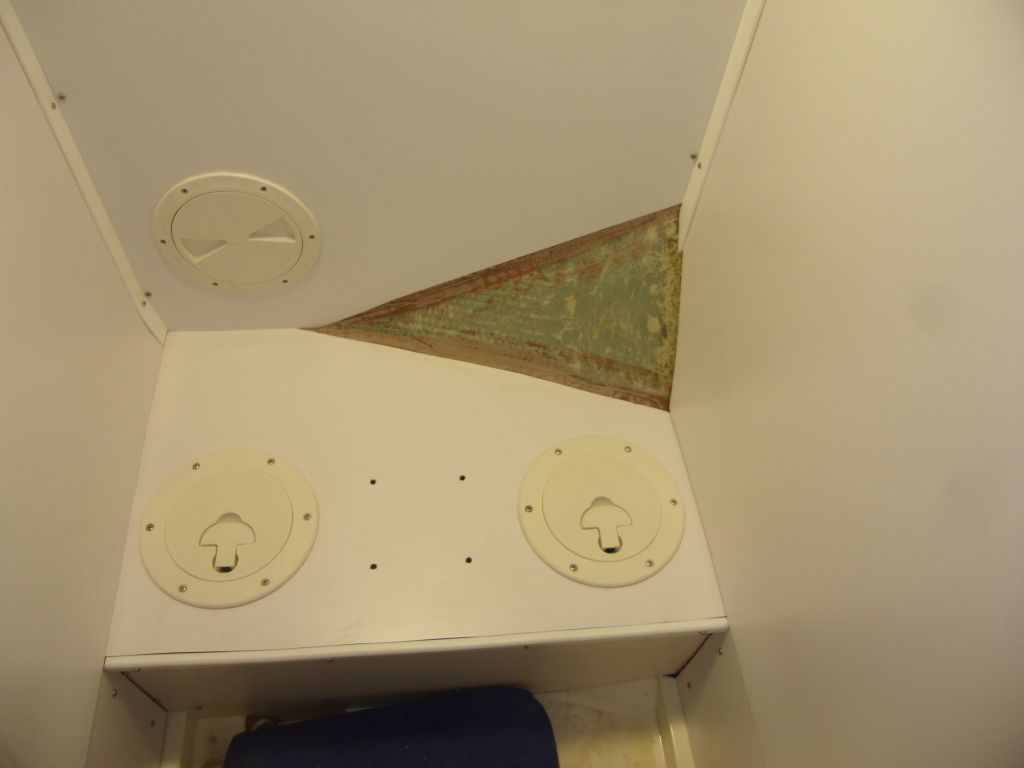
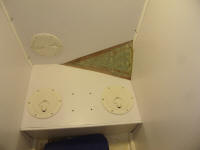
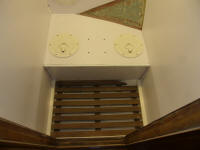
In the head, I water-washed, then sanded, the cosmetic
epoxy fillets at the juncture of bulkheads and hull
outboard of the head platform, the next step towards
preparing these areas for their final paint finish.
I also trimmed the teak slatted insert for the shower
pan so it'd fit with the small changes I'd made to the
shape of the area, which meant simply trimming off
an area in the top right corner that had once extended
into an angled portion of the shower pan, an area I'd
filled with the vertical bulkhead. |
 |
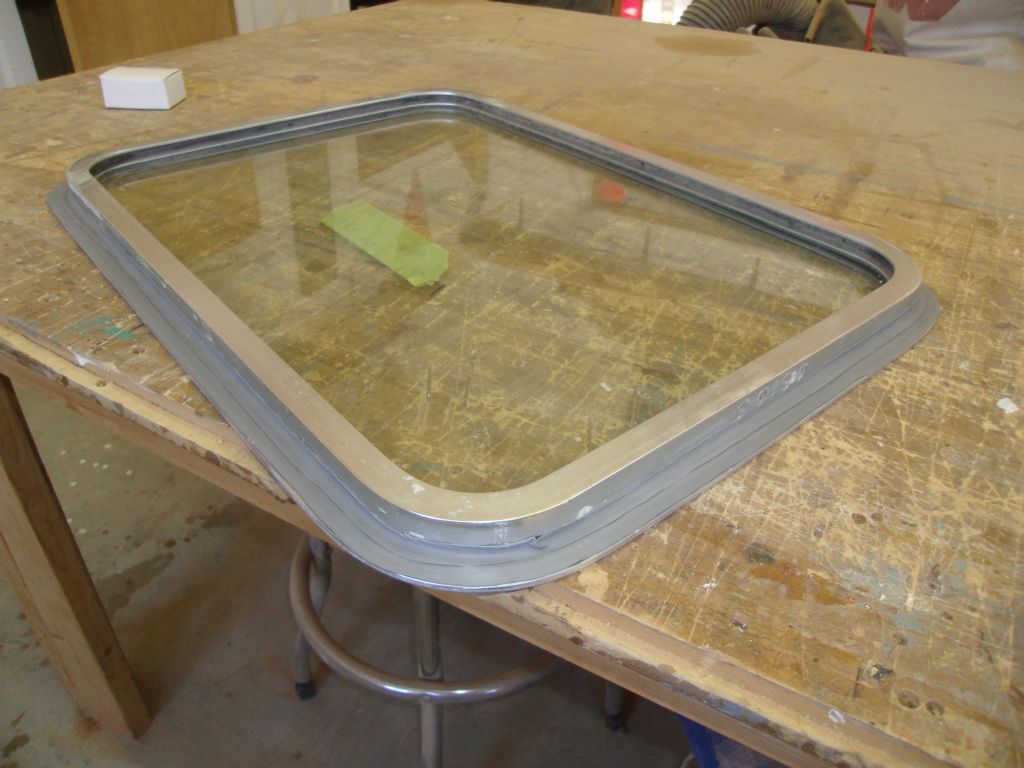
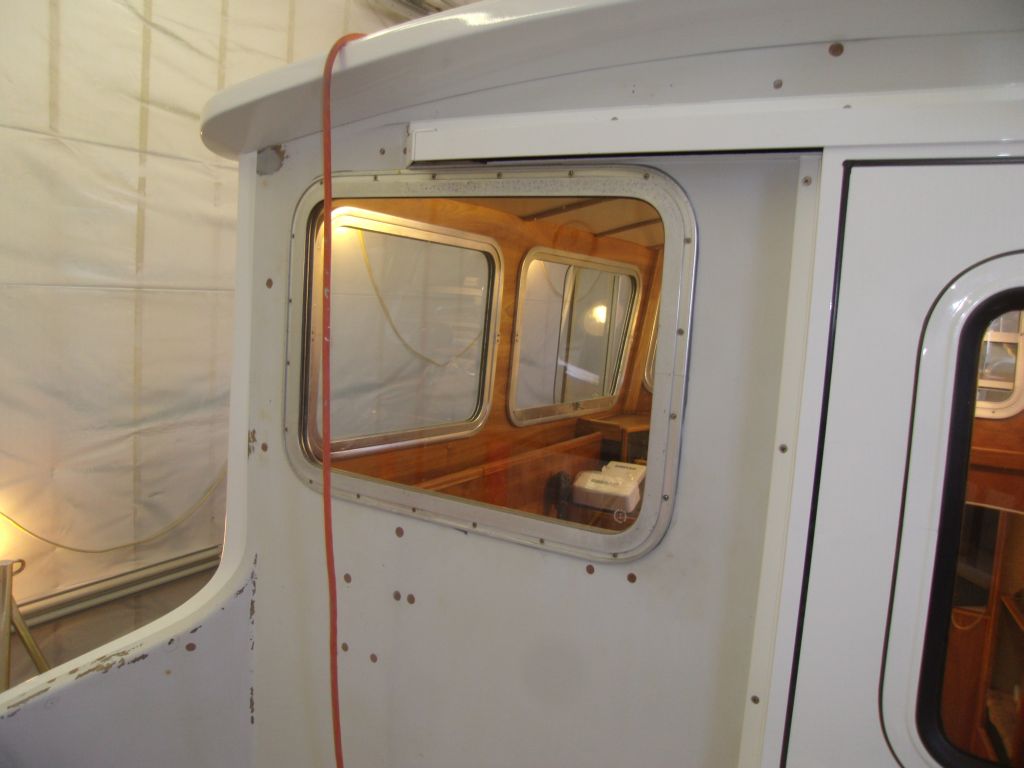
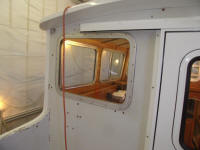
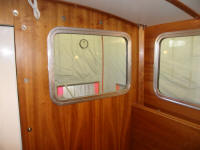
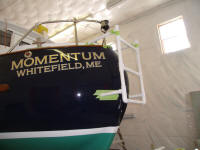
It struck me that I just didn't want to wait any longer
to put in the final window, the aft-facing one in the
pilothouse. As I continued to refine my goals for
this season's "completion" of the project, which meant
getting her in the water and usable, I was unsure when,
exactly, I'd be completing the work I wanted to do in
the cockpit (including final paint work), and while that
work wasn't technically required to launch the boat,
having the window in place definitely was. I hate
barely-undone projects, so I cleaned up the window and
installed it in the same way as all the others.
I'd paint around it when the time came. |

 |
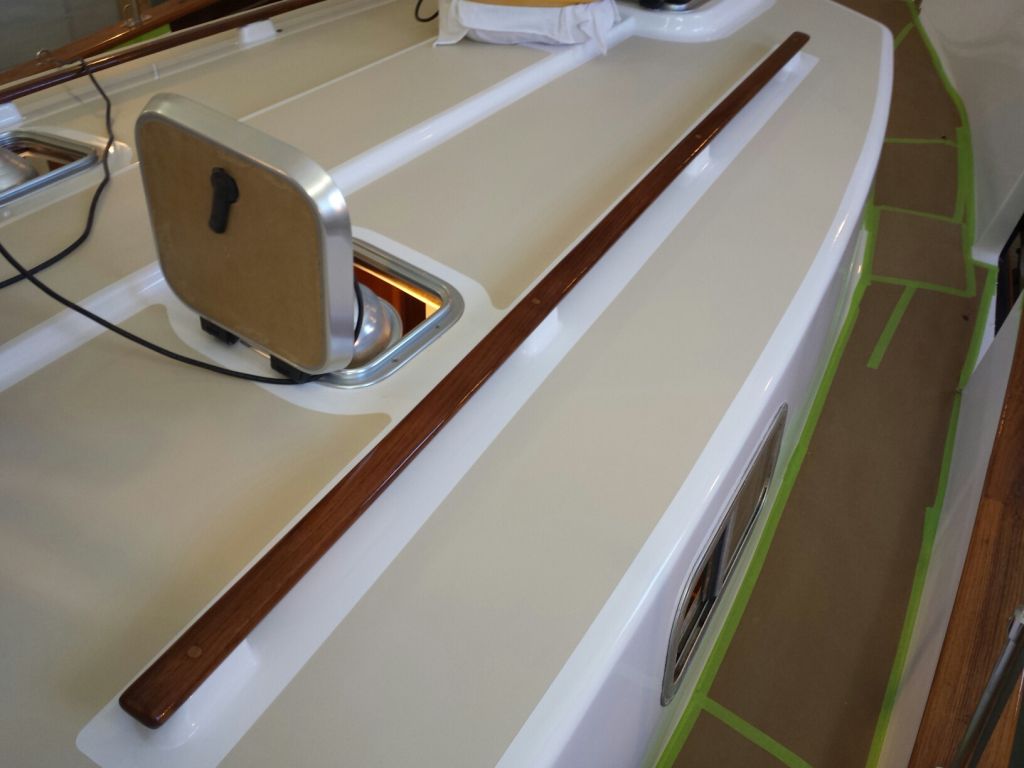
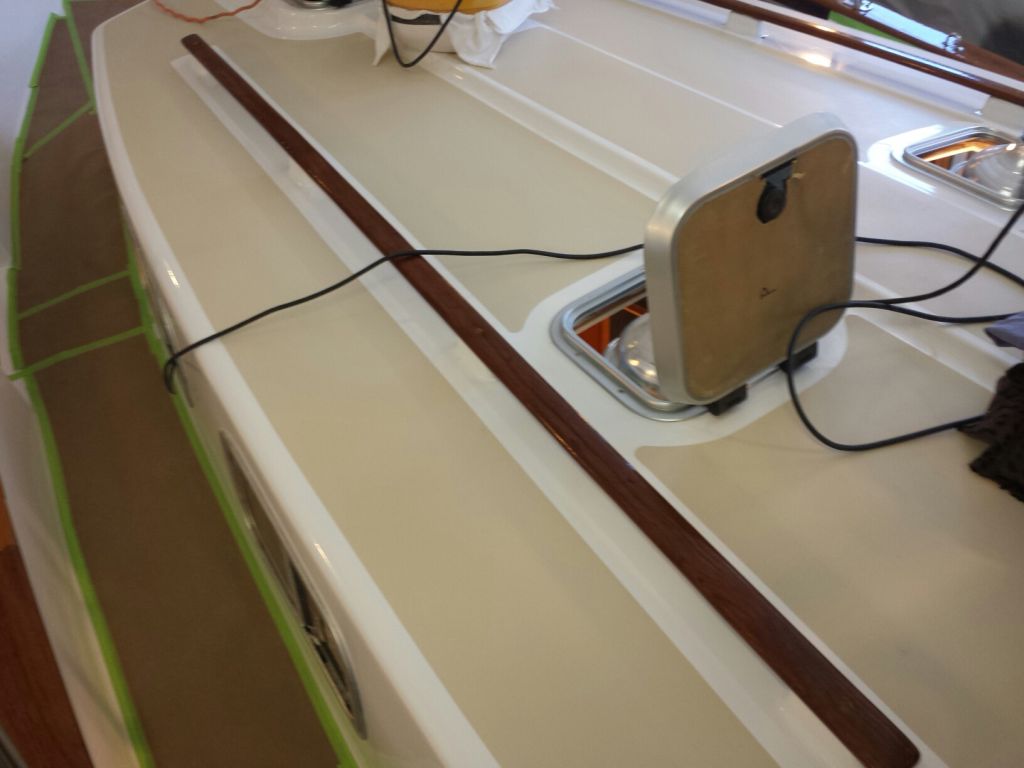
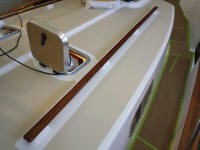
I pared away the excess bungs from the newly-installed
forward handrails, and applied some varnish over the
bungs to seal them. Hopefully soon I'd put more
varnish on both sets of handrails. |
 |
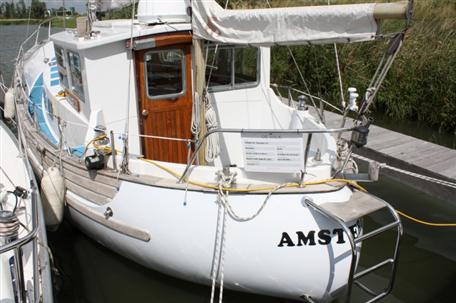
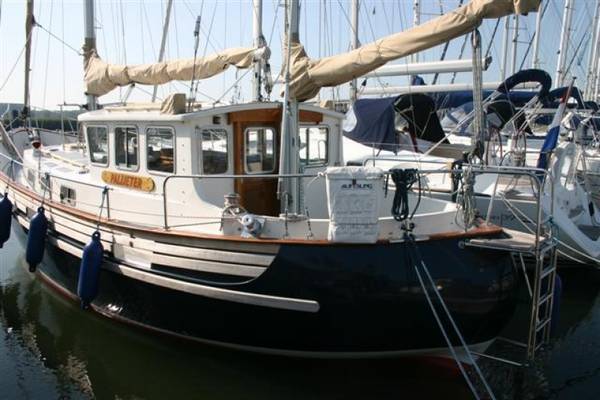
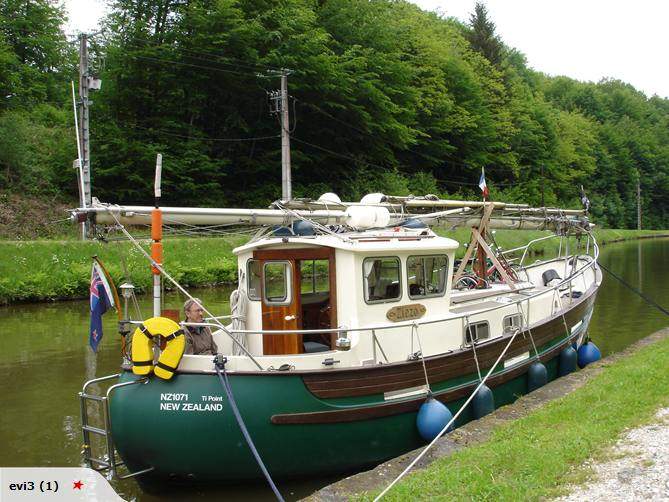
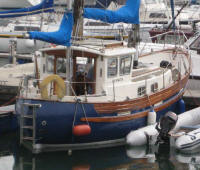
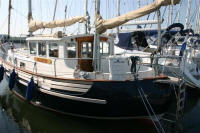
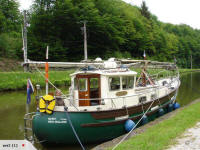
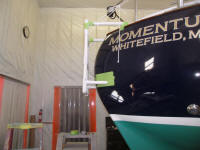
I continued work on my boarding ladder mockup.
Reviewing some of the photos I'd collected from the
Internet much earlier of various ladder iterations on
different Fishers, I found a simple design concept (one
that I'd seen repeated on several different boats) that
I liked and thought would work well here, and do all the
things I wanted it to, albeit with various changes to
better suit our desired situation in the end. What
attracted me was the simple execution and, especially,
the idea of a platform at the top. I'd use this
concept as a starting point and manipulate the idea as
needed to suit. |
Note: photos borrowed from various online
sources and duplicated here without proper attribution.
Please email me with any objections or requirements for
attribution and I'll take care of it. Photos shown
for conceptual purposes only.

 |
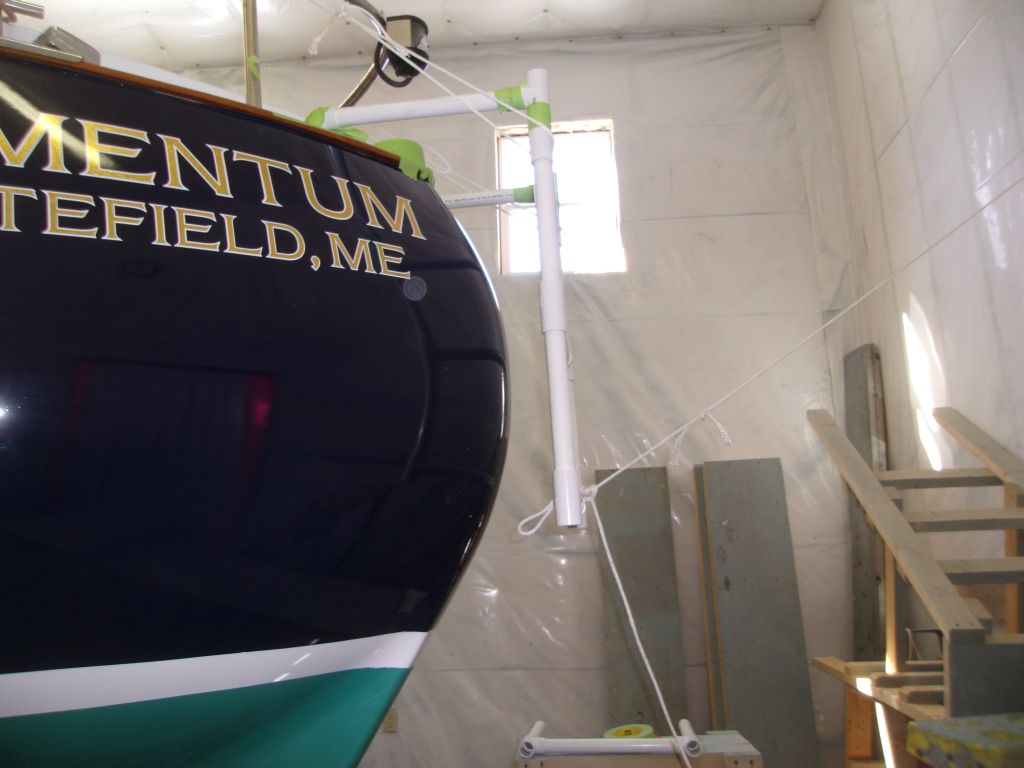
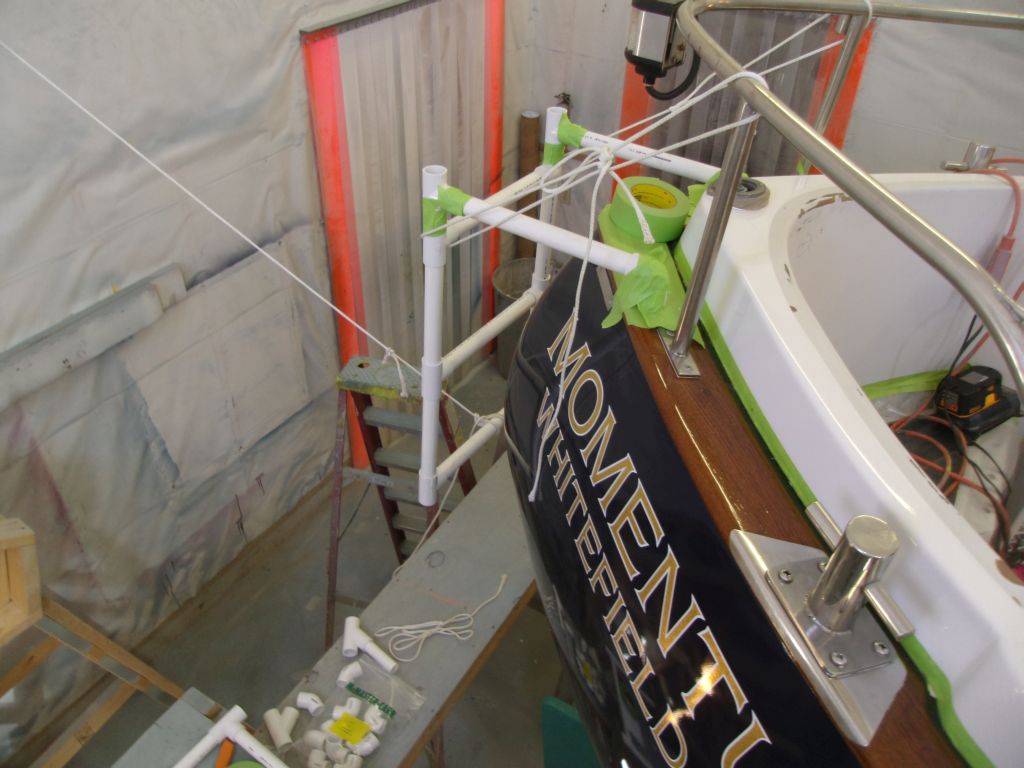
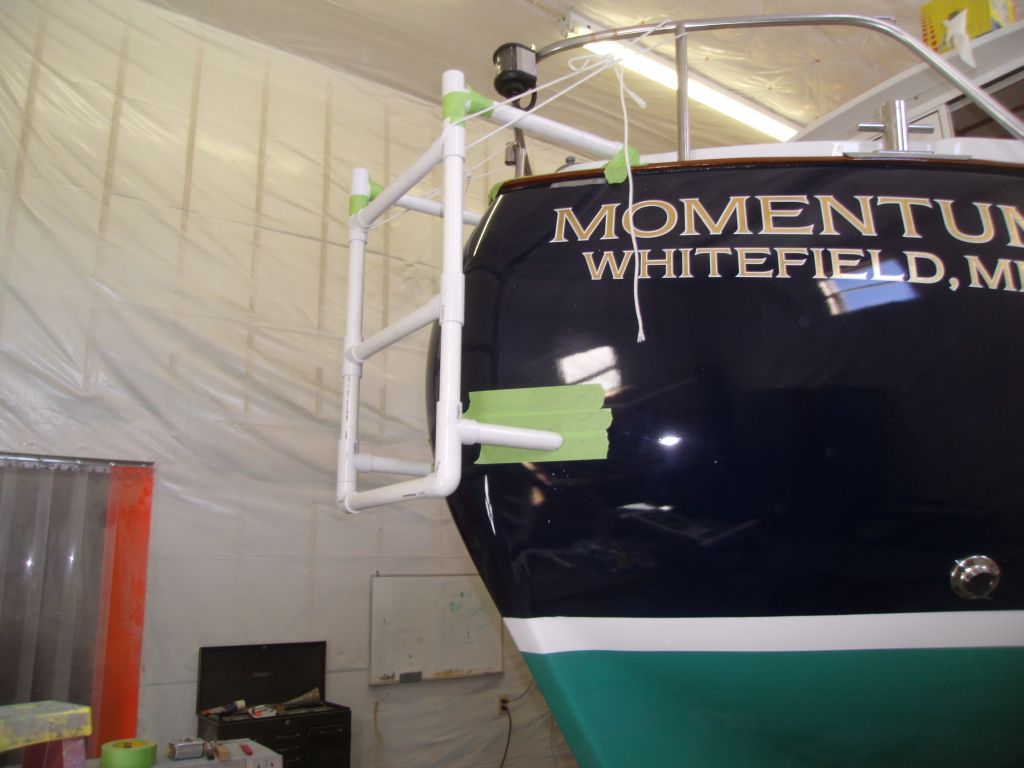
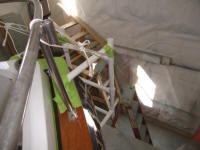
Working with the PVC pipe certainly had its limitations,
and what I created was a proof of concept rather than an
accurate template. Once I got the concept together
that I wanted, I hoped I could find some local
fabricator who could come to the shop, see the template
in place, and work through the measurements and eventual
construction accordingly.
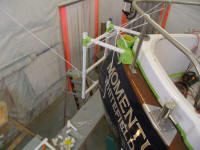
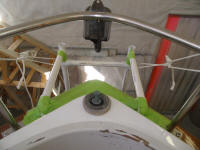
I started with a basic 3-step section of the ladder, and
added horizontal braces at the top, extending onto the
caprails at the transom, to simulate the beginnings of
the support structure and top platform. Various
limitations of the plastic pipe medium, such as
availability of applicable fittings to connect the pipe,
meant that things would change subtly in the final
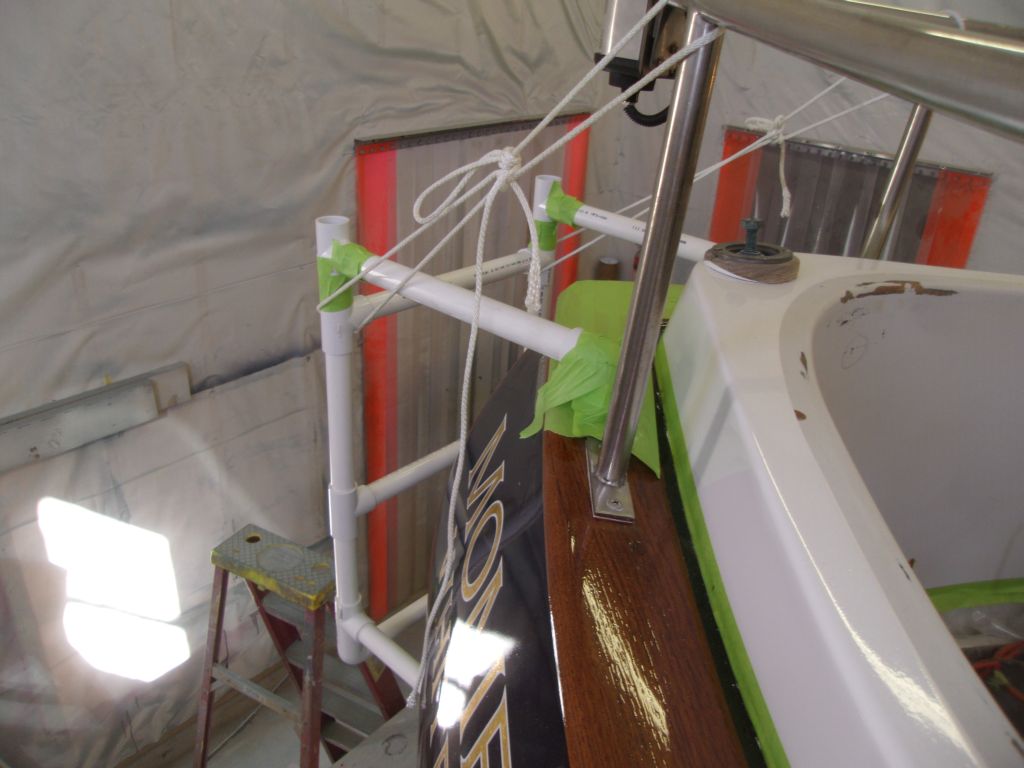
versions. To hold the "ladder" roughly in the
proper orientation, I used some lines to secure it this
way and that in mid-air. I taped a few joints
together as needed. |

 |
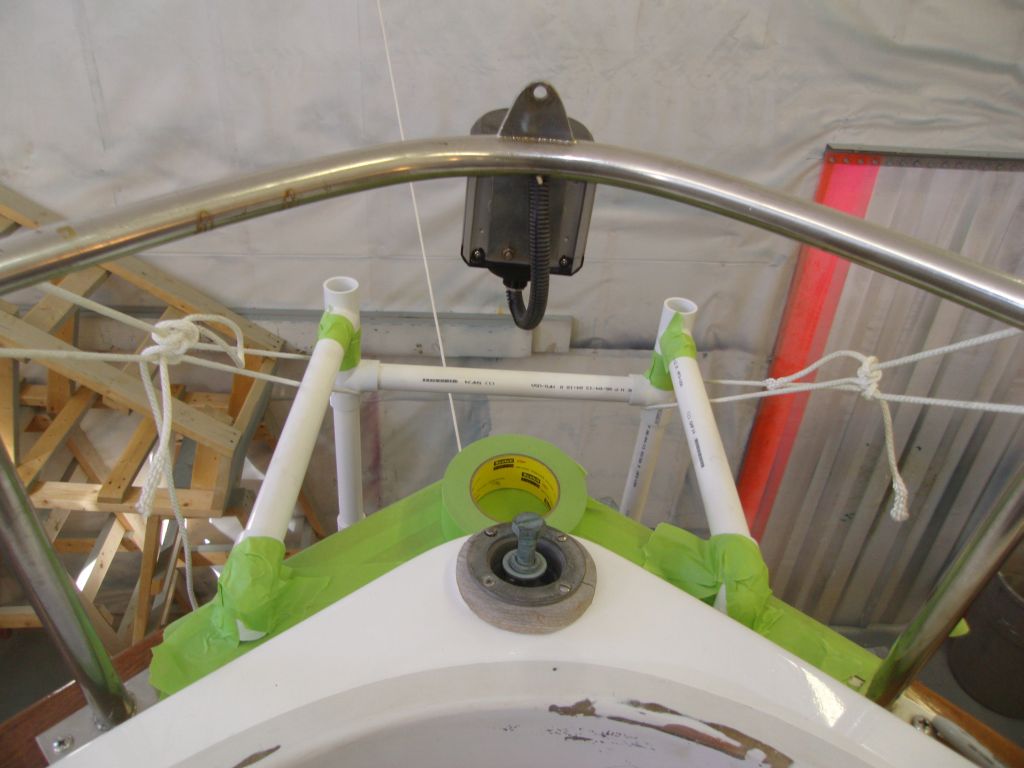
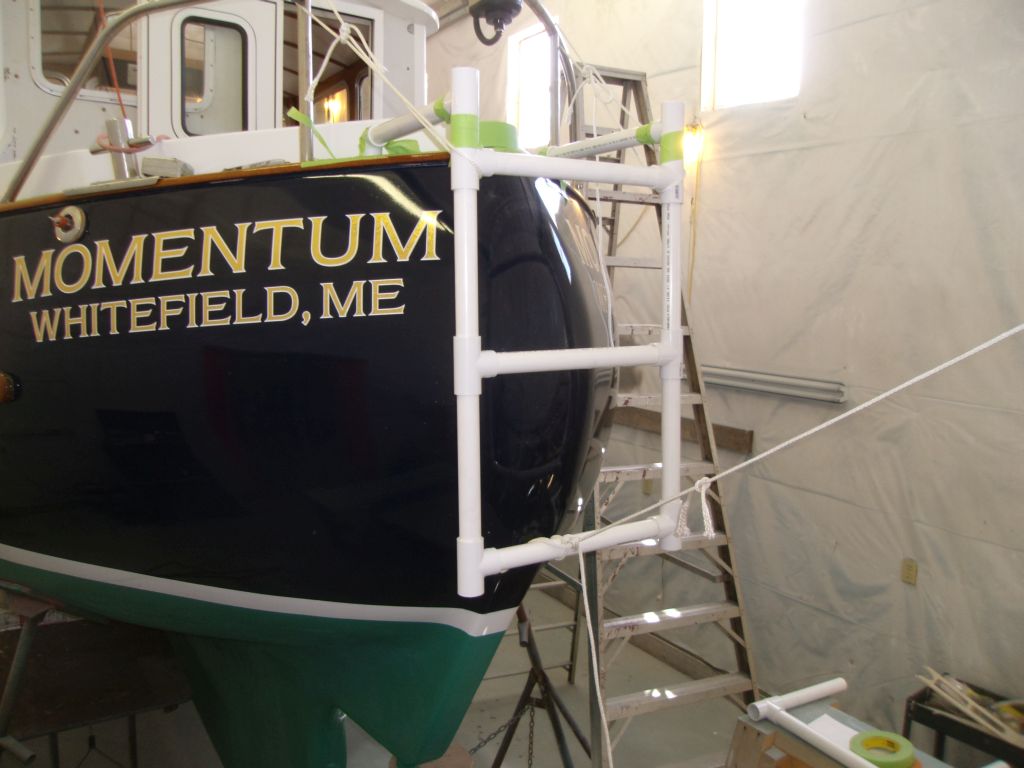
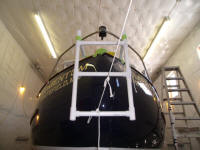
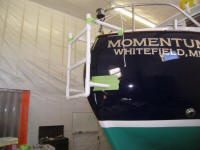
From there, I added horizontal braces from the bottom to
the hull, omitting the idea of mounting flanges for the
purposes of this mockup at this time. What I
eventually wanted was for the top rung and platform area
to be at the same level--something I couldn't simulate
with the current fittings I had on hand--and for the
fixed portion of the ladder to extend close to, but not
into, the water for ease of use from a dinghy on a
regular basis. Whatever final ladder ended up
coming to pass would also incorporate a folding section
that could be lowered several steps into the water for
swimming and that, while stored, would still allow use
of the top portion. |

 |
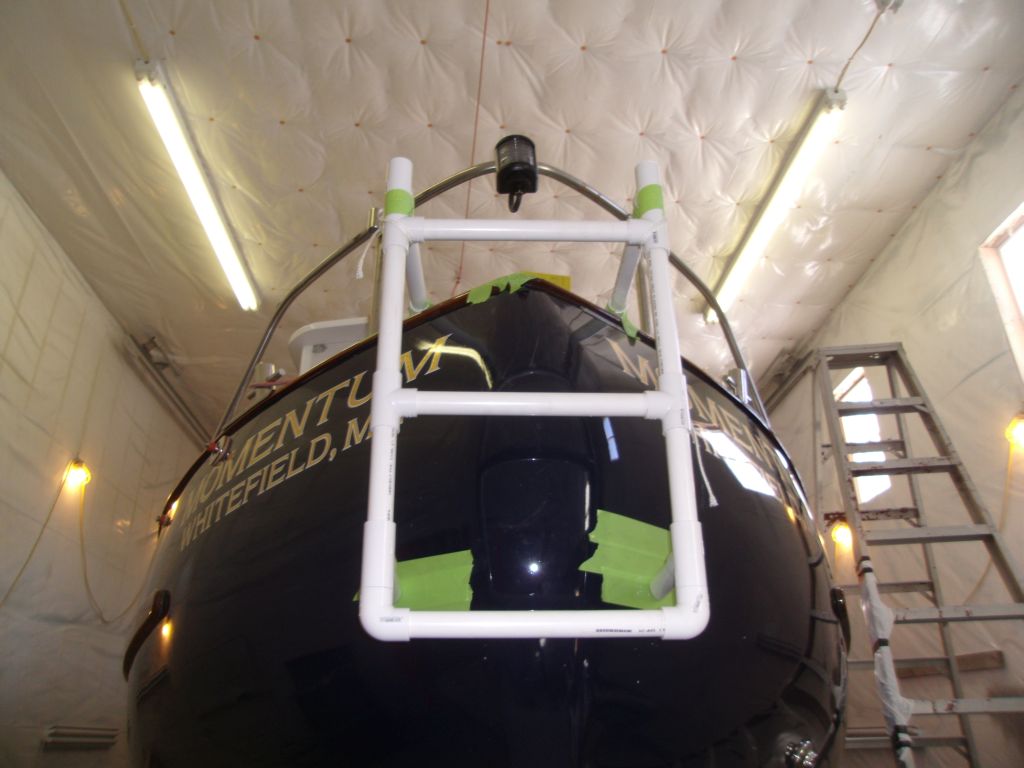
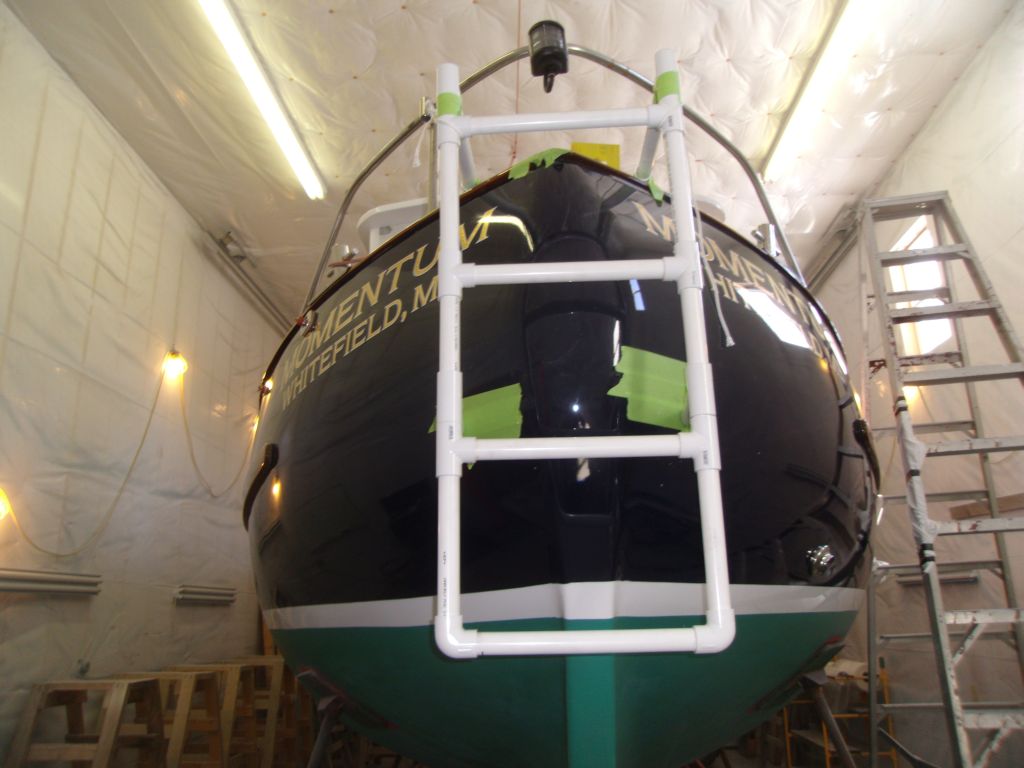
Ideally I hoped for four steps above the water, so I
added a fourth rung to the mockup; this brought the last
rung too far down for the moment, but that was something
I could likely manipulate as the process continued. |
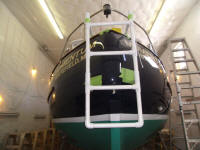 |
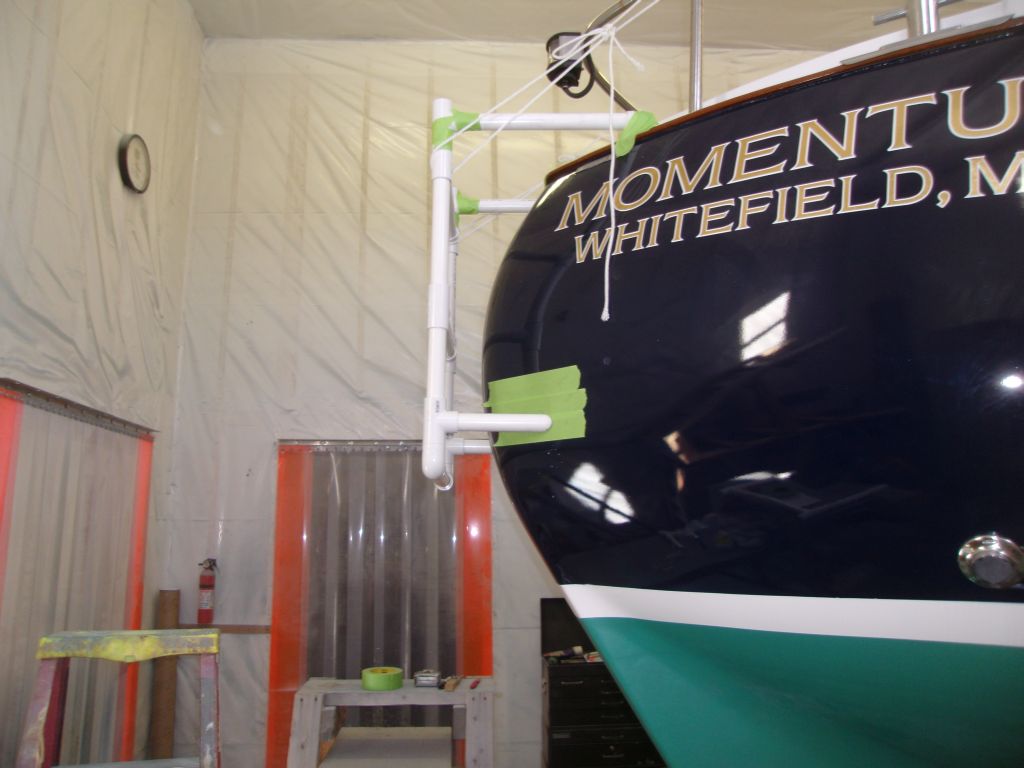
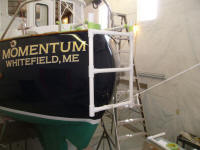
There remained work to be done here, but I was satisfied
with the basis for now, subject to various changes.
I also envisioned extending the side rails upwards at
the top to provide secure handholds, and I'd work on
that another time. For the moment, I was out of
time. |
| |
Total Time Today: 5.25 hours
|
<
Previous | Next > |
|
|