Project Log: Saturday, March 15, 2014
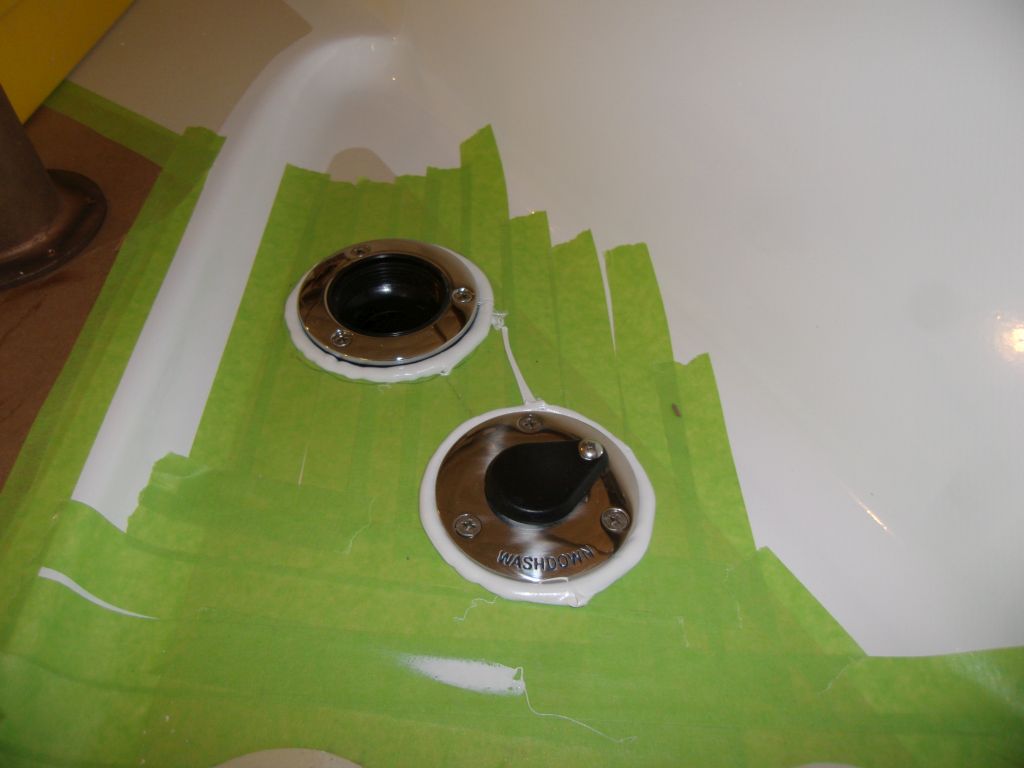
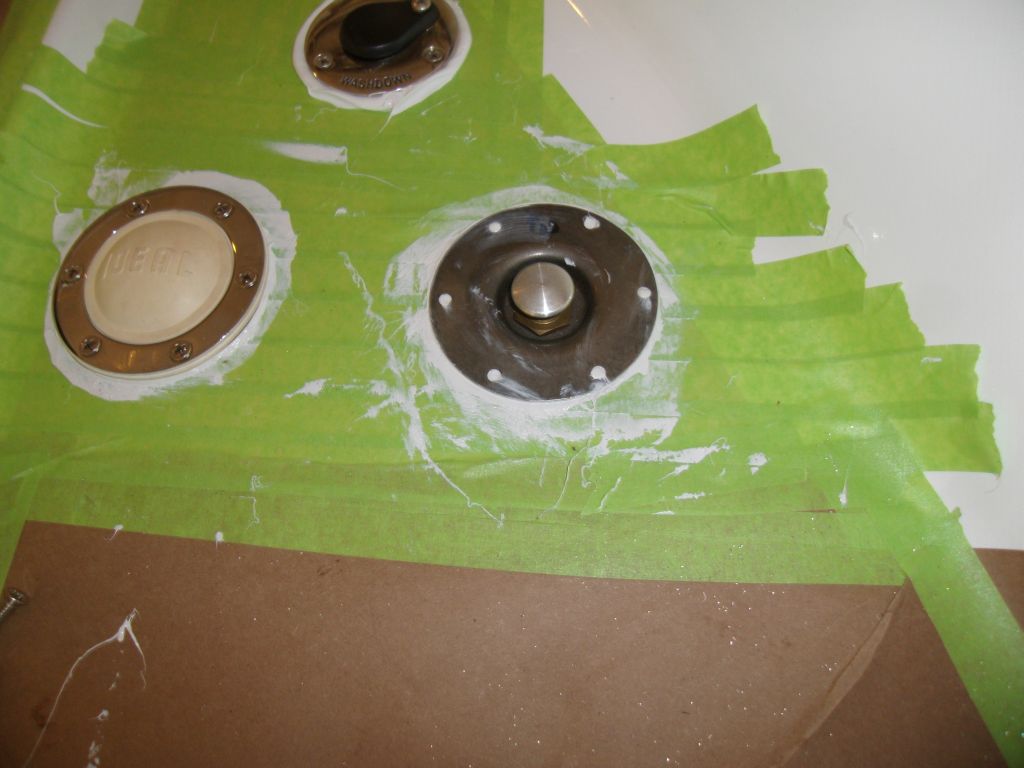
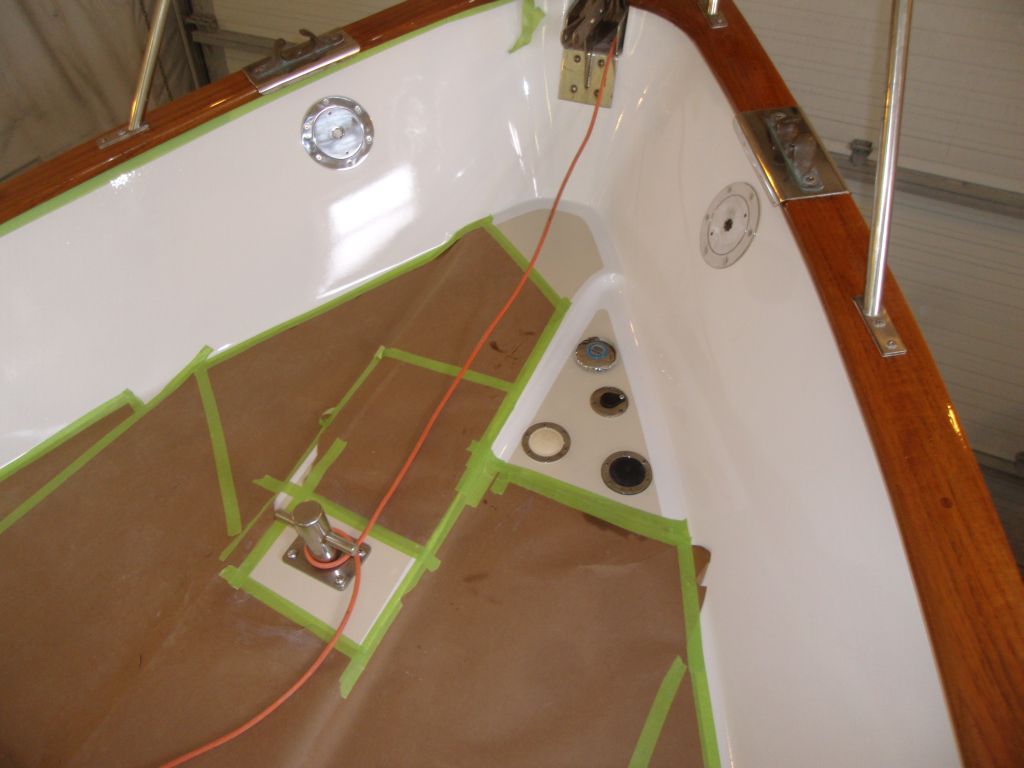
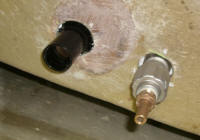
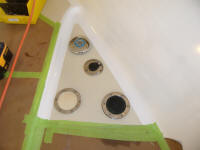
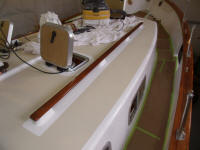
Over a period of a couple hours, I installed the water
tank fill, saltwater washdown, and windlass foot
controls, starting at the bow and working aft.
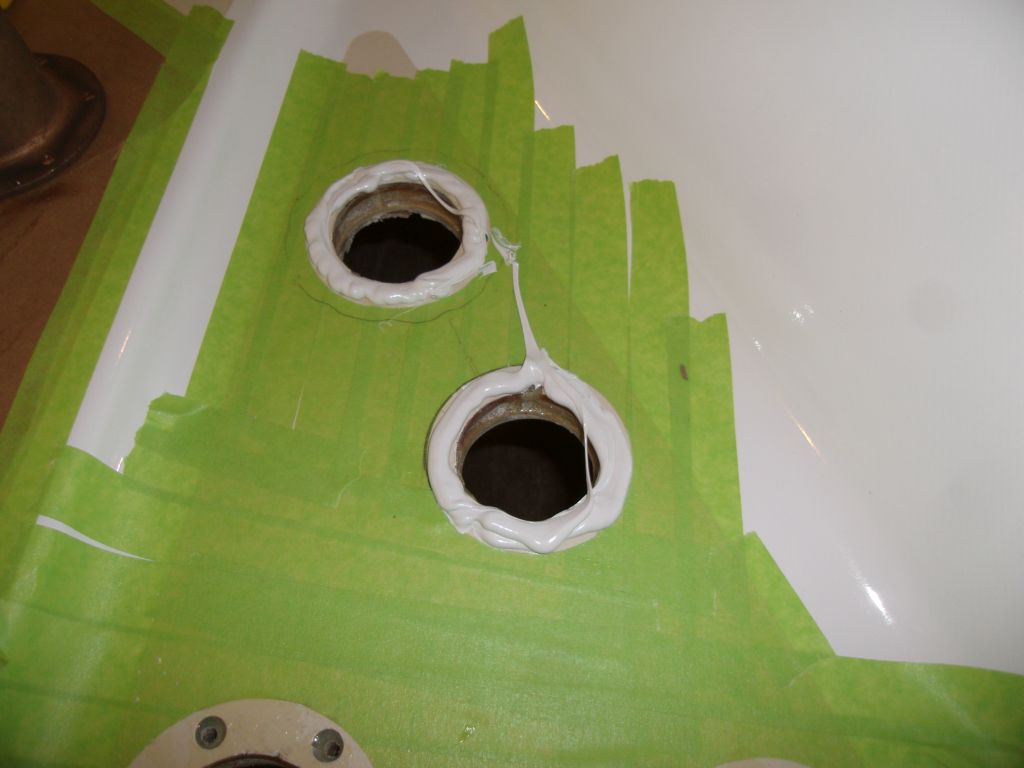
In each case, after final hole preparations (light
sanding to remove any excess epoxy), I drilled and
tapped for the appropriate fasteners, applied sealant,
and secured the hardware in place.
|


 |
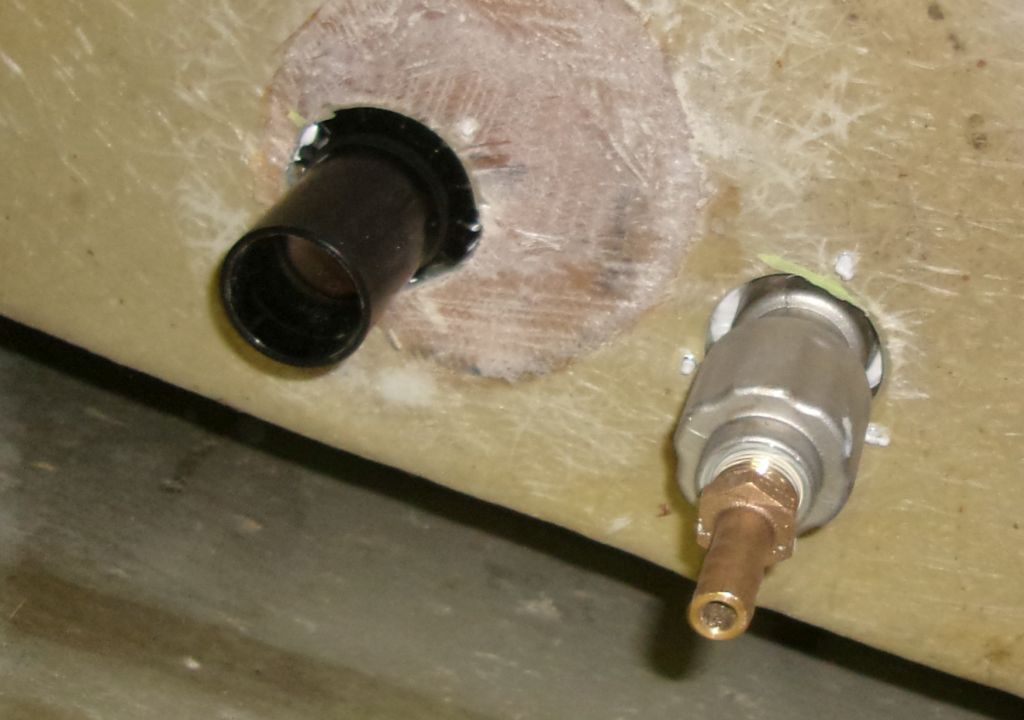
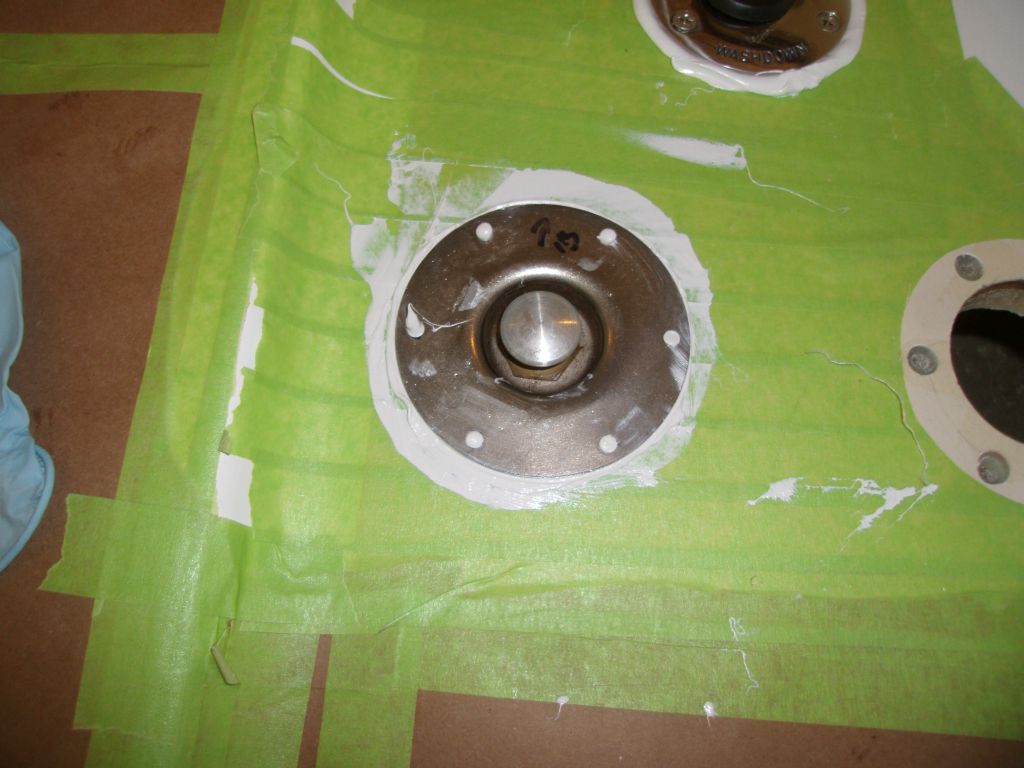
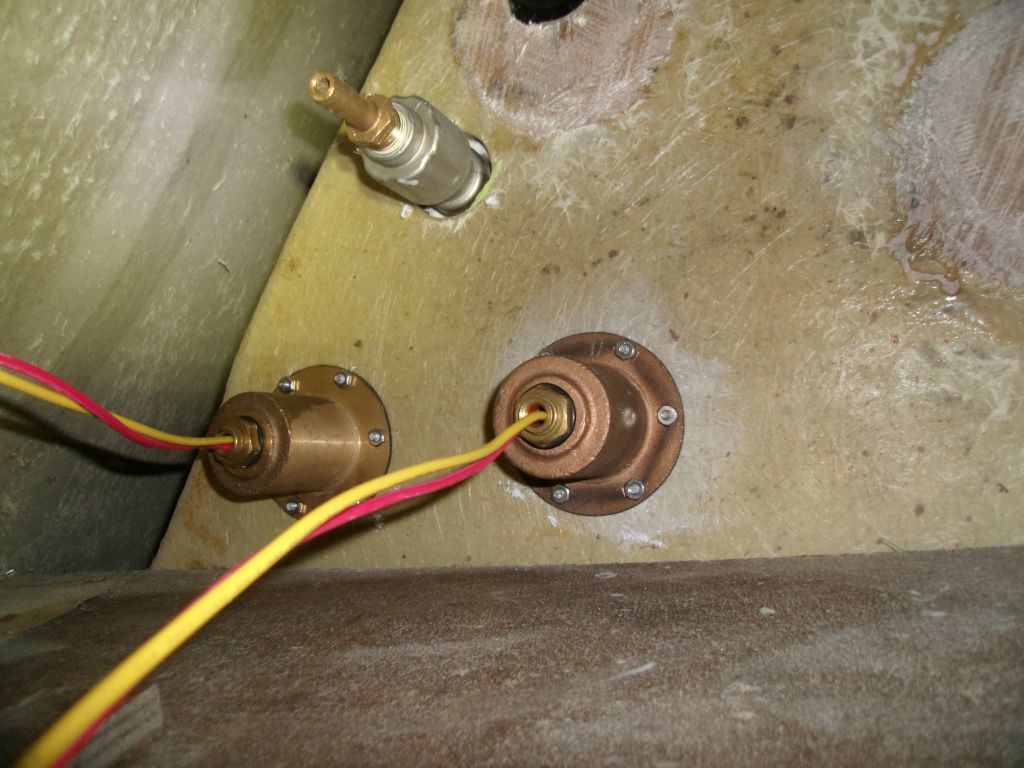
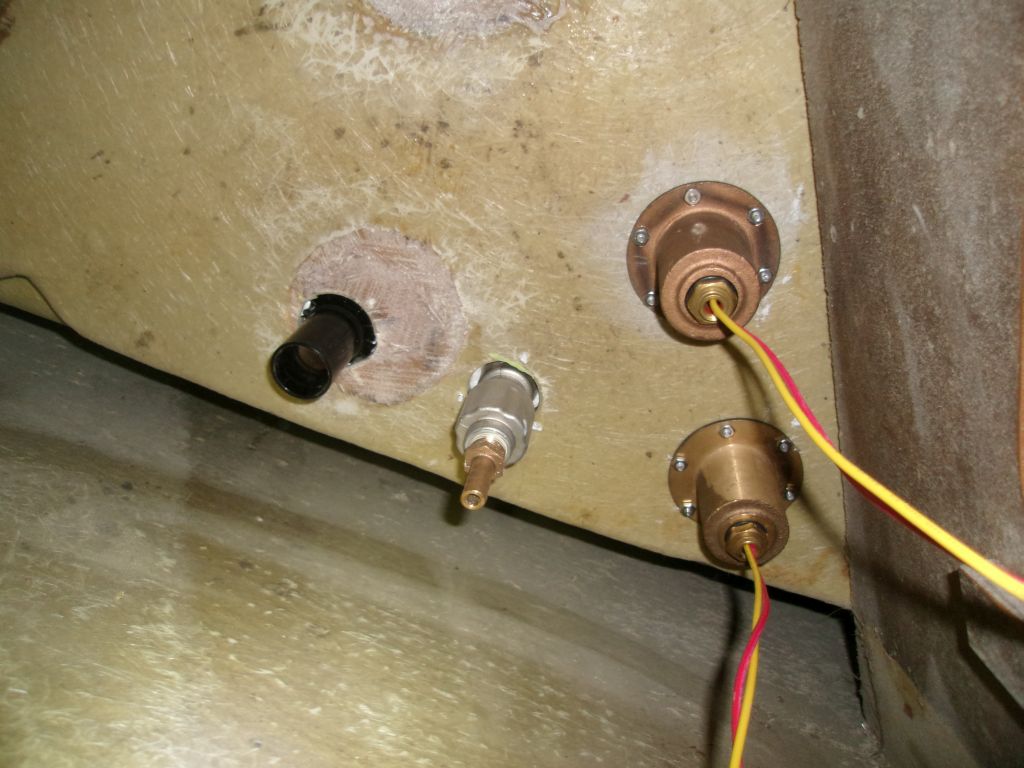
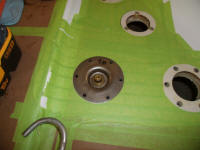
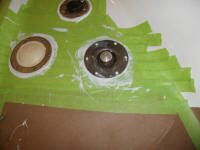
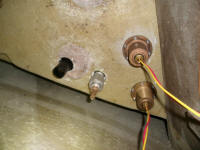
The windlass controls were a little more involved.
I prepared the holes the same way, but because the
bronze covers belowdecks had to line up with the
fasteners from above, it made final installation take a
little longer, since inevitably the covers didn't line
up perfectly with how the screws actually went through
the deck. To get around this, I enlarged all the
holes in the bronze housings' mounting flanges, allowing
more leeway for slight misalignment, and in the end it
was the constant back and forth between the chainlocker
and the foredeck--separated by only inches, yet 60 feet
apart in practicality--that made the controls'
installation take inordinately long. |


 |
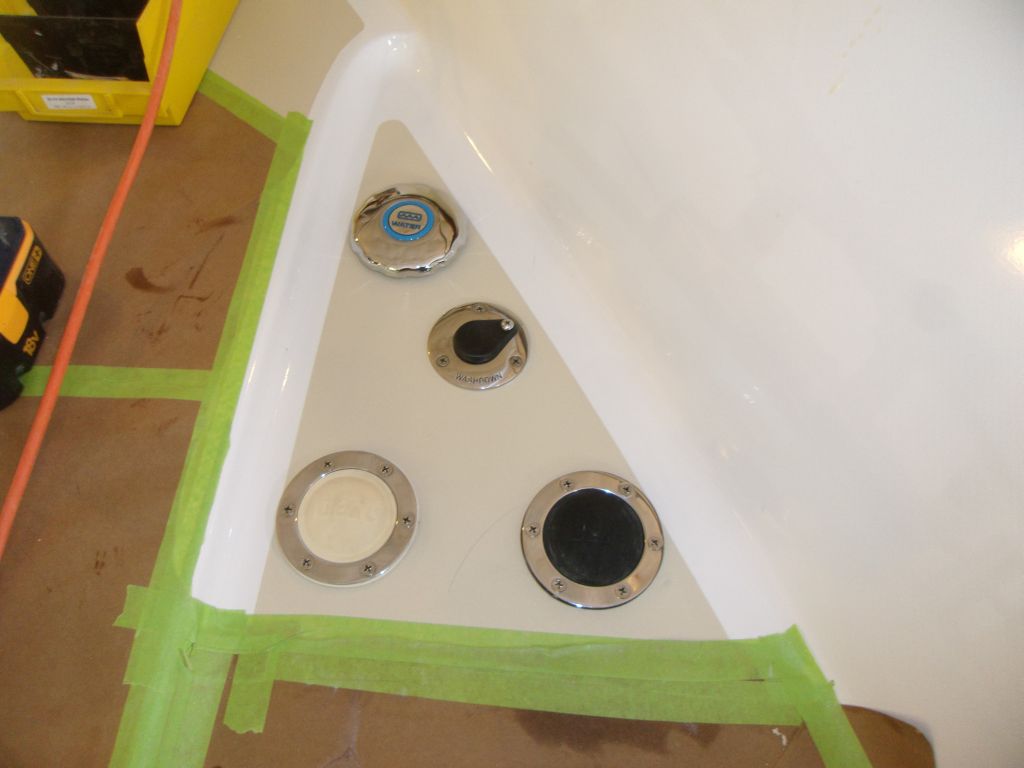
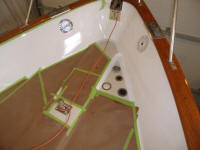
With all four things installed, I cleaned up the excess
sealant and removed the tape from the deck. |
 |
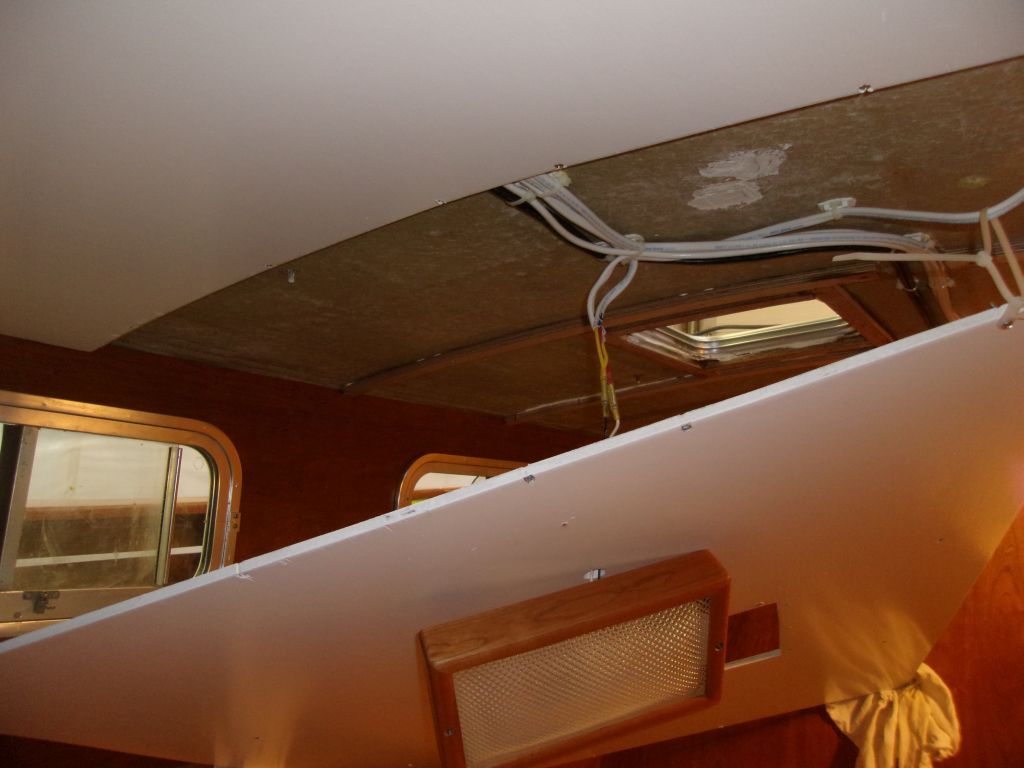
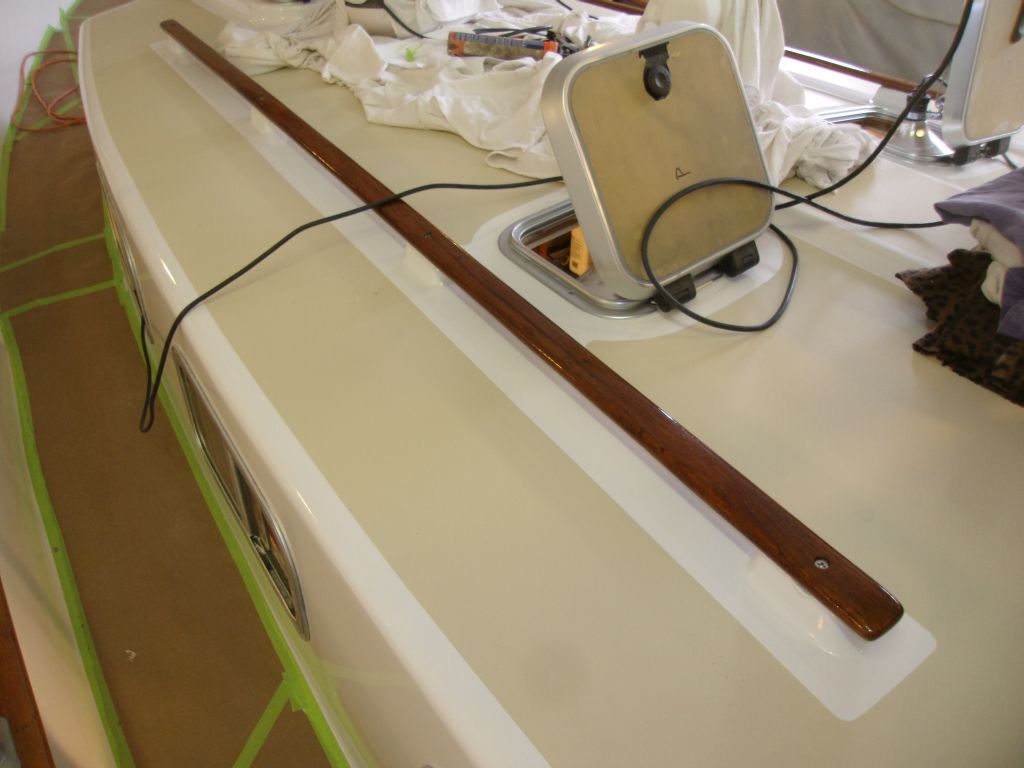
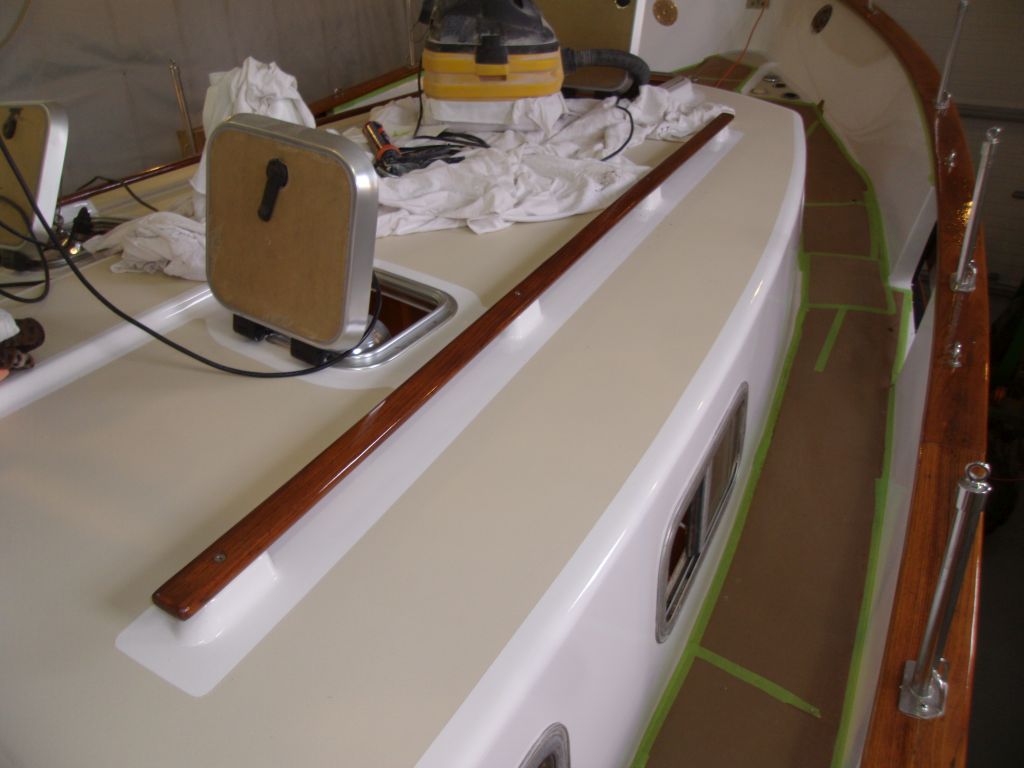
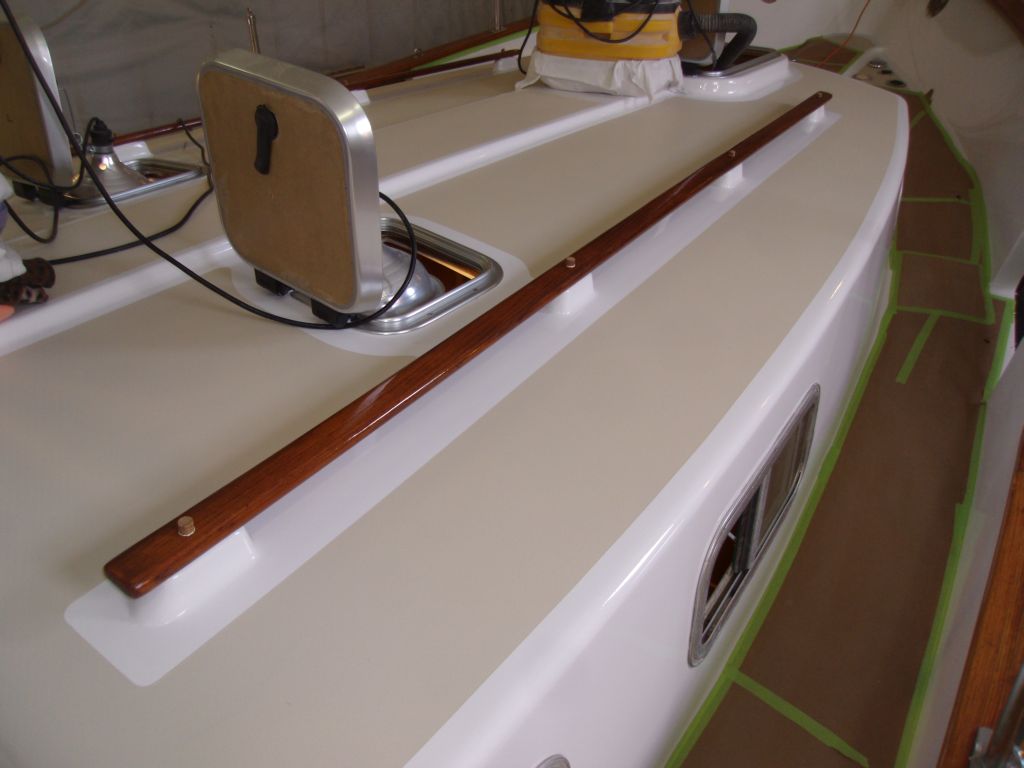
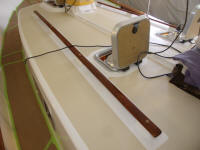
In the afternoon, I turned to the main cabin handrails.
Like their counterparts on the pilothouse, these were
simple teak planks secured to molded deck risers, in
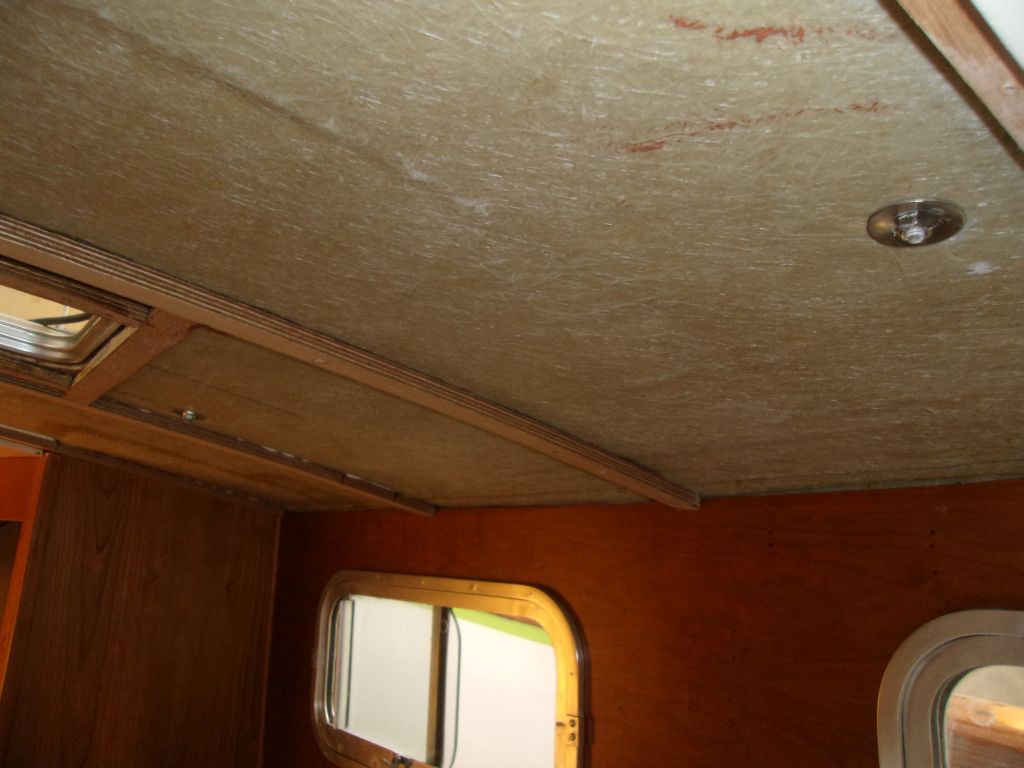
this case with four bolts per side. To gain access
to the underside for bolting, I had to remove overhead
panels, which was a bit more straightforward here since
I'd not yet built or installed the overhead trim (this
actually saved a huge amount of time and irritation).
Still, I did not relish the prospect of removing the
overhead panels. I decided to attack it one side
at a time to limit the discombobulation in the cabin,
starting arbitrarily with the port side.
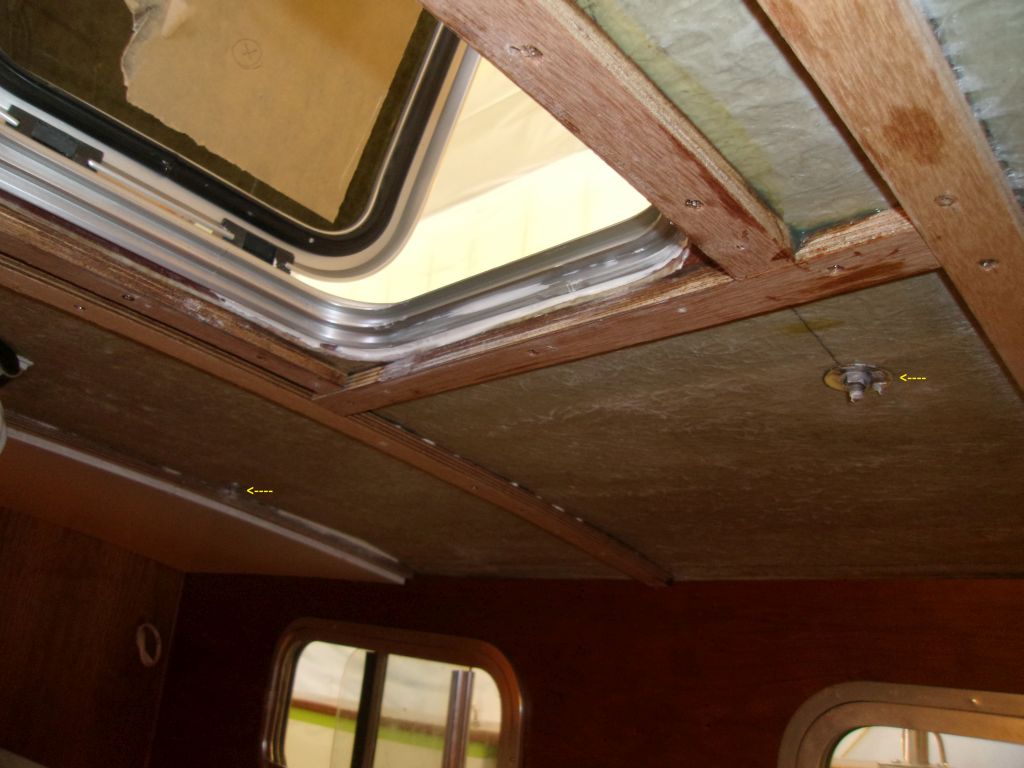
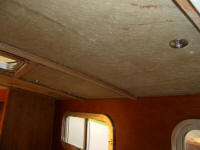
Here, the Overseers of All Things Overhead smiled upon
me. Each side of the main cabin was
split longitudinally into two overhead panels. I
knew I had to remove the forward, larger, section at a
minimum, so I started there, and without particular
difficulty lowered the panel. To my great delight,
I discovered that the aftermost mounting hole for the
handrail was within the boundaries of this panel as
well; not knowing exactly where the hole was, I'd been
concerned that it would be just aft of the seam, which
would have required removing the second panel as well.
Nice.
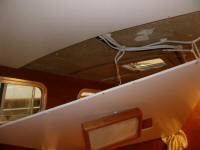
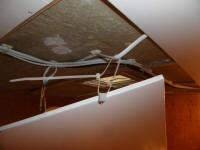
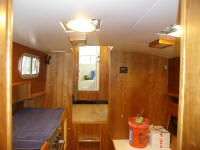
Because the overhead light fixture was hard-wired (but
with ample slack in the wires just for this purpose), I
couldn't remove the light entirely, but didn't really
need to. However, I didn't like leaving the weight
of the overhead panel dangling by these wires, so I
rigged up a temporary wire tie support to hold the
weight of the panel in mid-air while I worked (visible
at the far right). |
 |
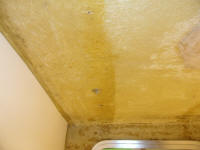
I also had to remove the overhead in the forward cabin;
the head overhead, where the third of four bolts was
located, was still raw and unfinished, so no issues
there.
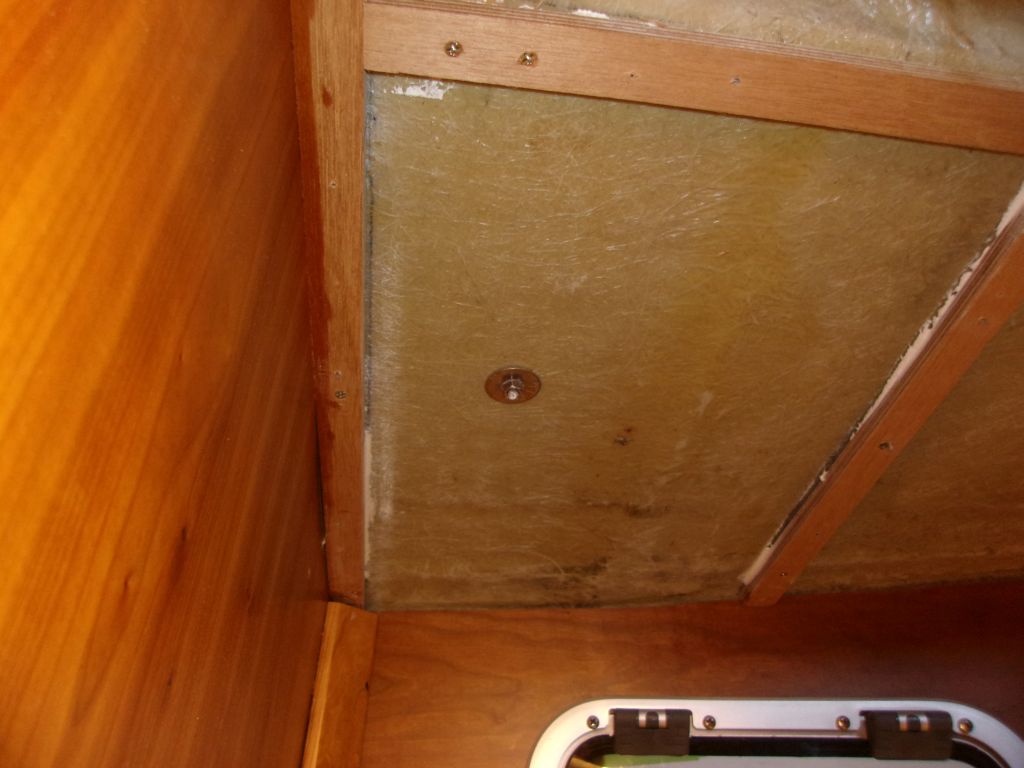
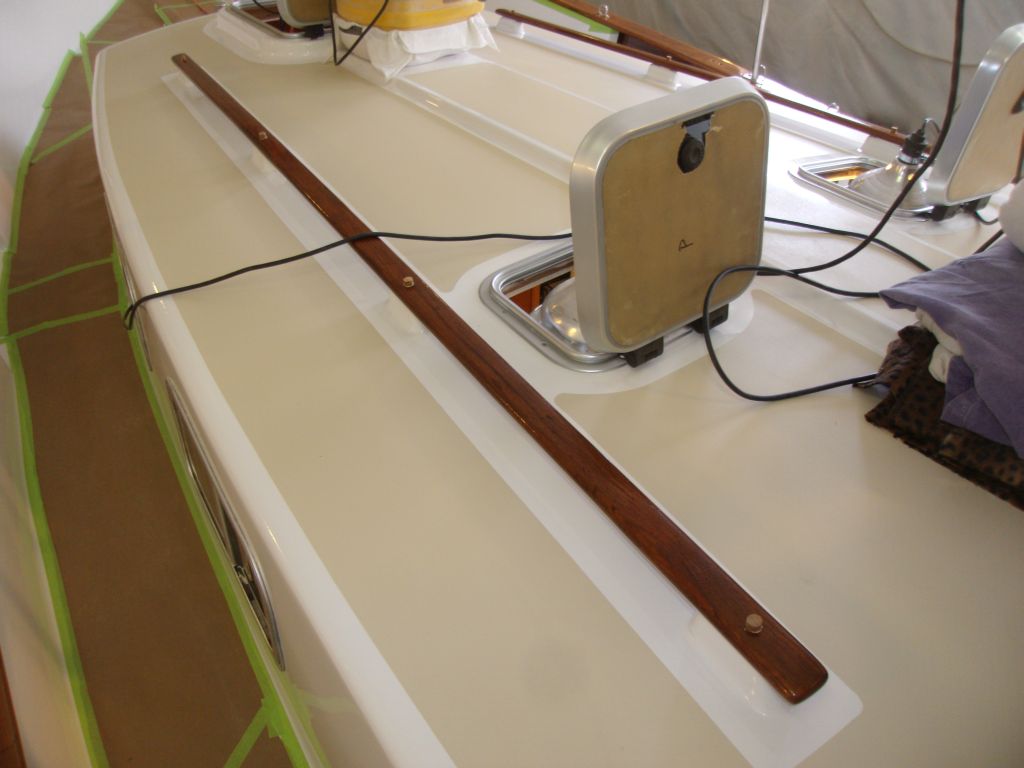
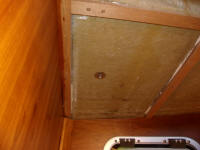
Installing the handrails was a cinch. I used
3-1/2" long 1/4" machine screws, which were just the
right length for the job and didn't require any trimming
to remain clear of the overhead. I backed up the
bolts with large fender washers and nuts. The
bolts were tight enough in their holes, and beneath
their heads, that I could wrench them from beneath
without the bolts turning. |

 |
After reassembling the port overhead, I repeated the
process on the starboard side. |

 |
Finally, after cleaning up the excess sealant and
straightening out the disorder, I installed teak bungs
in the screw holes. |
 |
| |
Total Time Today: 4.75 hours
|
<
Previous | Next > |
|
|