Project Log: Friday, January 2, 2015
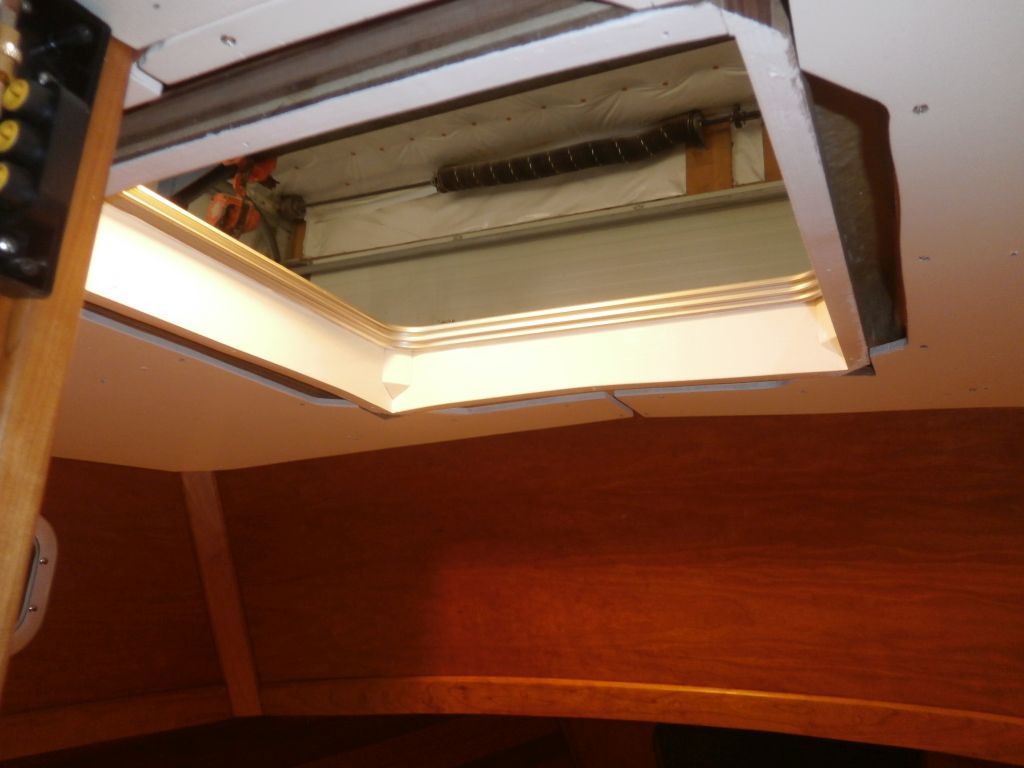
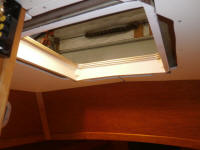
After a light sanding for the forward hatch coaming's
primer, I applied a coat of semi-gloss white enamel, the
first of two.
|
 |
Meanwhile, I continued work on the cherry overhead trim,
applying a couple coats of tung oil during the day. |
 |
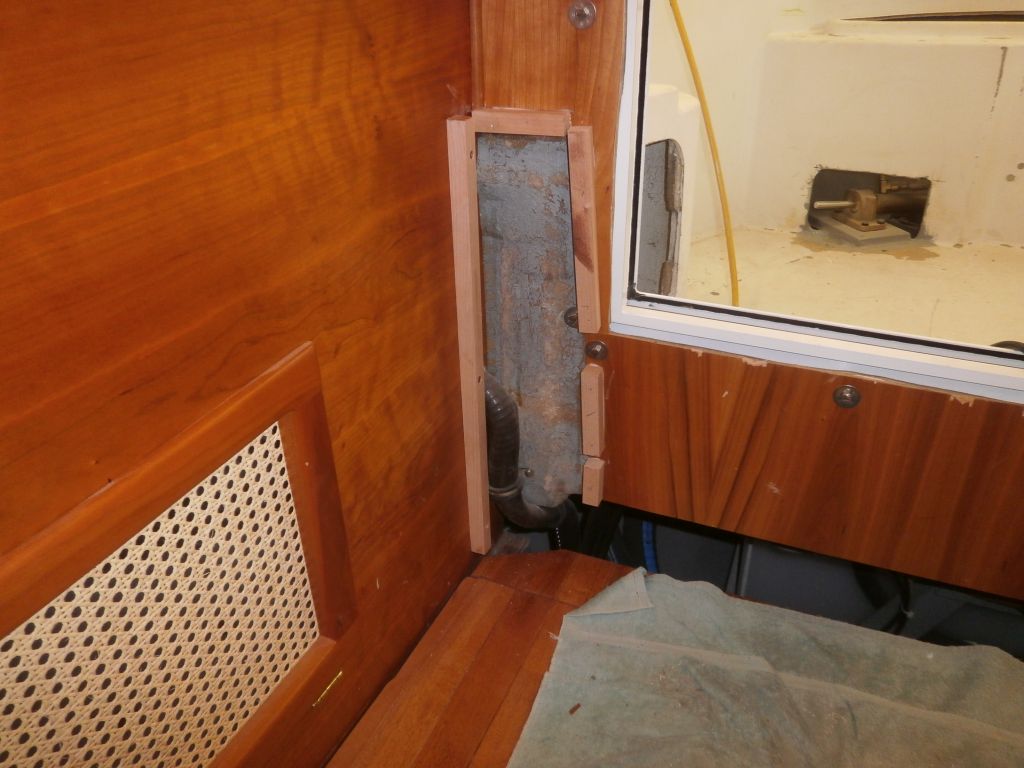
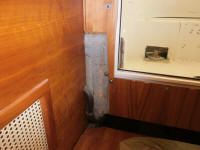
The aft end of the pilothouse required some trim to
finish it off, the last section of the interior still
unfinished. In the starboard corner, the original
construction of the boat had left a bulge of fiberglass
tabbing here, which had originally been hidden by the
simple cabinet and seat in the existing design. My
reconfiguration had left this area partially exposed,
and I'd worked around it when installing new interior
cabinets and paneling, also taking advantage of the area
to use as a wire chase. I knew all along I'd have
to come up with a way to finish off the area, and now
was the time. |
 |
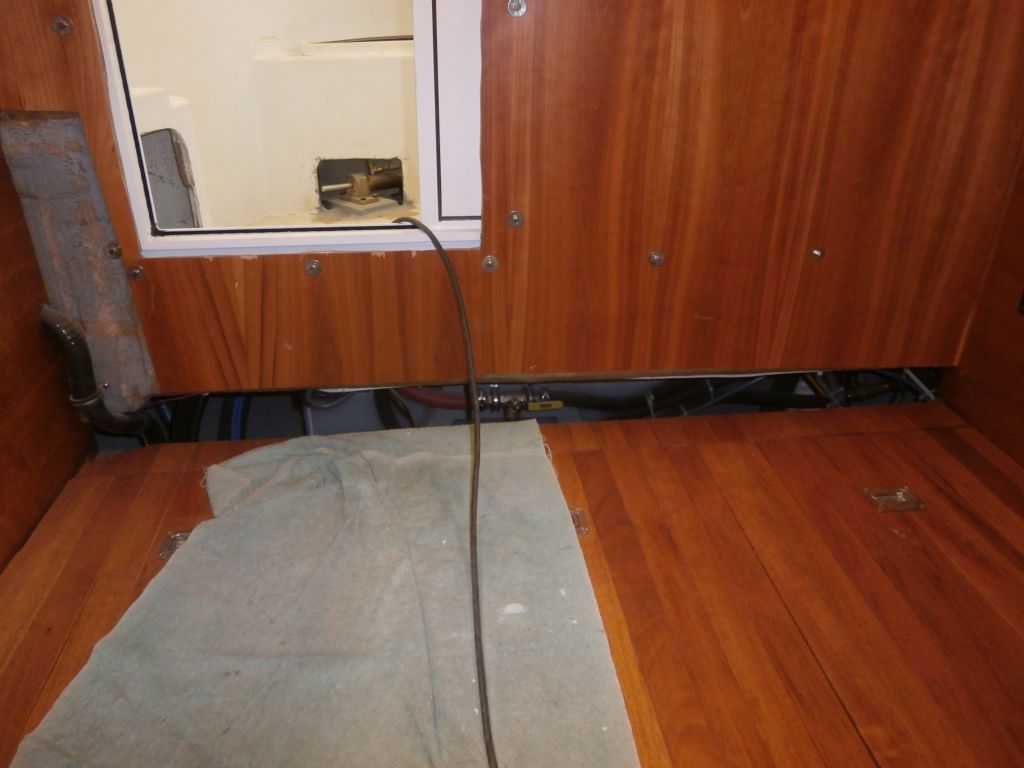
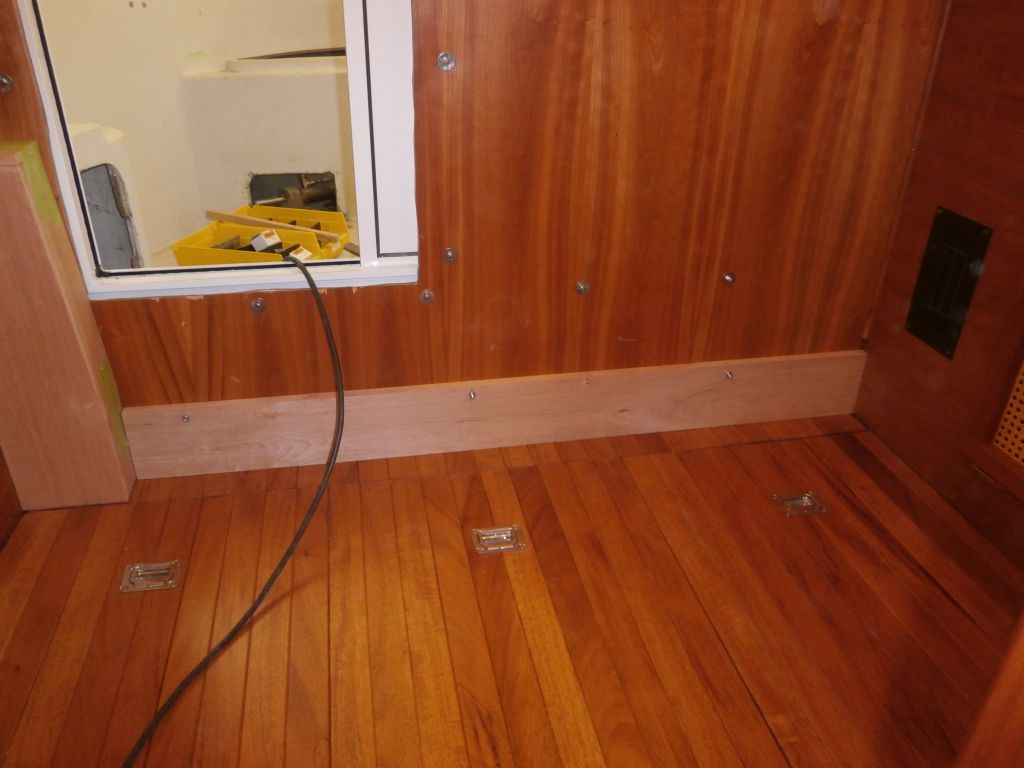
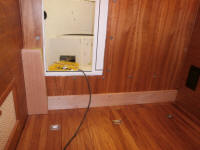
Similarly, there was a large gap between the aft
bulkhead in the pilothouse and the sole. In the
original configuration, plywood paneling from the aft
bulkhead extended down below floor level and partially
supported the pilothouse sole panels. This made
access to the after portions of the engine room space
difficult, since it impinged on the headroom and
available space; therefore, I rebuilt the support system
using a removable beam to maintain access, but this left
the open space above for me to deal with. Other,
more important details of the construction kept me from
attending to this section till now. |
 |
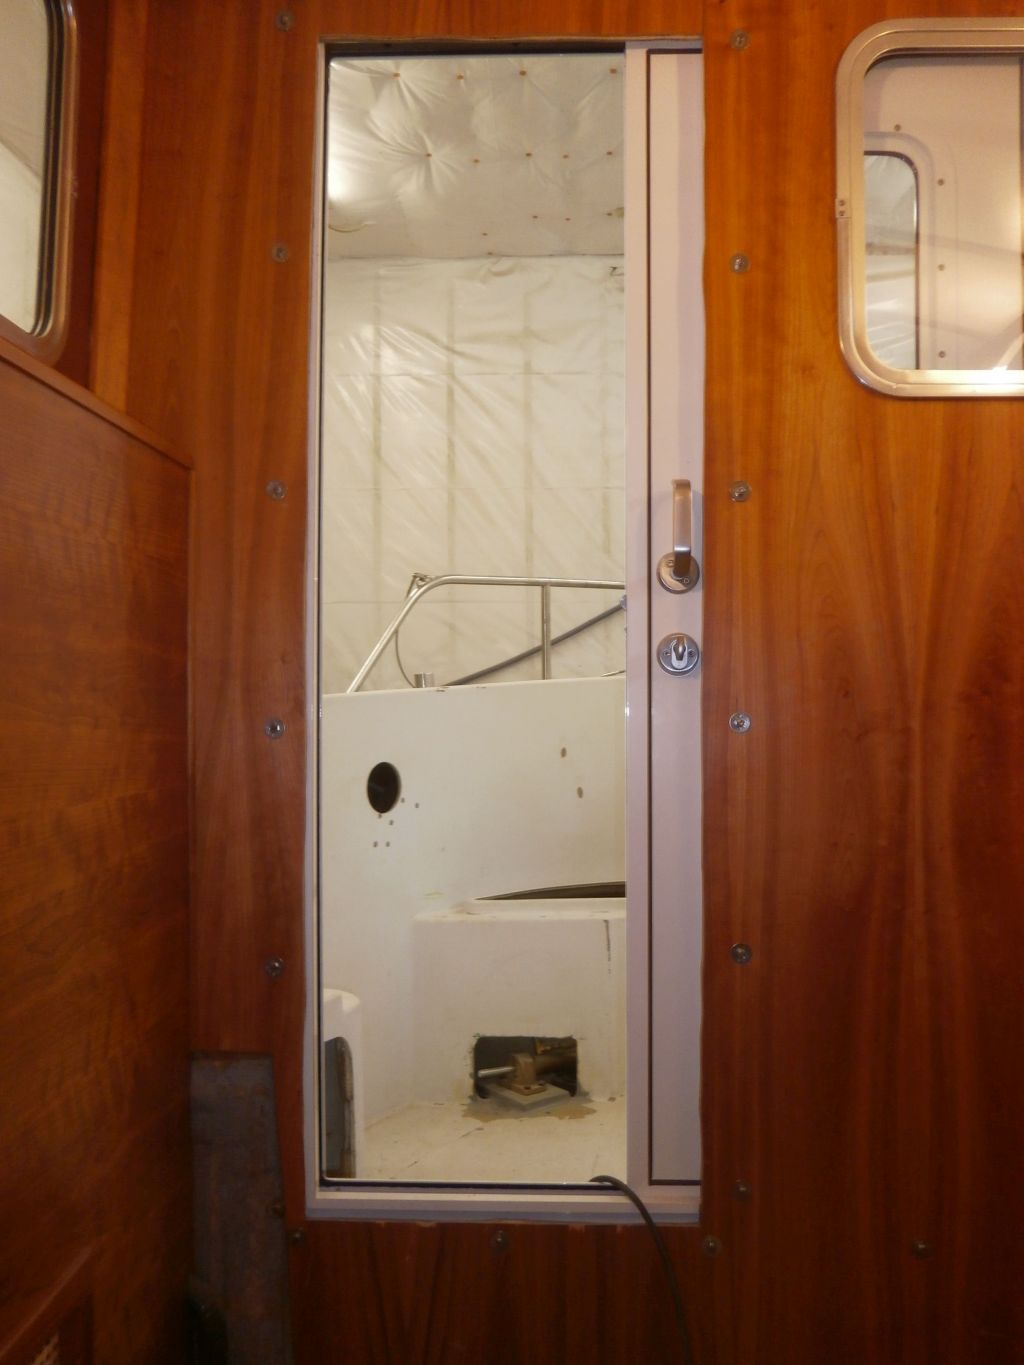
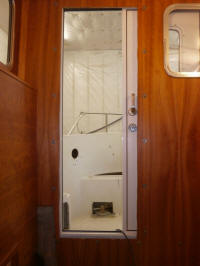
Finally, the rough opening for the pilot house door
would require trimming to finish off. I'd left the
original rough (and I do mean rough) opening as is after
dismantling the original wooden rolling door system.
The new door was weathertight, but the opening needed
work from within. |
 |
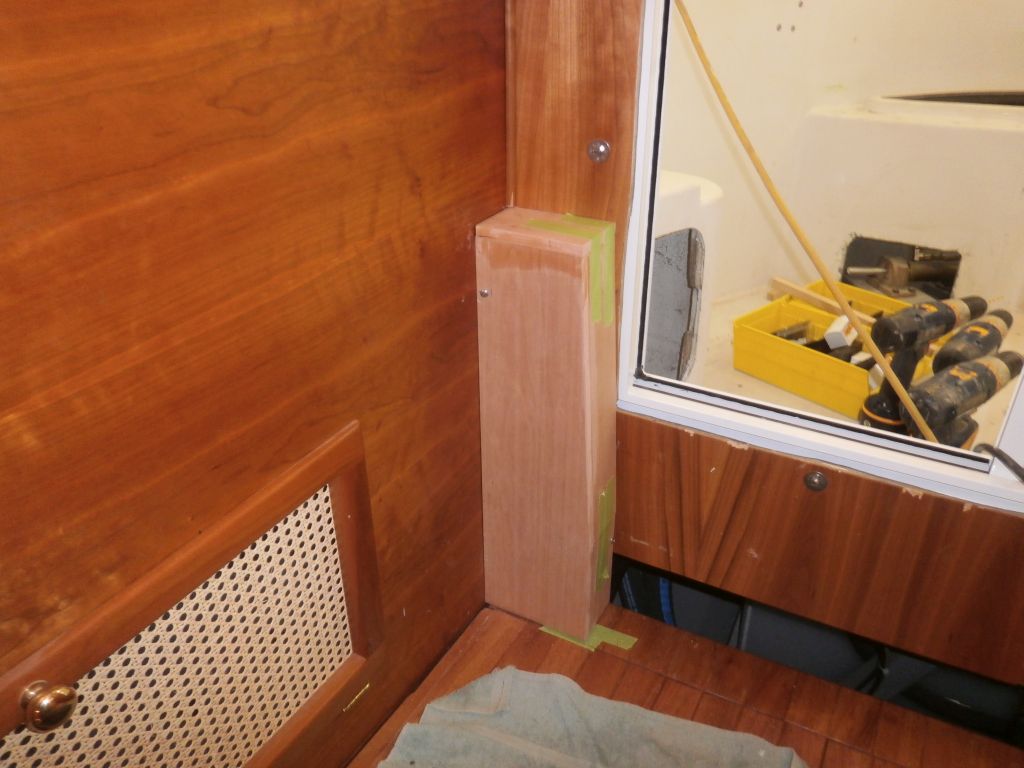
The corner box and lower trim near the cabin sole would
need to be easily removable to allow removal of the aft
cross support beam when required. I also wanted to
ensure that I could remove the main engine access panels
without having to also remove the trim pieces, so in the
corner this limited me in overall width of the box trim.
So rather than use full-thickness material, I resawed
and planed some cherry stock into 1/2" thickness so I
could fit everything within the necessary confines.
Then, I cut and installed (with glue or screws as
dictated by the substrate) support cleats against which
I could build my little box. |
 |
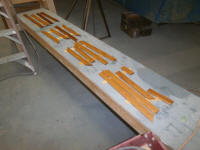
From here, I prepared various pieces to box in the area.
I kept the joinery simple, and once I had things fit as
needed I secured the box together with glue and, as
needed, some brads to pin things while the glue cured.
The masking tape seen in the photos also helped clamp
various joints together.
For now, I used a temporary screw to hold the piece in
place, but for ease of removal in the future I planned
to replace it with a simple knurled-head fastener.
Later I'd clean up and sand the box before finishing,
but for now I needed it in place so I could build the
trim to cover that large gap below the bulkhead. |

 |
For that, I milled a 3/4" thick cherry board to 5" wide,
and cut it to fit the space between the corners.
Since this piece needed to be removable, and the aft
bulkhead comprised only a 1/4" plywood veneer over a
1/4" thick laminate. I could see no alternative but to
install fasteners from the outside, leaving studs within
to which I could fasten the trim board. |

 |
For now, I used some bolts that I had on hand, but for
the final installation I'd replace them with
specifically-sized bolts from without and knurled hand
fasteners from within, fasteners that I ordered once I
saw how things came together. I'd secure and
permanently seal the bolts with epoxy from outside.
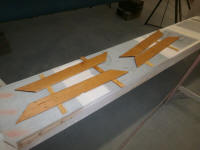
With the basic milling work complete, I removed all the
new trim so I could mill final details and sand
everything smooth before varnishing.
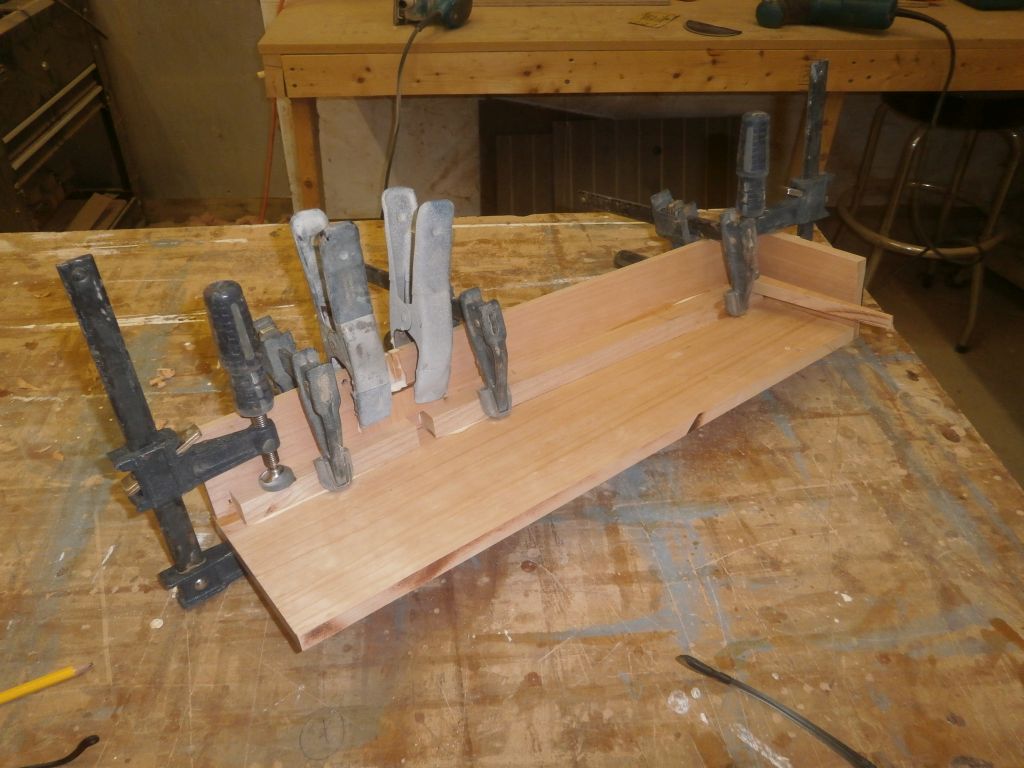
The little corner box wasn't that strong, and was only
three-sided, and since it might be removed with some
regularity I decided to add some reinforcing cleats on
its inside corners, gluing and clamping them in place. |
 |
| |
Total Time Today: 4.5 Hours |
<
Previous | Next > |
|
|