Project Log: Saturday, January 3, 2015
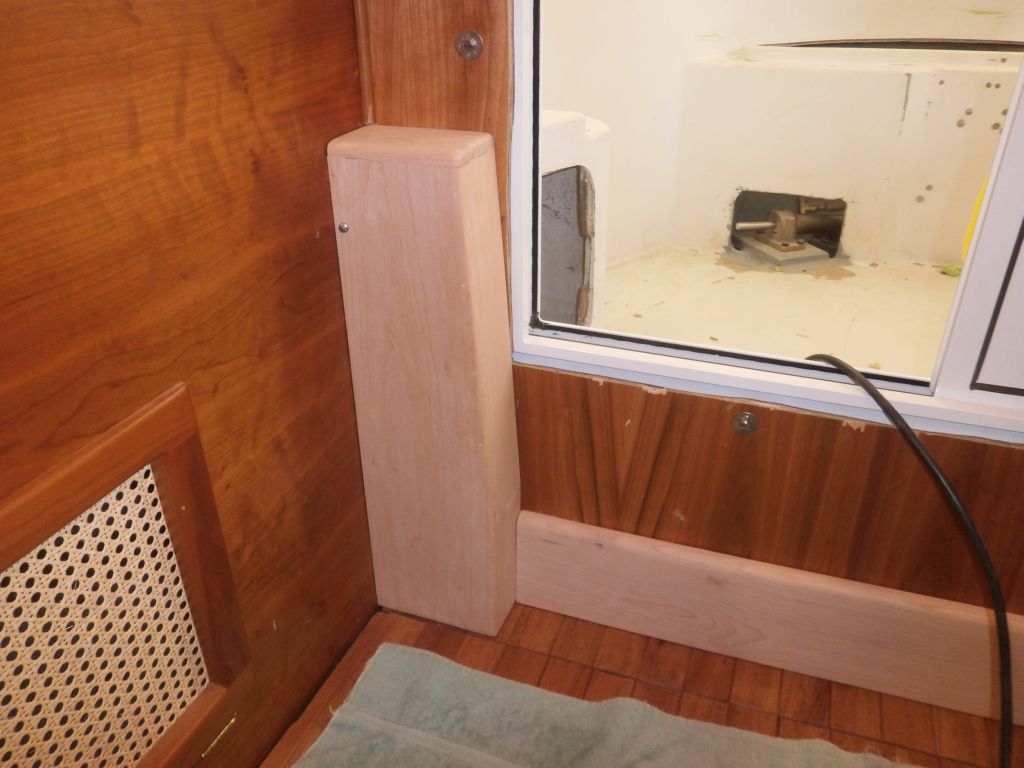
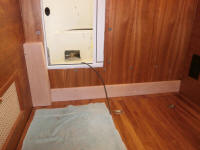
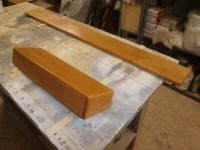
To wrap up the work on the new aft pilothouse trim, I
milled rounded edges as I saw fit and sanded the two
pieces smooth to prepare for varnish work. I set
them back in place one final time, though I'd need the
corner piece on hand so I could properly fit the doorway
trim next.
|
 |
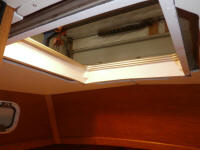
Before continuing, I lightly sanded and repainted the
forward hatch coaming. |
 |
One can get far too wrapped up in trim details, so I
always strove to keep them as simple as possible.
For the pilothouse door, the basic needs were to hide
the raw and asymmetrical edges of the rough opening in
the bulkhead, and any exposed edges of the aluminum door
itself.
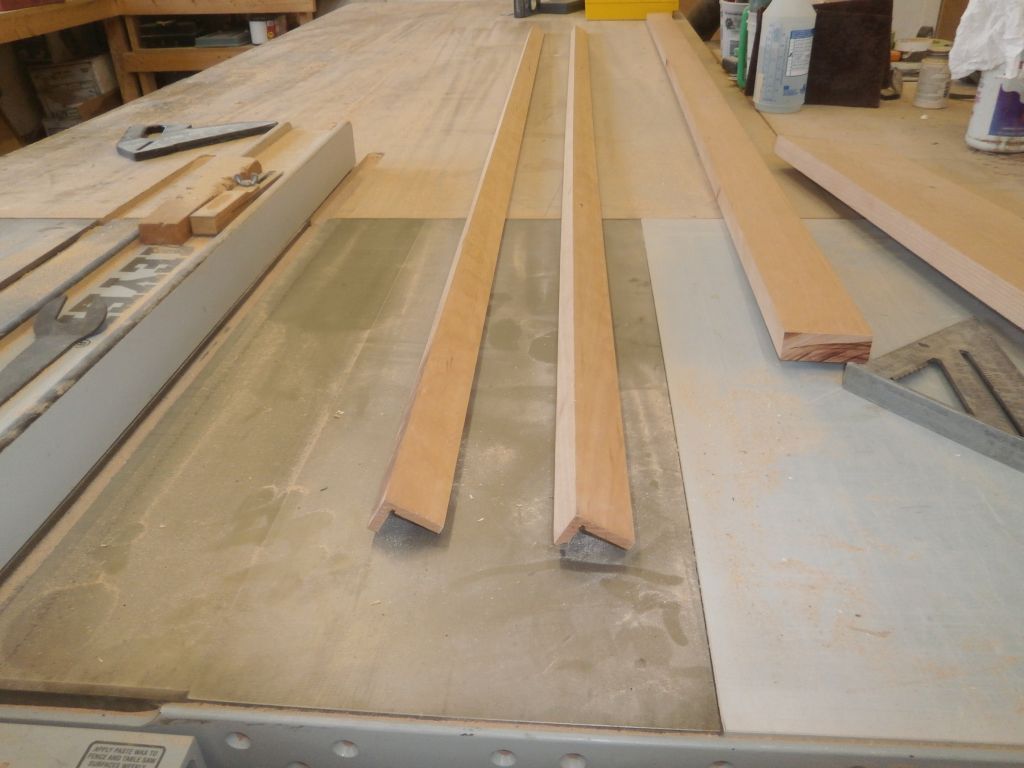
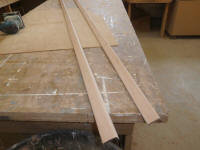
To this end, I prepared L-shaped trim that I could wrap
over the opening and accomplish the core requirements.
From 1" thick stock, which I'd planed smooth from a
rough 1-1/8" board earlier, I prepared two blanks that
would provide enough material for the four pieces
needed. One leg, which would wrap inwards towards
the door and cover the edges of the cutout, was 3/4"
wide (inside dimension); the visible flange that would
rest against the bulkhead paneling was 1-1/2" in width.
Once I'd milled the basic shapes, I rounded the edges
and sanded the blanks smooth. |

 |
I planned a simple approach to installation.
Rather than fight with mitered corners, which always
presented a challenge with wrap-around trim, I installed
the trim pieces so they butted in the inside corners of
the opening, leaving open areas at the three exposed
corners (the fourth died out into the boxed corner trim
on the starboard side) where I'd install oversized
square blocks to finish off the look.
I started with the shorter top and bottom sections,
gluing them in place as needed. To help hold the
pieces while the glue cured, I used a few dabs of
hot-melt glue, which worked well on the shorter pieces.
I used the lower corner box to mark the bottom trim
where it needed to be cut, allowing room for the box to
slip past. I didn't take photos of these
intermediate steps because I expected to be able to take
photos of the entire door trim completed later, but
subsequent events got in the way of that. Read on.
With the top and bottom trim pieces in place and
installed level, I prepared the two longer side pieces,
cutting the bottoms to fit around the shape of the
aluminum door as needed, and again cutting away a
portion on the starboard lower section so the boxed
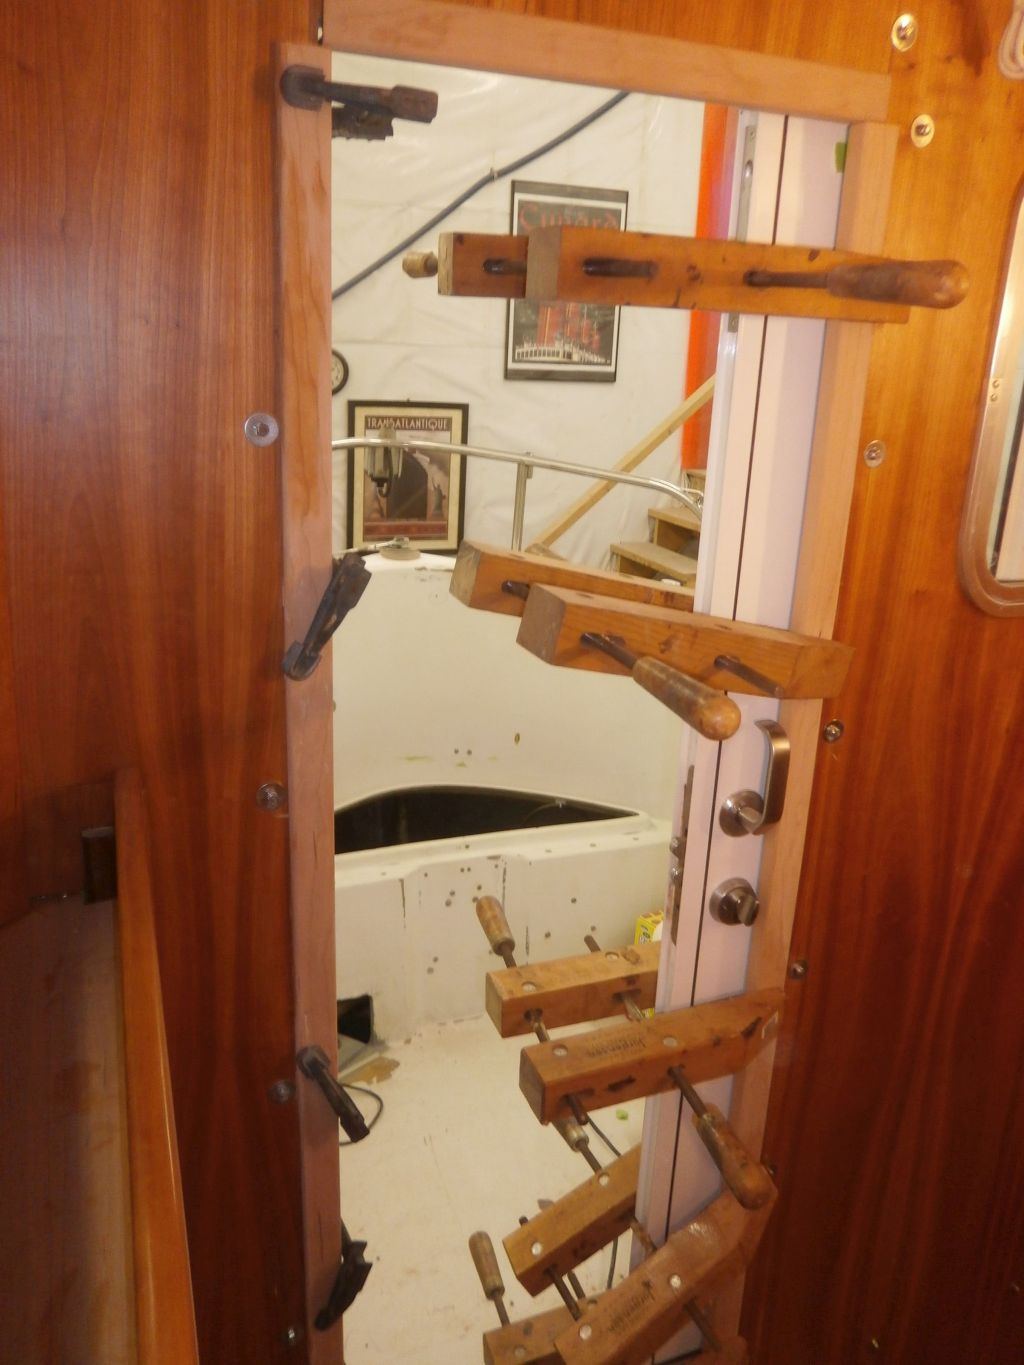
corner could fit past. But when I tried to secure
these trims in place with just the hot glue as clamps,
the process failed, and I had to scramble to find a way
to clamp the first piece (which happened to be the port
side) in place, scampering up and down the ladder to
finally procure several bulky wooden clamps with a jaw
long enough to work in the situation. |
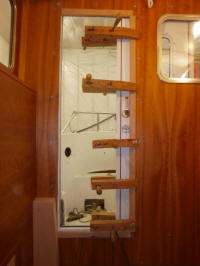 |
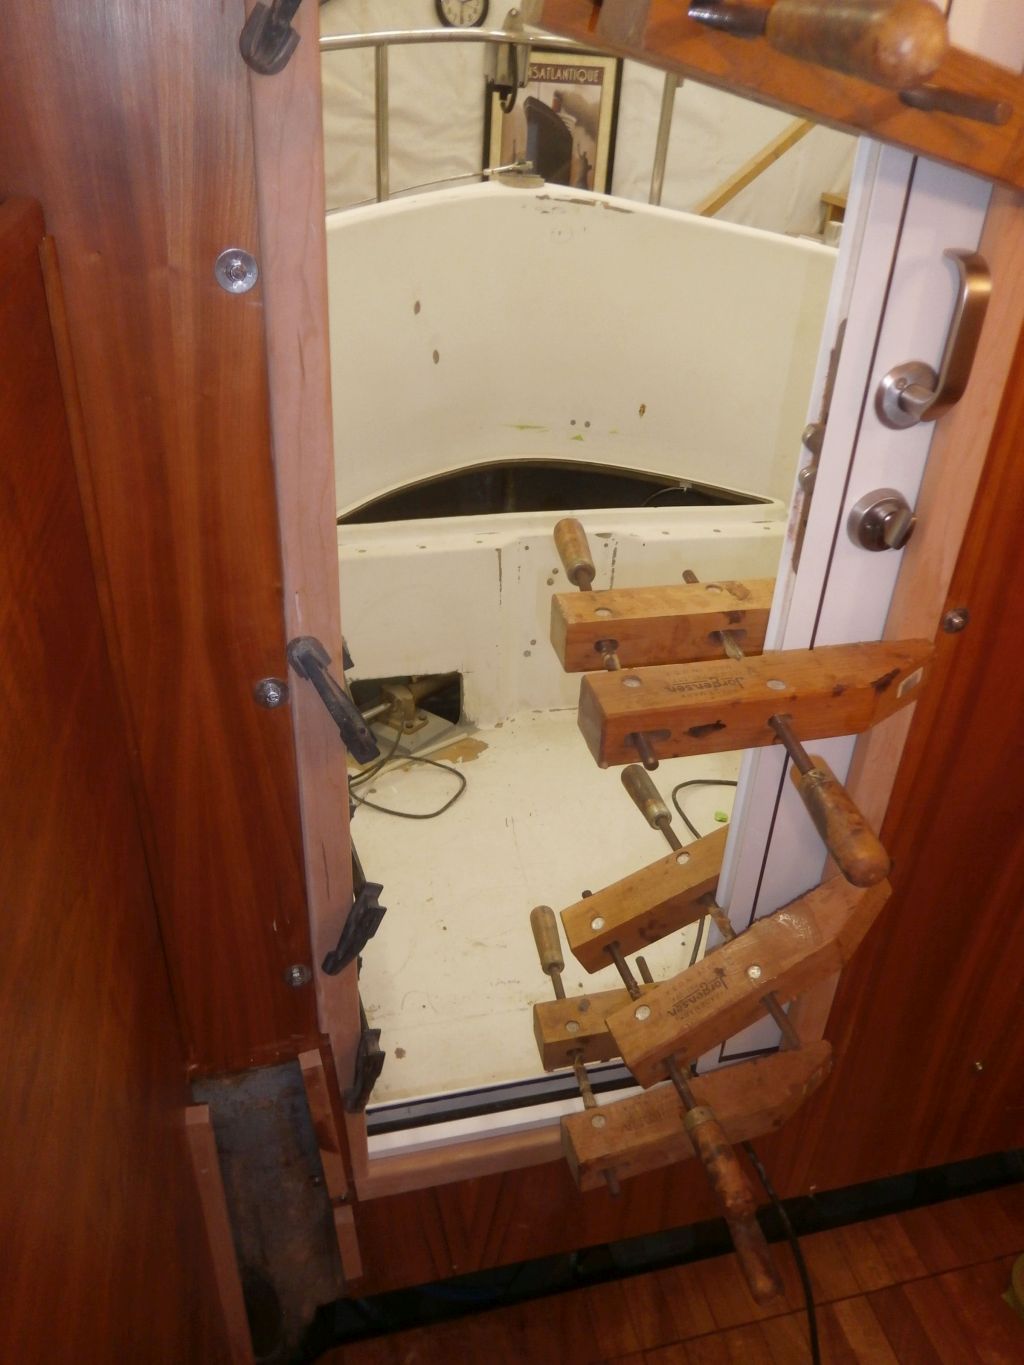
These clamps were so bulky that I could barely squeeze
back out of the boat, but I was able to work from the
cockpit to glue in the starboard side trim, which was
easier to clamp with normal bar clamps since the sliding
door wasn't in the way there. But there was no way
to get back into the cabin with all these clamps in
place, so that effectively ended my work on the trim
(I'd planned to install the square corners in the same
operation), and I had to resort to taking photos and
inspecting the trim from the forward pilothouse windows.
I left the trim and glue to cure overnight in the
clamps. |

 |
To round out the day, I applied a sealer coat of varnish
to the corner box and baseboard trim. |
 |
| |
Total Time Today: 4.75 Hours |
<
Previous | Next > |
|
|